Make a DIY Bookmark
Make a personalized DIY bookmark using cardstock, scissors, markers, and ribbon; measure, cut, decorate, and learn patterns while creating a useful reading accessory.


Step-by-step guide to make a DIY bookmark
Step 1
Gather all Materials Needed and place them on a flat table so everything is easy to reach.
Step 2
Use the ruler and pencil to measure and draw a rectangle that is about 15 cm by 5 cm (6 in by 2 in) on the cardstock.
Step 3
Cut the rectangle out carefully along the pencil lines with scissors.
Step 4
Use the ruler and pencil to lightly divide the bookmark into three equal sections to plan your pattern.
Step 5
Choose two or three shapes or colors you want to repeat for your pattern.
Step 6
Draw a repeating pattern across the bookmark using your coloring materials, filling each section with the shapes or colors you picked.
Step 7
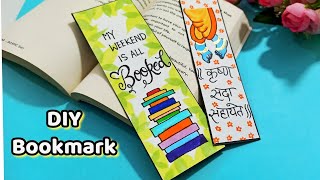
Write your name or a short favorite quote on the bookmark to personalize it.
Step 8
Add extra decorations like small drawings or stickers to the edges if you want.
Step 9
Use the hole punch to make a hole centered near the top of the bookmark.
Step 10
Thread a ribbon through the hole and tie a knot or bow so it hangs nicely from your book.
Step 11
Take a photo of your finished bookmark and share your creation on DIY.org
Help!?
What can we use instead of cardstock or ribbon if we don't have those materials?
Use cereal-box cardboard or several layers of construction paper cut to about 15 cm by 5 cm for the bookmark and substitute yarn, a shoelace, or string for the ribbon when threading through the punched hole.
I'm having trouble cutting straight along the pencil lines and getting the three equal sections even—what should we do?
Place the cardstock on a flat cutting surface, cut slowly with sharp scissors or ask an adult to trim along the ruler-drawn 15 cm by 5 cm lines, and mark light pencil dots at every ~5 cm before connecting them with the ruler to divide the bookmark into three equal sections.
How can I adapt this bookmark activity for different ages?
For younger children, pre-cut the 15×5 cm rectangles and let them decorate the three planned sections with stickers and thick markers, while older kids can use stencils, precise ruler measurements on cardstock, and add a written quote and a tied ribbon tassel through the punched hole for a more advanced finish.
How can we make the finished bookmark stronger or more decorative?
After drawing and personalizing the pattern and quote, reinforce or laminate the bookmark with clear tape or self-adhesive laminating sheets, add a hole-reinforcement sticker around the punched hole, and thread beaded ribbon or a tassel so it lasts longer and looks fancier for photographing and sharing on DIY.org.
Watch videos on how to make a DIY bookmark
DIY Easy Bookmark Making Ideas How to make a simple handmade bookmark
4 Videos
DIY Easy Bookmark Making Ideas How to make a simple handmade bookmark
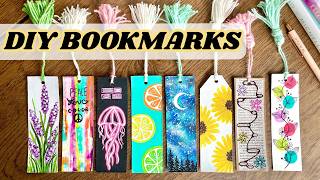
*8* Easy DIY Bookmark Ideas Using Recycled Cardboard 📗🎨 Upcycled Art Project
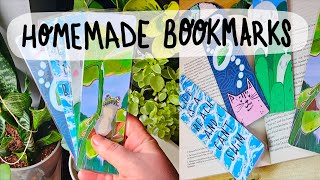
Making Bookmarks at Home?! DIY Laminated Bookmarks!
DIY Bookmarks at Home: Creative & Easy Bookmark Ideas for All Ages I
Facts about paper crafts for kids
📚 Bookmarks have been used for centuries to save your place — early readers used simple scraps or ribbons to mark pages.
✂️ Scissors-like tools go back over 3,000 years — ancient metal shears were used in Egypt and Rome for cutting cloth and paper.
📏 The rule "measure twice, cut once" helps avoid wasted cardstock and ribbon — a tiny habit that saves supplies and time.
🎨 Repeating shapes and colors create patterns your brain finds pleasing — patterns make a bookmark feel tidy and eye-catching.
🎀 Adding a ribbon or tassel makes a bookmark easier to find in a book and adds fun texture and color.
How do I make a personalized DIY bookmark with my child?
What materials do I need to make a DIY bookmark?
What ages is making a DIY bookmark suitable for?
What are the benefits of making DIY bookmarks with kids?
