Craft a Tiny Notebook
Fold and bind a tiny handmade notebook using paper, cardboard, and simple stapling or sewing with help; decorate covers and practice neat writing and drawing.


Step-by-step guide to craft a tiny notebook
Step 1
Gather all materials and set them on a flat workspace so everything is easy to reach.
Step 2
Stack 4 to 8 sheets of paper together and fold the stack in half neatly to form the notebook pages.
Step 3
Press along the folded edge with your fingernail or a ruler to make a sharp crease.
Step 4
Cut a rectangle of thin cardboard slightly larger than the folded pages to make the cover.
Step 5
Fold the cardboard cover in half along the center so it matches the paper fold.
Step 6
Place the folded paper pages inside the folded cardboard cover so the spines line up evenly.
Step 7
Secure the spine by stapling through the fold with two staples or by sewing three evenly spaced stitches through the fold with needle and thread.
Step 8
Trim any uneven edges of the pages with scissors using the ruler as a guide so all pages match the cover size.
Step 9
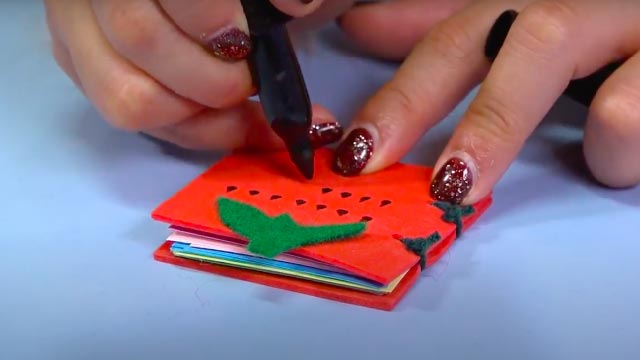
Use the glue stick and colouring materials to decorate the front and back covers with drawings or glued paper shapes.
Step 10
Write a neat title on the first page to practice tidy handwriting.
Step 11
Draw a small picture on the first page to practice neat drawing and filling space.
Step 12
Share a photo or description of your finished tiny notebook on DIY.org.
Help!?
What can we use instead of thin cardboard or a stapler if those are hard to find?
Use a cereal-box or frozen-food box cut to the right size for the cover and secure the spine with strong tape, binder clips, or by sewing with needle and thread instead of stapling.
My pages slip or the staples don't hold—how can I fix the spine so the notebook stays together?
Clamp the folded pages and cardboard with clothespins or binder clips while you staple or sew, make a sharp crease with a ruler before fastening, and reinforce the spine with a strip of glue stick or fabric tape if needed.
How can I adapt the steps for younger children or older kids?
For younger kids, use fewer pre-folded pages, safety scissors, stickers, and have an adult do the stapling, while older kids can add more sheets (8–16), sew three evenly spaced stitches through the fold, and create collaged covers with glue stick and colouring materials.
What are some easy ways to personalize or extend the tiny notebook after making it?
Personalize it by decorating the cover with glued paper shapes or drawings using the glue stick and colouring materials, add a glued-in pocket on the back cover for notes, attach a ribbon bookmark to the spine, or stitch in extra folded signatures to make the notebook thicker.
Watch videos on how to craft a tiny notebook
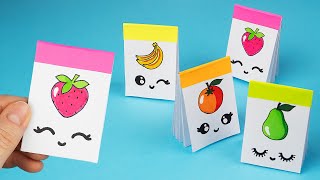
DIY Easy mini notebook | How to make paper notebook | Papercraft
4 Videos
DIY Easy mini notebook | How to make paper notebook | Papercraft
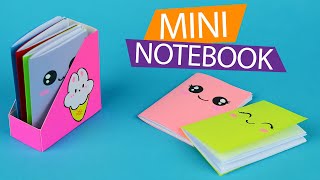
DIY Mini Notebook with Just 1 Sheet of Paper | Easy & Cute!
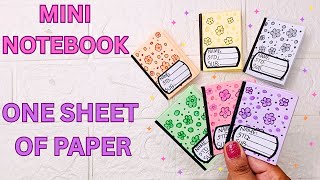
DIY Mini Notebook Tutorial: Expert Tips for Easy Crafting!
DIY Mini Notebook Tutorial: Crafting Made Simple with Expert Tips!
Facts about bookbinding for kids
📚 The codex (an early bound book) replaced scrolls and helped start modern bookbinding nearly 2,000 years ago.
🧻 Paper as we know it was popularized in China around 105 AD — you can also make simple paper from recycled scraps at home.
🪡 A tiny notebook only needs 2–3 stitches (saddle-stitch) or a couple of staples to stay firmly bound.
🎨 Washi tape, fabric scraps, and recycled cardboard are super popular and easy cover materials for decorating notebooks.
✏️ Tiny pages help handwriting and drawing: small spaces encourage neater letters and simpler, bolder sketches.
How do I make a tiny handmade notebook with my child?
What materials do I need to craft a tiny notebook?
What ages is this tiny notebook activity suitable for?
What safety tips should parents follow when making tiny notebooks?
