Create a White Daisy on Your Cube
Fold and assemble your paper cube, then create and attach a white daisy decoration using paper, glue, and markers to learn shapes and symmetry.


Step-by-step guide to Create a White Daisy on Your Cube
Step 1
Use your pencil and ruler to draw a T-shaped cube net made of six equal squares and add narrow glue tabs on some outer edges so the cube can be glued.
Step 2
Cut out the cube net neatly around the outer edge using scissors.
Step 3
Score each edge line lightly with the ruler and pencil tip to make crisp fold lines.
Step 4
Fold along every scored line so each square becomes able to bend up into a cube face.
Step 5
Fold the glue tabs inward along their edges so they sit inside the cube when assembled.
Step 6
Put glue on one glue tab only.
Step 7
Press that glued tab firmly to the inside of the matching face until it holds.
Step 8
Repeat gluing and pressing the remaining tabs until the paper cube is fully assembled.
Step 9
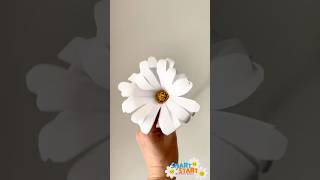
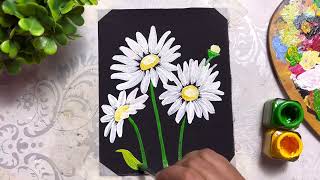
On the white paper draw eight teardrop-shaped petals and one small circle for the daisy center.
Step 10
Cut out each petal and the small circle carefully with scissors.
Step 11
Colour the small circle yellow with your colouring materials to make the daisy center.
Step 12
Put a thin dab of glue on the base of one petal and stick it to the back edge of the yellow circle.
Step 13
Continue gluing and attaching the rest of the petals around the circle until your white daisy is complete and let the glue dry.
Step 14
Apply glue to the back of your finished daisy and press it onto one face of the cube until it stays in place.
Step 15
Share your finished creation on DIY.org
Help!?
What can I use instead of white paper, liquid glue, or scissors for this cube-and-daisy project?
If you don't have white paper use light-weight cardstock or printer paper for the T-shaped cube net and petals, and if liquid glue is missing use double-sided tape or a glue stick to attach the glue tabs and daisy pieces, while blunt household scissors or nail scissors can replace craft scissors.
My cube keeps coming apart or the paper tears when folding—how do I fix that?
If the cube comes apart, press each glued tab firmly for 10–20 seconds while it sets, reinforce inside seams with a small strip of clear tape after gluing, and score fold lines more lightly with your ruler and pencil tip to avoid tearing.
How can I adapt this activity for younger children or make it more challenging for older kids?
For preschoolers pre-draw and pre-cut the T-shaped cube net and the eight teardrop petals so they only fold and stick the glue tabs and petals, while older children can precisely measure each square with the ruler, decorate each cube face, or build multiple cubes to create a larger display.
What are some ways to extend or personalize the finished daisy-on-a-cube craft?
After you apply glue to the back of your finished daisy and press it onto one face of the cube, personalize by decorating the other faces with markers or patterned paper, add a green paper stem or leaves glued under the daisy, or make a set of cubes to stack into a paper bouquet to share on DIY.org.
Watch videos on how to Create a White Daisy on Your Cube
Layer One: Create a Daisy / Learn to Solve the Rubik's Cube
4 Videos
Layer One: Create a Daisy / Learn to Solve the Rubik's Cube
DIY Paper Daisy Craft Easy Spring Flower Activity for Kids
White Daisy Painting On Black Canvas | Acrylic Painting for Beginners
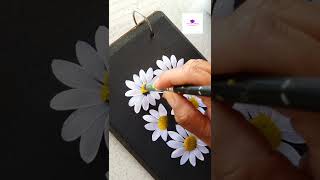
How to paint White Daisies in acrylics | Easy flower painting Day-106
Facts about paper crafts and symmetry
🌼 Daisies are 'composite' flowers — each white petal is actually its own tiny flower (a ray floret) around the yellow center!
📐 There are exactly 11 different nets that fold up to make a cube — can you find them all by cutting paper shapes?
✂️ Origami literally means "folding paper" in Japanese, but simple papercrafting with glue and scissors is perfect for kids too!
🔁 A cube has 24 rotational symmetries — rotate it in many ways and it can still look exactly the same!
🎨 Fold-and-cut tricks let you draw one petal and, when unfolded, reveal perfectly symmetrical daisies every time!
How do I fold and assemble the paper cube and attach a white daisy?
What materials do I need to create a white daisy on a paper cube?
What ages is the white daisy paper cube activity suitable for?
What are the benefits of making a white daisy on a cube, and are there safe variations?
