Make a Miniature Set
Build a miniature stage set using cardboard, paint, paper, and fabric, creating tiny scenery and props while learning scale, design, and storytelling.


Step-by-step guide to make a miniature set
Step 1
Gather all your materials and clear a flat workspace so everything is ready.
Step 2
Pick a story or theme for your miniature set and draw a simple stage layout on paper.
Step 3
Use the ruler and pencil to measure and mark a rectangle for the stage base and a matching back wall on the cardboard.
Step 4
Cut out the cardboard pieces for the base and back wall with scissors while an adult helps if needed.
Step 5
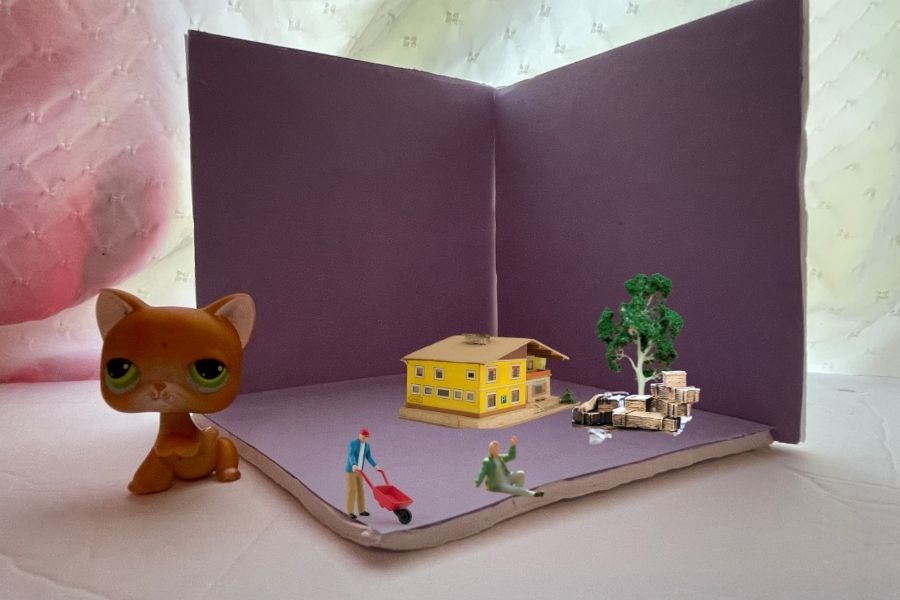
Fold or score the edge of the back wall and attach it upright to the base using tape or glue to make the stage.
Step 6
Paint the back wall and the base with colors that match your theme.
Step 7
Wait until the paint is completely dry before touching the painted surfaces.
Step 8
Glue paper or fabric scraps onto the base to make floor textures like grass wood or carpet.
Step 9
Cut small cardboard or paper shapes to create props such as trees chairs doors or signs.
Step 10
Measure one prop against the stage to check its size and trim or resize props so everything looks in scale.
Step 11
Decorate each prop using paint paper or fabric to add color and details.
Step 12
Arrange the props on the stage until you like the scene and then glue them in place.
Step 13
Make a curtain by cutting a strip of fabric and gluing it across the top front of the stage.
Step 14
Share your finished miniature stage set on DIY.org.
Help!?
Can I substitute materials if I don't have cardboard, paint, or fabric scraps?
Use flattened cereal boxes or a shoebox for the stage base and back wall, colored paper or markers instead of paint, and tissue paper or construction paper strips in place of fabric scraps when following the steps to cut the cardboard pieces, paint the back wall, and glue floor textures.
What should I do if the back wall won't stand, the paint smears, or props look too large on the stage?
Reinforce the folded or scored edge with extra tape or a glued cardboard tab when attaching the back wall to the base, wait until the paint is completely dry before handling or gluing, and re-measure and trim props so they match the stage scale before arranging them.
How can I adapt the project for different age groups?
For ages 3–5 skip precise measuring and let children glue pre-cut shapes and fabric scraps with adult help, for ages 6–9 supervise ruler measuring and scissor cutting when making the base, back wall, and props, and for 10+ encourage scoring the back wall, detailed painting of props, and precise scaling and curtain construction.
How can we enhance or personalize the miniature set after finishing the basic steps?
Add movable characters by attaching props with paper fasteners, place a small LED tea light behind the back wall for stage lighting, layer different fabric scraps for richer floor textures, and photograph the finished miniature stage set to share on DIY.org.
Watch videos on how to make a miniature set
How to make paper building for school project//how to make miniature city for school project
4 Videos
How to make paper building for school project//how to make miniature city for school project
Build a Mini City Model | School Project
DIY How to make polymer clay miniature School Set, Computer, back to School supplies |diy stationary
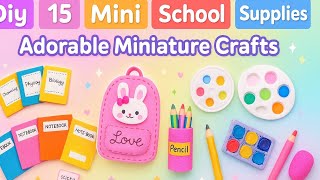
DIY 15 Mini School Supplies ✨ | Adorable Miniature Crafts
Facts about model making and set design for kids
🎭 Filmmakers and theatre designers often build miniature sets to test lighting, camera angles, and sightlines before making full-size versions.
📏 A popular miniature scale for dollhouses is 1:12 — that means 1 inch in the model equals 1 foot in real life.
🪄 Techniques like forced perspective and painted backdrops can make a tiny set appear much larger and more immersive.
🎨 Using warmer colors in the foreground and cooler, lighter tones in the background helps create a sense of depth in small scenes.
🧰 Cardboard, foam board, paper, and fabric are favorite materials for miniatures because they're easy to cut, shape, and glue.
How do I build a miniature stage set using cardboard, paint, paper, and fabric?
What materials do I need to make a miniature set?
What ages is making a miniature stage set suitable for?
What are some creative variations and extensions for a miniature set?
