Create Your Own Fridge Magnets
Make colorful fridge magnets using craft foam, small magnets, glue, and decorations; design shapes, experiment with arrangements, and personalize your refrigerator.


Step-by-step guide to Create Your Own Fridge Magnets
Step 1
Clear a flat workspace and lay the scrap paper down to keep the table clean.
Step 2
Look through the craft foam and decide which shapes or letters you want for your magnets.
Step 3
Use the pencil and ruler to draw each shape lightly on the craft foam.
Step 4
Cut out the foam shapes carefully with scissors.
Step 5
Color the foam shapes with your markers pens or crayons to make fun designs.
Step 6
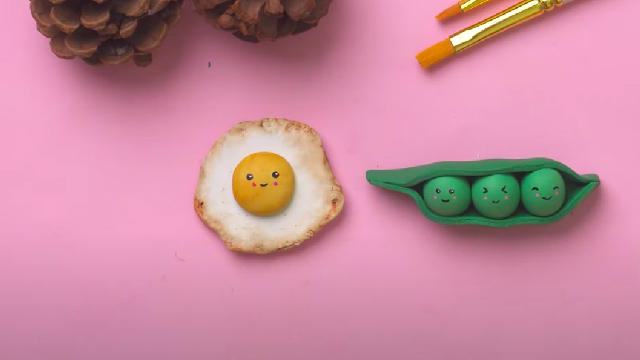
Glue on stickers sequins buttons or beads to decorate the shapes.
Step 7
Let all the glue dry completely before touching the back of the shapes.
Step 8
Put a small drop of strong craft glue on the back of a foam shape and press a small disc magnet onto it until it sticks.
Step 9
Repeat gluing magnets onto all your foam shapes and let them dry fully.
Step 10
Arrange your new magnets on the refrigerator to test and play with different layouts.
Step 11
Share a photo of your finished fridge magnets and tell the story behind them on DIY.org
Help!?
What can I use if I can't find craft foam or small disc magnets?
Use thick cardboard or felt cut the same way as craft foam and attach self-adhesive magnetic dots or magnetic sheet strips instead of the small disc magnets when you press a magnet onto the back.
Why are my magnets falling off after the glue dries and how do I fix it?
Follow the instruction to use a strong craft glue, press each small disc magnet firmly onto the back for about 30 seconds, and let the pieces cure undisturbed for several hours or up to 24 hours so the bond fully sets.
How can I adapt this activity for younger children or older kids?
For younger kids pre-cut the foam shapes, replace scissors and loose beads with stickers and self-adhesive magnets under supervision, and for older kids keep the pencil and ruler step to draw detailed shapes and add layered decorations like buttons or beads with strong craft glue.
How can we make the magnets more durable or personalized after decorating?
Seal marker designs with clear craft varnish or Mod Podge, create layered 3D effects with extra foam pieces, or glue photo cutouts under clear tape before attaching the small disc magnet on the back and then arrange and photograph them for DIY.org.
Watch videos on how to Create Your Own Fridge Magnets
DIY Art Magnets for Kids | Cute Craft Idea
4 Videos
DIY Art Magnets for Kids | Cute Craft Idea

Make Your Own Stunning DIY Magnets — Bright, Durable & So Easy!

DIY fridge magnets ideas | Cute fridge magnets | Best gift for loved ones | Home decoration ideas

5 Amazing Ways to Make Fridge Magnets | DIY Kitchen Decor Ideas | Home Decor Fridge Magnet
Facts about crafts for kids
🧲 Refrigerator magnets are usually made from flexible ferrite or rubberized magnetic material and are just strong enough to hold photos and notes.
🎨 Craft foam (EVA foam) is lightweight, waterproof, bendable, and comes in dozens of bright colors — perfect for kid-friendly crafts.
🧭 Ancient peoples discovered lodestones (naturally magnetic stones) and used magnetic properties long before modern magnets existed.
🧲 Tiny neodymium magnets are incredibly strong for their size — which is why they’re great for holding things but must be kept away from small children and electronics.
🌍 Souvenir fridge magnets are one of the most popular travel keepsakes worldwide and are easy to personalize with designs or photos.
How do I make colorful fridge magnets with craft foam?
What materials do I need to make fridge magnets?
What ages are fridge magnet crafts suitable for?
What are the benefits of making fridge magnets with kids?
