Take the Tray Painting Challenge
Decorate a wooden or cardboard tray using paint, stencils, and sealant. Practice planning designs, color mixing, and safe brush techniques.


Step-by-step guide to take the tray painting challenge
Step 1
Lay the drop cloth or newspaper on your table and place your tray and materials on top.
Step 2
If your tray is wooden lightly sand the surface until it feels smooth.
Step 3
Wipe the tray with a damp cloth to remove dust.
Step 4
Let the tray dry completely before you start painting.
Step 5
Use a pencil to draw a simple plan or sketch of your design on the tray.
Step 6
Squeeze small amounts of paint onto your plate or palette and mix colors to make the shades you want.
Step 7
Practice your brush strokes and pressure on scrap paper to see how the paint moves.
Step 8
Apply masking tape to block off areas or create straight edges for your design.
Step 9
Paint the large background areas with a flat brush or foam brush using even strokes.
Step 10
Paint smaller details with a small round brush using light controlled strokes.
Step 11
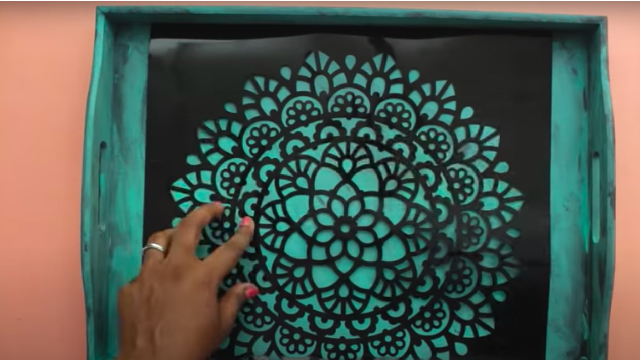
Hold a stencil in place and dab paint gently with a sponge or brush to add patterns.
Step 12
Let all the paint dry completely before you do anything else.
Step 13
Apply a clear sealant evenly over the painted tray following the product directions.
Step 14
Let the sealant dry completely so your tray is protected and hard to touch.
Step 15
Share your finished tray on DIY.org so others can see your design and hard work.
Help!?
What can I use if I can't find a wooden tray, sandpaper, or the clear sealant mentioned in the steps?
If you can't find a wooden tray, sandpaper, or clear sealant, use a sturdy cardboard or plastic tray (skip sanding), substitute fine-grit sandpaper with a sanding sponge or emery board, and use a water-based Mod Podge or water-based polyurethane as the clear sealant following the product directions.
My paint is bleeding under the masking tape or looks uneven—what should I check and how can I fix it?
If paint bleeds under masking tape or looks uneven, ensure the tray was completely dry before painting, press tape edges firmly, apply thin even coats with a flat or foam brush, and let each coat dry completely before adding more or sealing.
How can I adapt the tray painting steps for different ages, from toddlers to preteens?
For toddlers use washable paints, large foam brushes, pre-cut stencils, and help with sanding, tape placement, and sealant application, while older kids can sand the tray, mix colors, use small round brushes for details, and apply the clear sealant themselves following the directions.
What are some ways to extend or personalize the finished tray beyond the basic painting and sealing?
To personalize the tray try decoupaging patterned paper before sealing, add metallic accents or layered stencils for depth, attach decorative handles after the sealant dries, and share photos of your finished design on DIY.org.
Watch videos on how to take the tray painting challenge
Leaf Rubbing Tuff Tray Ideas for Early Years Kids | EYR #tufftray #shorts
4 Videos
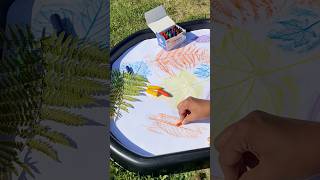
Leaf Rubbing Tuff Tray Ideas for Early Years Kids | EYR #tufftray #shorts
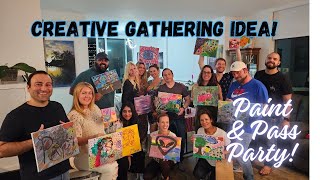
Paint-and-Pass-Party! How to run a creative group gathering, team building, or special event

ART CHALLENGE! 🎨 Painting Techniques at Art School: AWESOME DRAWING DIY
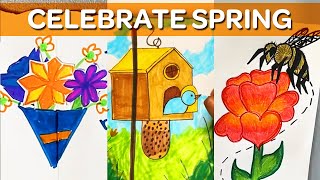
9 Nature Inspired Art Activities For Kids | Crayola Learning
Facts about painting and craft projects for kids
🎨 Acrylic paint can dry in as little as 10–30 minutes, so you can add layers quickly while decorating a tray.
🕰️ Stencils have been used for centuries in decorative arts, from illuminated manuscripts to modern street art.
🛡️ A clear sealant (varnish or polyurethane) helps protect painted trays from water, scratches, and everyday wear.
🌈 Mixing two primary colors makes a secondary color — red+yellow=orange, yellow+blue=green, and blue+red=purple.
🧼 Rinsing and reshaping brushes right after painting keeps the bristles soft and can make them last for years.
How do you do the Tray Painting Challenge?
What materials do I need for the Tray Painting Challenge?
What ages is this activity suitable for?
What safety tips and creative variations can I try for the Tray Painting Challenge?
