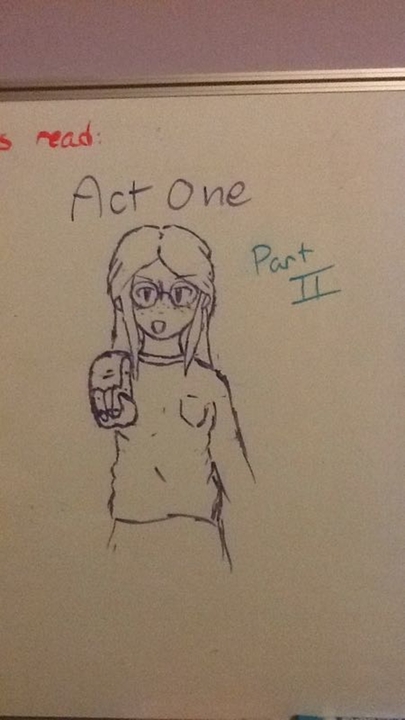
Describe how your animation will start
Make a short stop-motion animation by arranging background and characters, then capture the first frame and slightly move pieces to begin the animated scene.


Step-by-step guide to make a short stop-motion animation
How to animate for beginners? (Easiest method!)
Step 1
Gather all your materials and put them on a clear flat workspace.
Step 2
Set up your background by taping or leaning the paper upright behind the workspace.
Step 3
Place your characters and props on the workspace where the story should begin.
Step 4
Turn on your lamp and aim it so the whole scene is evenly lit without strong shadows.
Step 5
Put your camera or phone on something stable so it won’t move and make sure the whole scene fits in the frame.
Step 6
Press the shutter to take the first photo and capture the opening frame of your animation.
Step 7
Move one character or prop a tiny amount (about the width of a fingertip) to start the action.
Step 8
Take another photo after that small move to record the next frame.
Step 9
Repeat the tiny move and then take a photo until you have about 8 to 12 photos total to make smooth motion.
Step 10
Open the photos in a stop-motion app or photo viewer and play them back at 6 to 12 frames per second to see the animation.
Step 11
Adjust the timing by changing the frame rate or removing a frame if the movement is too fast or too slow.
Step 12
Share your finished animation on DIY.org.
Help!?
If we don’t have a lamp, tape, or a tripod, what can we use instead?
Use bright window light or a flashlight instead of a lamp, secure the paper background with books or clips instead of tape, and stabilize your camera or phone on a stack of books or a homemade phone stand instead of a tripod.
My photos are blurry or the background keeps moving—what should I check?
Make sure your camera or phone is on something stable, firmly tape or lean the paper background so it won't shift, aim your lamp to avoid strong shadows, and use the camera timer or a gentle shutter press when taking each frame.
How can I adapt the steps for different ages of kids?
For younger kids make larger moves than the width of a fingertip and take fewer photos so they see motion quickly, while older kids can do fingertip-sized moves, shoot 8–12 (or more) photos and tweak the 6–12 fps timing in the stop-motion app for smoother animation.
How can we extend or personalize the finished animation?
Add more frames for smoother motion, decorate or swap the paper background, record sound or add music and captions in the stop-motion app, then adjust timing and share your finished animation on DIY.org.
Watch videos on how to make a short stop-motion animation
How To Create Kids Animation Learning Videos Using CANVA For Beginners (FULL TUTORIAL)
4 Videos
How To Create Kids Animation Learning Videos Using CANVA For Beginners (FULL TUTORIAL)
How to Create Animated Educational Video for Kids - Full Tutorial 🎨📚
"How to Create Fun Kids' Animation Videos with Canva (Easy & Free!)"

🎬 How to Create a 3D Animated Video for Kids Using Just ONE App! (No Watermark!) 🎨✨
Facts about stop-motion animation
🎬 Stop-motion is made by photographing objects one frame at a time — a 10-second clip at 12 fps needs 120 photos!
🦖 Ray Harryhausen brought monsters to life with tiny, frame-by-frame moves and inspired many modern animators.
🧱 Clay animation (claymation) uses soft clay models you reshape a bit between frames — Aardman’s Wallace and Gromit are famous examples.
👀 Onion-skinning is a helpful technique that shows faint ghost images of previous frames so you can line up the next pose.
📸 The zoetrope is an old-fashioned toy that creates the illusion of motion by spinning drawn images behind slits — a pre-film way to see animation.
How do I start a short stop-motion animation with my child?
What materials do I need to make a simple stop-motion animation at home?
What ages is stop-motion animation suitable for?
What safety tips and benefits should I know about stop-motion animation?
