Make a Mobile Stand
Build a sturdy homemade mobile phone stand from cardboard, tape, and craft sticks. Measure, cut safely with adult help, and test device stability.


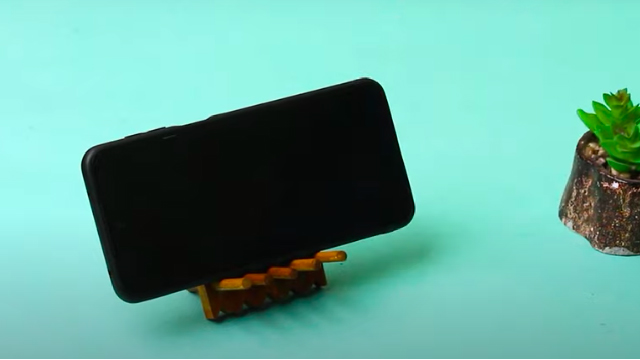

Step-by-step guide to make a mobile phone stand
Step 1
Gather all the materials on a clear table so everything is within reach.
Step 2
Place your phone on the cardboard and draw a rectangle around it leaving about 1 cm extra on each side using the ruler and pencil.
Step 3
Draw a second rectangle the same width as the base and about 10 cm tall to be the back support.
Step 4
Draw a thin strip the same width as the base and 2 cm tall to be the front ledge that will hold the phone in place.
Step 5
With adult help, carefully cut out the three cardboard pieces along the pencil lines using scissors.
Step 6
Fold a 1 cm tab along the bottom edge of the back support by scoring lightly and bending it so the tab will sit flat on the base.
Step 7
Tape the folded tab of the back support to the back edge of the base so the support stands up at a slight angle.
Step 8
Tape the thin front strip to the front edge of the base so it makes a small ledge for the phone to rest on.
Step 9
Reinforce the base and back by taping craft sticks under the base and along the back support to make the stand sturdier.
Step 10
Place your phone on the stand and gently push to test for wobble and to check the viewing angle.
Step 11
If the stand wobbles or needs a better angle, add more tape or another craft stick brace and retest until it is steady.
Step 12
Share a photo and a short description of your finished mobile stand on DIY.org
Help!?
What can we use if we don't have craft sticks or tape?
Use extra strips of cardboard glued or stapled under the base and along the back support instead of craft sticks, and use glue, a stapler, or binder clips in place of tape (with adult help for staples).
My stand wobbles or the phone slips—what should I fix?
If it wobbles or the viewing angle is wrong, retape the 1 cm folded tab and back edge, add another craft stick brace under the base or along the back support, and make the front ledge slightly taller so the phone rests securely.
How can I adapt the project for different age groups?
For younger children have an adult pre-cut the base, back support, and thin front strip so they can fold the 1 cm tab, tape pieces, and decorate, while older kids can measure, cut, and reinforce the stand themselves and test wobble as described.
How can we personalize or improve the finished mobile stand?
Decorate the cardboard with markers, stickers, or colored paper, add a small felt pad or rubber band on the thin front ledge to stop slipping, and glue extra craft sticks as braces to make the stand stronger and unique.
Watch videos on how to make a mobile phone stand
DIY Paper Phone Stand | Easy Paper Craft Idea | Best Origami Mobile Stand
4 Videos
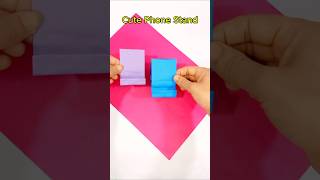
DIY Paper Phone Stand | Easy Paper Craft Idea | Best Origami Mobile Stand
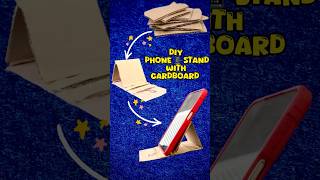
DIY 💡Make a Phone 📱 Stand with Cardboard 📦
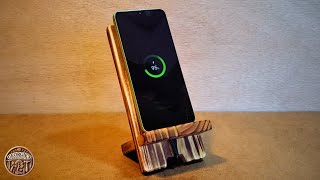
DIY Phone Stand | Quick and Easy Scrap Wood Project
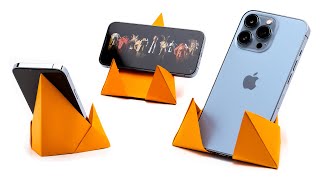
Easy Origami Phone Stand 📱 | Paper Mobile Holder (Makoto Yamaguchi) Tutorial
Facts about DIY engineering and crafts for kids
📦 Corrugated cardboard gets most of its strength from a fluted inner layer sandwiched between two flat liners.
🪵 Many craft (popsicle) sticks are made from birch or basswood — lightweight woods that are easy to cut and sand.
✂️ Careful measuring and straight cuts help parts fit snugly, which makes a homemade stand much sturdier without extra glue.
⚖️ A wider base and a lower center of gravity are two of the simplest ways to keep a phone from tipping over.
🛠️ Designers and engineers often prototype with cardboard because it’s cheap, fast to change, and shows design problems quickly.
How do I make a sturdy homemade mobile phone stand from cardboard?
What materials do I need to make a cardboard mobile phone stand?
What ages is this activity suitable for?
What safety tips and variations should I know when making a cardboard phone stand?
