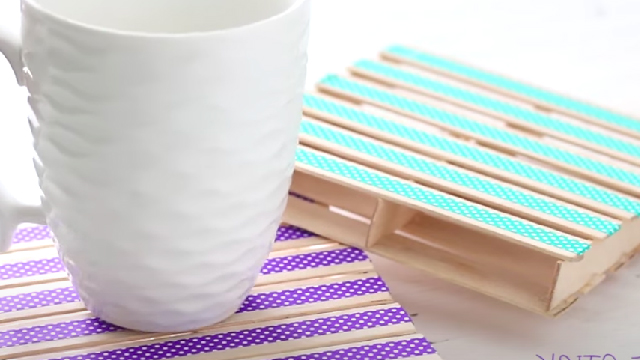
Make DIY Coasters
Make decorative DIY coasters from cork or cardboard using paint, patterns, glue, and sealant while measuring and cutting safely to protect surfaces.


Step-by-step guide to make DIY coasters
Step 1
Place a cup or round template on the cork or cardboard and trace four coaster shapes with your pencil.
Step 2
Cut out each traced coaster shape carefully using scissors or a craft knife with adult supervision.
Step 3
Smooth the coaster edges with sandpaper until they feel neat and even.
Step 4
Wipe away dust from the coasters with the clean cloth.
Step 5
Paint a base coat across the top and edges of each coaster.
Step 6
Add patterns or designs with paint or markers like stripes dots or shapes.
Step 7
Apply a thin even layer of glue to a coaster if you are using decorative paper or napkins.
Step 8
Press the decorative paper or napkin onto the glued coaster and smooth out any wrinkles.
Step 9
Trim any extra paper hanging over the edges with scissors for a neat finish.
Step 10
Let all paint and glue dry completely before you continue.
Step 11
Brush a thin even layer of clear sealant over the top and edges of each coaster to protect your design.
Step 12
Allow the sealant to dry fully following the product instructions.
Step 13
Stick felt pads or glue scraps of felt to the bottom of each coaster to protect tabletops.
Step 14
Test a coaster by placing a cup on it to make sure it sits flat and stable.
Step 15
Take photos of your finished coasters and share them on DIY.org
Help!?
If I don't have cork or thick cardboard, what can I use instead?
If you don't have cork or thick cardboard, use a wood slice, ceramic tile, or dense craft foam as the base to place your cup or round template on and trace the coaster shapes before cutting or sanding.
My decorative paper wrinkles when I press it onto the glued coaster—what should I do?
If paper wrinkles, gently lift and reapply it by pressing from the center outward while smoothing with the clean cloth, keep the glue layer thin and even, then trim extra paper hanging over the edges with scissors before letting it dry.
How can I adapt this activity for different ages?
For younger children, have an adult pre-trace and cut the coaster shapes and let them paint and press decorative paper, while older kids can trace, use a craft knife with supervision, sand edges, add detailed patterns with markers, and brush on the clear sealant themselves.
How can we make the coasters more durable or unique?
To enhance durability and personalization, swap the brush-on clear sealant for a thin layer of epoxy resin or a water-resistant acrylic spray, add stenciled initials or metallic paint designs before sealing, and finish by sticking felt pads to the bottom to test flatness with a cup.
Watch videos on how to make DIY coasters
Easy DIY Fabric Coasters Anyone Can Make At Home!
4 Videos
Easy DIY Fabric Coasters Anyone Can Make At Home!
DIY Resin Coaster Tutorial: Easy Step-by-Step Guide for Beginners
How to Make Coasters
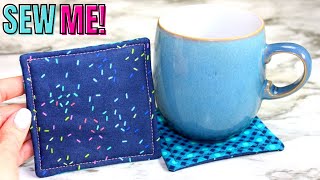
HOW TO MAKE A COASTER (Easy beginner sewing tutorial) DIY COASTER SEWING TUTORIAL (easy home decor)
Facts about DIY crafts for kids
🧩 Cork comes from the bark of cork oak trees and can be harvested without cutting down the tree — it regrows every 9–12 years.
🕰️ Drink coasters became especially popular in the Victorian era when people wanted to protect polished furniture from rings and spills.
🎨 A clear sealant like varnish or decoupage medium can turn painted cork or cardboard into water-resistant, wipe-clean coasters.
📏 Standard coaster sizes are about 9–10 cm (3.5–4 in) across — measuring and cutting carefully gives a neat, professional look.
♻️ Cardboard coasters are a super upcycling project: they reuse scraps and can be compostable if sealed without plastic-based coatings.
How do you make DIY coasters?
What materials do I need for DIY coasters?
What ages is this activity suitable for?
What are the benefits of making DIY coasters?
