Make a Popsicle Gift Box
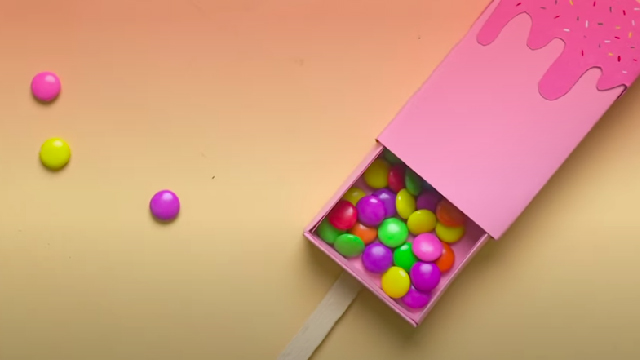
Make a popsicle shaped gift box using cardboard, paint, stickers, tape, and glue; decorate and assemble it to hold small treats or gifts.


Step-by-step guide to make a popsicle gift box
Step 1
Gather all materials and clear a flat workspace so you have room to cut and decorate.
Step 2
Use the pencil and ruler to draw two identical popsicle shapes on the cardboard.
Step 3
Draw one long thin rectangle on the cardboard that will become the side band for your box.
Step 4
Carefully cut out the two popsicle shapes and the long strip while an adult helps.
Step 5
Wrap the long strip around one popsicle shape to check how it fits.
Step 6
Mark with your pencil where the strip ends meet so you know the correct length.
Step 7
Fold the strip gently along the marks so it curves to match the popsicle shape.
Step 8
Tape or glue the ends of the strip together to make an open band.
Step 9
Glue the band around the edge of one popsicle shape to form the box base.
Step 10
Paint and decorate the outside of the base and the other popsicle piece as the lid and let the paint dry.
Step 11
Glue the craft stick to the outside center of the base so it looks like a popsicle stick.
Step 12
Place your small treats or gifts inside the box base.
Step 13
Fit the second popsicle shape on top as a lid so your treats are hidden inside.
Step 14
Add stickers and any extra embellishments to finish your popsicle gift box.
Step 15
Share a photo and a short description of your finished popsicle gift box on DIY.org.
Help!?
What can we use if we don't have thick cardboard, a ruler, or a craft stick?
Use a folded cereal box or poster board layers for the cardboard, a straight-edge like a book spine to draw the popsicle shapes and long rectangle, and replace the craft stick with a wooden tongue depressor, recycled ice lolly stick, or a folded strip of cardstock glued to the outside center of the base.
My side band won't bend smoothly or meet evenly—how do I fix that?
If the long strip won't curve, score it lightly along the pencil marks with the blunt edge of scissors, rewrap to check the fit, trim any excess where the strip ends meet, and tape the seam before gluing the band around the popsicle base.
How can I adapt this activity for different age groups?
For preschoolers have an adult cut the two popsicle shapes and the strip and let them paint and stick the craft stick, for elementary kids let them measure, cut, fold, and glue with supervision, and for teens encourage precise cutting, detailed painting, or adding internal dividers before placing treats inside.
What are easy ways to personalize or upgrade the finished popsicle gift box?
Glue tiny magnets into the lid and base for a snap closure, layer colored paper or sequins before painting, add the recipient's name on the lid with markers, or attach a ribbon loop to the craft stick for a handle before decorating.
Watch videos on how to make a popsicle gift box
Popsicle Gift Box | Matchbox Crafts | DIY Gift Ideas | Chocolate Box | Best Out of Waste | #Shorts
4 Videos
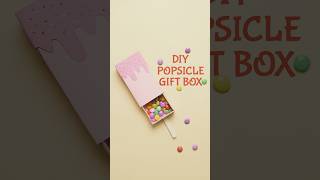
Popsicle Gift Box | Matchbox Crafts | DIY Gift Ideas | Chocolate Box | Best Out of Waste | #Shorts
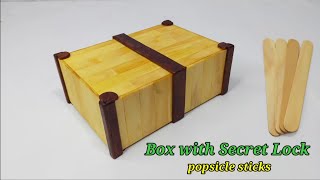
How to make popsicle stick box
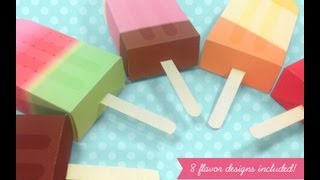
make a paper ice pop - popsicle - gift card and favor box
DIY Popsicle Stick Box: How to Make a Popsicle Stick Box in 10 Minutes
Facts about cardboard and paper crafts for kids
🍦 The Popsicle was invented by accident by 11-year-old Frank Epperson in 1905 when a sugary drink with a stick froze overnight.
📦 Corrugated cardboard dates back to the 19th century and paper fibers used in cardboard can be recycled multiple times (often quoted up to seven times).
🎁 In Japan, furoshiki cloth wrapping has been used for centuries to wrap and carry gifts—reusable wrapping is a craft-friendly idea!
🖌️ Acrylic paints are water-based, dry fast, and wash up with soap and water—great for kid-safe decorating on cardboard.
🏷️ Stickers come in many types (repositionable, paper, and waterproof vinyl) and can instantly turn a plain box into a colorful keepsake.
How do I make a popsicle gift box?
What materials do I need to make a popsicle gift box?
What ages is making a popsicle gift box suitable for?
What are some safety tips and creative variations for a popsicle gift box?
