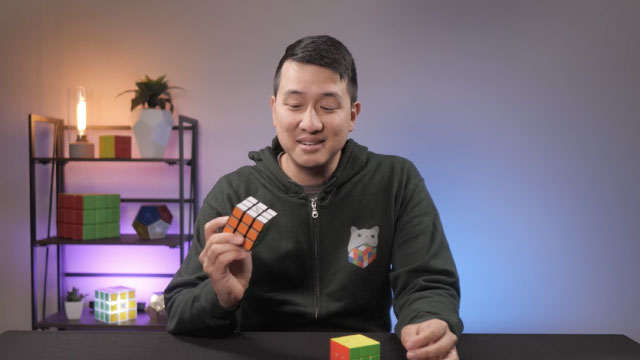
Solve the Second Layer Edges
Practice solving the Rubik's Cube second layer edges using simple algorithms and edge-matching techniques, improving logic, pattern recognition, and fine motor skills.

Step-by-step guide to solve the second layer edges
Step 1
Look at the bottom face and make sure the first (bottom) layer is fully solved before starting the second layer.
Step 2
Hold the cube with the solved first layer on the bottom and the unsolved face on the top.
Step 3
Turn only the top face (U) until the top-front edge piece has a color that matches the front center.
Step 4
Look at the other color on that front-top edge and compare it to the right and left center colors to see which middle slot it belongs in.
Step 5
If the edge belongs in the right middle slot perform this algorithm once exactly: U R U' R' U' F' U F.
Step 6
If the edge belongs in the left middle slot perform this algorithm once exactly: U' L' U L U F U' F'.
Step 7
Check the middle edge you just worked on to see if its two colors now match the two side centers.
Step 8
If any middle-layer edges are still unsolved turn the top face (U) to bring a new matching top-edge into the front-top position.
Step 9
Repeat Steps 3 through 7 until all four middle-layer edges are correctly placed.
Step 10
Share your finished second layer and a short note about how you solved it on DIY.org
Help!?
What can we use if we don't have a standard 3x3 Rubik's Cube for this activity?
Use a 3x3 cube app on a phone/tablet or a physical 3x3 substitute (magnetic or speed cube) and follow the same moves, especially turning the top face (U) in Step 3 to position the top-front edge.
The edge still doesn't match after I did the algorithm—what likely went wrong and how do I fix it?
If the edge is wrong after doing U R U' R' U' F' U F or U' L' U L U F U' F' once (Steps 4–5), check you had the correct top-front edge in place per Step 3, then return that piece to the top and repeat the exact algorithm for the correct left or right slot.
How can I change the activity to suit different ages?
For younger kids (about 4–7) have an adult guide and count each turn while working on one middle edge at a time (Steps 3–7), and for older kids (8+) encourage memorizing the two algorithms and timing how quickly they can place all four edges.
How can we extend or personalize the activity after solving the second layer?
Turn it into a challenge by timing all four middle edges, decorate the cube or write a short note for DIY.org explaining which left/right algorithm you used for each edge and why.
Watch videos on how to solve the second layer edges
Solve 2nd Layer SLOW | Rubik's Cube Guide for Beginners | Part I
4 Videos
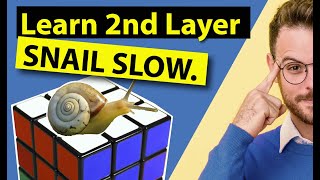
Solve 2nd Layer SLOW | Rubik's Cube Guide for Beginners | Part I
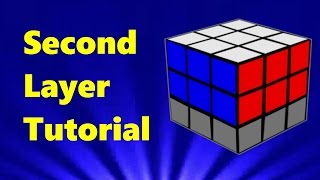
How to solve a Rubik's Cube (Second Layer Tutorial) | Part 3

"How to Solve the Second Layer of a Rubik's Cube | Easy Step-by-Step Guide"
How To Solve The Cube Second Layer? For Beginner
Facts about Rubik's Cube solving
🧩 A standard 3x3 Rubik's Cube has 12 edge pieces — four of them belong in the middle (second) layer.
🔁 You only need two mirror algorithms (a left and a right insert) plus edge-matching to place any second-layer edge.
🧠 Practicing second-layer edges sharpens pattern recognition and fine motor skills — great brain + hand practice!
🤏 Speedcubers use tiny 'finger tricks' to turn faces faster; with practice your fingers can move super smoothly.
🔢 The full Rubik's Cube has about 43 quintillion possible positions, but second-layer solving focuses on a tiny, learnable slice.
How do you practice solving the second layer edges on a Rubik's Cube?
What materials do I need to teach my child second-layer edge algorithms?
What ages is practicing second-layer edges suitable for?
What are the benefits of practicing second-layer edges on a Rubik's Cube?
