Solve the First Layer Cross
Practice solving the first layer cross on a Rubik's Cube. Learn to align edge pieces, match center colors, and build a solid foundation.


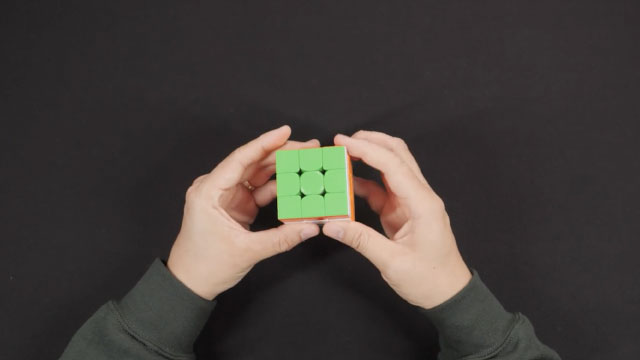
Step-by-step guide to solve the first layer cross
Step 1
Put the Rubik's Cube on the flat surface and choose a color to be your bottom face (white works well).
Step 2
Hold the cube with your chosen bottom color facing down.
Step 3
Find an edge piece that has your bottom color and point to it.
Step 4
If that bottom-color edge is already on the bottom but the side color is wrong, turn the side face that holds it two quarter-turns (180°) to move it away from the bottom.
Step 5
Rotate the face that contains the edge so the bottom-color sticker of that edge is on the top face.
Step 6
Turn the top layer until the other color on that edge lines up with the center color on the adjacent face.
Step 7
Turn that adjacent face two quarter-turns (180°) to move the bottom-color sticker from the top down into the bottom layer.
Step 8
Repeat Steps 3 through 7 for the other three bottom-color edge pieces until all four bottom edges are placed.
Step 9
Look at each bottom edge and check that the side color matches the center color of its face.
Step 10
If any bottom edge’s side color does not match its center, turn that side face two quarter-turns (180°) to move the wrong edge back to the top for reinsertion.
Step 11
Share a photo or video of your finished first-layer cross on DIY.org
Help!?
What can we use if we don't have a real Rubik's Cube or a camera to share the finished cross?
Use a 3x3 online cube simulator to practice Steps 3–7 if you lack a physical cube, and if you can't take a photo or video for DIY.org, scan or photograph a clear drawing of your finished first-layer cross as the outcome to upload.
The edge keeps ending up with the wrong side color after I place it—what should I do?
If a bottom edge's side color doesn't match its center, follow Step 9 and turn that side face two quarter-turns (180°) to move the wrong edge back to the top, then reinsert it using Steps 5–7 while keeping your chosen bottom color facing down.
How can I adapt the task for different ages or skill levels?
For younger children, simplify by choosing white as the bottom, using stickers to mark bottom-color edges and practicing only two edges at a time from Steps 3–7, while older kids can repeat Steps 3–7 for all four edges as a timed challenge or learn more advanced algorithms afterward.
How can we extend or personalize the activity beyond just completing the cross?
Extend the activity by decorating the cube or creating a short video for DIY.org that shows you checking each bottom edge against its center as in Step 8, counting the moves you used, and comparing before-and-after shots of the cross.
Watch videos on how to solve the first layer cross
How to solve first layer of Rubik's Cube || Easiest & Scientific Method [Cubing Tutorial]
4 Videos
![How to solve first layer of Rubik's Cube || Easiest & Scientific Method [Cubing Tutorial]](https://img.youtube.com/vi/Nt8tJB0c7pw/mqdefault.jpg)
How to solve first layer of Rubik's Cube || Easiest & Scientific Method [Cubing Tutorial]
HOW TO SOLVE THE FIRST LAYER OF A RUBIK'S CUBE BEGINNERS STEP-BY-STEP FULL WALKTHROUGH TUTORIAL!!!
![How to Solve 1st Layer of Rubik's Cube [Worldest Easiest Method]](https://img.youtube.com/vi/hTKWsUrjttg/mqdefault.jpg)
How to Solve 1st Layer of Rubik's Cube [Worldest Easiest Method]
How to solve Rubik's cube First Layer | cross making #cube
Facts about Rubik's Cube solving
🧩 There are about 43 quintillion (4.3×10^19) possible Rubik's Cube positions — the cross is just one small step through that huge space!
⏱️ Top speedcubers often plan and complete the whole first-layer cross during the short inspection time before the timer starts.
🧠 The cross is the cornerstone of popular solving methods like CFOP because it sets up easier, faster moves for the rest of the solve.
🎯 A perfect cross lines up edge pieces not only by color but by matching the adjacent center colors so the first layer rotates smoothly.
🏆 The World Cube Association organizes official competitions worldwide where efficient cross-solving is a key skill for fast times.
How do you practice solving the first layer cross on a Rubik's Cube?
What materials do I need to practice the first layer cross?
What ages is practicing the first layer cross suitable for?
What are the benefits and safe variations of practicing the first layer cross?
