Solve the First Layer Corners
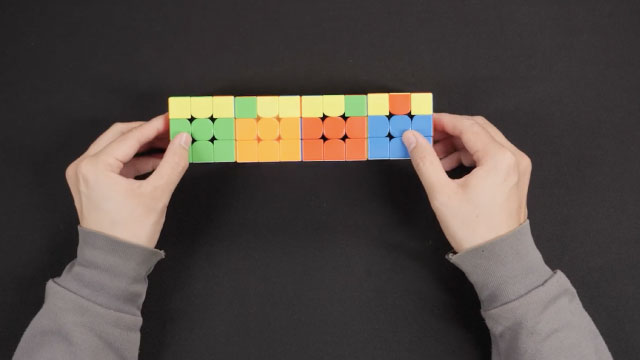
Practice positioning and orienting the Rubik's Cube first layer corners using simple algorithms and hand movements to complete the cube's top layer safely.

Step-by-step guide to Solve the First Layer Corners
Step 1
Place the cube on the flat surface with your solved first layer on the bottom and the unsolved top face facing up.
Step 2
Look at the four top corners and find any corner whose two side stickers match the center colors on those two side faces.
Step 3
If you cannot find a correctly positioned corner, hold the cube steady and perform this corner-permutation algorithm one time: U R U' L' U R' U' L (U = top face clockwise R = right face clockwise L = left face clockwise ' means turn that face counterclockwise).
Step 4
Rotate only the top face until a correctly positioned corner sits at the front-right-top position of the cube.
Step 5
Hold the cube steady and repeat the corner-orienting sequence R' D' R D until the top sticker of the front-right-top corner faces up (D = bottom face clockwise).
Step 6
Turn only the top face one quarter turn to bring the next unsolved corner into the front-right-top position.
Step 7
Repeat the corner-orienting sequence R' D' R D until that corner's top sticker faces up.
Step 8
Repeat Steps 6 and 7 until all four top corner stickers show the top color facing up.
Step 9
If the corners are oriented but are not in the correct positions, perform the corner-permutation algorithm U R U' L' U R' U' L until all corners are in the right places.
Step 10
If any top corner loses its top color after Step 9, re-orient that corner by repeating R' D' R D until its top sticker faces up again.
Step 11
Check that the top face is a solid color and that each side's corner stickers match their center colors.
Step 12
Share your finished top layer on DIY.org.
Help!?
What can we use if we don't have a physical 3x3 cube to follow these steps?
If you don’t have a physical cube, use a Rubik’s Cube simulator app or website and set the solved first layer on the bottom with the unsolved top face up so you can perform the U R U' L' U R' U' L and R' D' R D algorithms exactly as written.
What should we do if a corner won’t orient or the top sticker doesn’t face up after following Step 6?
If the front-right-top corner doesn’t orient after Step 6, hold the cube steady with the solved first layer on the bottom and repeatedly perform the exact R' D' R D sequence—turning only the right and bottom faces—until that corner’s top sticker faces up.
How can we adapt this activity for younger or older kids?
For younger kids, have an adult hold the cube and guide their hands through each R' D' R D cycle on the front-right-top corner while older kids can practice memorizing and timing the full corner-permutation algorithm U R U' L' U R' U' L to improve speed and accuracy.
How can we extend or personalize the activity after solving the top layer?
To extend the activity, customize the cube by replacing or coloring stickers before solving, time how long it takes to complete Steps 3–9 to track progress, or film and upload the finished top layer to DIY.org as suggested in the final step.
Watch videos on how to Solve the First Layer Corners
Rubik cube first layer corners Solve
4 Videos
Rubik cube first layer corners Solve
First Layer in Solve 💪 How to Solve 1st Layer l Rubiks Cube Solve l
![How to solve first layer of Rubik's Cube || Easiest & Scientific Method [Cubing Tutorial]](https://img.youtube.com/vi/Nt8tJB0c7pw/mqdefault.jpg)
How to solve first layer of Rubik's Cube || Easiest & Scientific Method [Cubing Tutorial]
How to Solve the 3x3 Rubik's Cube - First Layer - Beginner Method
Facts about Rubik's Cube solving
🧩 The Rubik's Cube has about 43 quintillion possible positions (43,252,003,274,489,856,000) — that's a lot to explore!
🔺 A standard 3x3 cube has 8 corner pieces, and each corner has 3 colored stickers you must both place and orient.
🔁 Each corner cubie can be twisted in three different orientations, so learning corner algorithms is key to finishing a layer.
🧠 Singmaster notation uses simple letters like R, L, U, D to describe turns — it’s a mini language for cube moves.
🤏 Practicing short algorithms and smooth hand movements (finger tricks) helps you solve corners faster and keeps your hands relaxed.
How do I practice positioning and orienting the first layer corners on a Rubik's Cube?
What materials do I need to practice solving the first layer corners?
What ages is practicing first layer corners suitable for?
What are the benefits and safety tips for kids practicing first layer corners?
