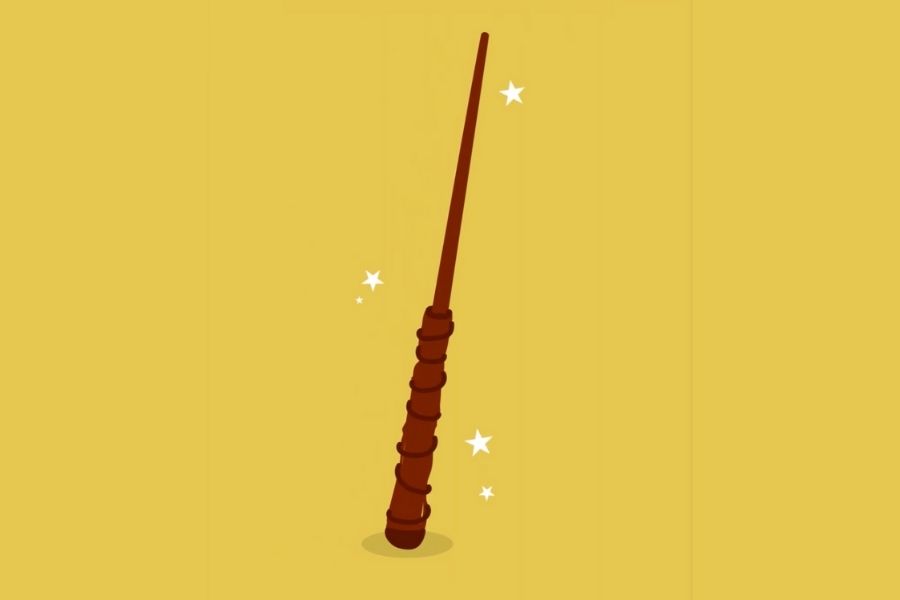
Make Your Own Magic Wand
Decorate and build your own magic wand using safe materials like wooden dowels, paint, ribbons, and glue; explore creativity and simple design.


Step-by-step guide to Make Your Own Magic Wand
Step 1
Cover your workspace with newspaper or a washable mat.
Step 2
Choose the wooden dowel or stick you want to turn into a wand.
Step 3
Smooth any rough spots by rubbing the dowel with sandpaper.
Step 4
Wrap a short strip of masking tape around one end to mark the handle area.
Step 5
Paint the wand with your chosen base color using the paintbrush.
Step 6
Let the paint dry completely before touching it.
Step 7
Wrap ribbon or yarn around the taped handle area to make a grip.
Step 8
Put a small dab of glue under the ribbon end to secure it to the wand.
Step 9
Put small dots of glue along the wand where you want decorations to go.
Step 10
Press beads gems or stickers onto the glue dots to decorate the wand.
Step 11
Sprinkle glitter over any glued areas for extra sparkle.
Step 12
Tap off extra glitter onto the newspaper or mat.
Step 13
Let all glue and glitter dry completely.
Step 14
Give your wand a magical name.
Step 15
Share your finished creation on DIY.org
Help!?
What can I use if I don't have a wooden dowel, sandpaper, or beads/gems?
Use a sturdy twig or large chopstick instead of the wooden dowel, smooth rough spots with an emery board or nail file in place of sandpaper, and press sequins, buttons, or stickers onto the glue dots rather than beads/gems.
Why do my decorations keep falling off or my paint gets smudged, and how can I fix that?
Make sure to let the paint dry completely as the instructions say, apply glue in small dots (use a toothpick) for each decoration, secure the ribbon end with the small dab of glue and a clothespin until dry, and tap off extra glitter over the newspaper to avoid smudging.
How can I adapt this wand activity for different ages?
For toddlers, have an adult pre-smooth the stick, wrap the taped handle with thick yarn and let the child press stickers onto the glue dots, while older kids can paint detailed designs, use hot glue for heavier beads, or add LED fairy lights before naming the wand.
What are some ways to extend or personalize the wand after decorating?
After letting all glue and glitter dry completely, personalize it by painting metallic accents, glue a feather or pom-pom at the tip using the small glue dots, seal everything with clear varnish, write the magical name on the handle area, and then share the finished creation on DIY.org.
Watch videos on how to Make Your Own Magic Wand
How to make a DIY magic wand - easy craft for kids
4 Videos

How to make a DIY magic wand - easy craft for kids

CRAFT A MAGIC FAIRY WAND | How to make a Fairy Magic Wand at home | DIY Magic stick/ fairy stick
DIY Paper Fairy Wand | Easy Craft for Kids | Paper star
How To Make Your Own Fairy Wand | Indoor Fun For Kids
Facts about kids' crafts and simple design
🪄 Magic wands appear in myths and stories across the world — they’re a classic symbol of making the impossible seem possible!
🌳 Wooden dowels are simple craft rods often made from poplar or birch — they’re sturdy, easy to sand, and perfect for wands.
🎨 Tempera and acrylic paints are popular for crafts — tempera washes out of clothes more easily, while acrylic makes bright, lasting colors.
🎀 Ribbons come in satin, grosgrain, and organza — tying a ribbon at the base of your wand adds color, movement, and personality.
⚠️ Hot glue dries fast and holds well but is hot — grown-ups should help with hot glue; white PVA glue is a kid-friendly alternative.
How do you make a magic wand with children?
What materials do I need to make a magic wand?
What ages is making a magic wand suitable for?
What safety tips should I follow when making magic wands?
