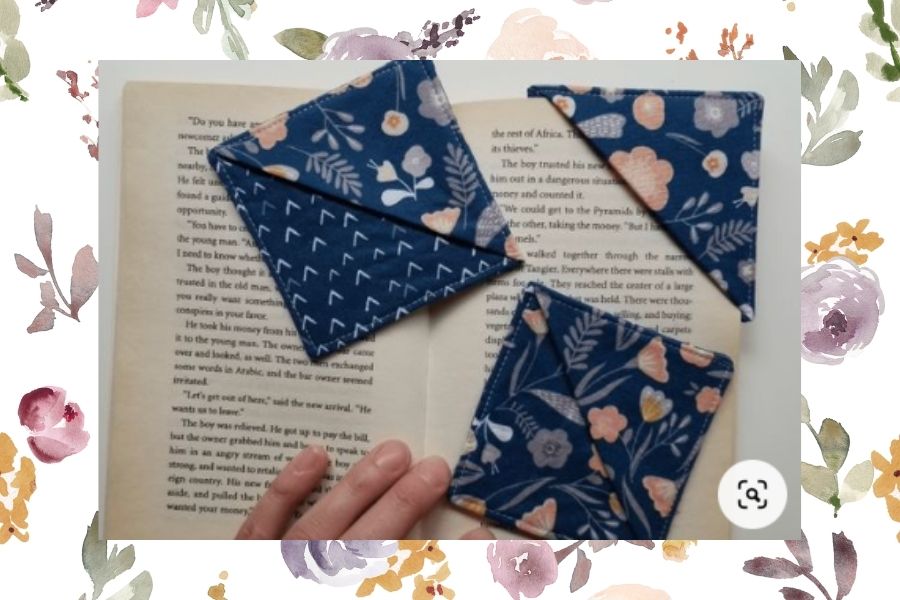
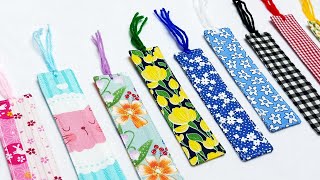
Make Fabric Bookmarks
Make fabric bookmarks using felt, glue, and ribbon to practice cutting, decorating, and measuring while creating personalized keepsakes for your favorite books.


Step-by-step guide to make fabric bookmarks
Step 1
Gather all your materials and set them on a flat table so everything is easy to reach.
Step 2
Decide how big you want your bookmark and use the ruler and pencil to draw a rectangle on the felt about 6 in by 2 in (15 cm by 5 cm).
Step 3
Cut out the felt rectangle carefully along the pencil lines with scissors.
Step 4
Trim the four corners of the rectangle into rounded shapes so the bookmark looks smooth and neat.
Step 5
Measure and cut a piece of ribbon about 6 in (15 cm) long with the scissors.
Step 6
Fold the ribbon into a small loop and glue the cut ends together using a little craft glue.
Step 7
Put a dab of glue at the top center on the back of the felt and press the glued ribbon loop onto it until it sticks.
Step 8
Draw and color a design on the front of your bookmark using fabric markers or crayons.
Step 9
Glue on buttons or sequins as extra decorations and press them down gently so they stick.
Step 10
Let your bookmark dry completely on the table for at least 30 minutes or until no glue is wet.
Step 11
Share your finished fabric bookmark on DIY.org so others can see your awesome creation.
Help!?
What can we use instead of felt or craft glue if they're hard to find?
If you don't have felt, use sturdy craft foam or heavy cardstock cut to 6 by 2 in, and replace craft glue with double-sided fabric tape or a low-heat hot glue gun (with adult help) to attach the ribbon and decorations.
The ribbon loop won't stick to the felt—how can we fix that?
When the glued ribbon loop in the step 'Put a dab of glue at the top center on the back of the felt' won't hold, press it under a clothespin or small book for 5–10 minutes and, if needed, add a drop of stronger glue or a few hand stitches through the ribbon ends into the felt.
How can this activity be changed for different age groups?
For preschoolers, pre-cut the 6×2 in felt and pre-glue the ribbon so they can safely color with crayons, while older kids can use fabric markers for detailed designs and sew on buttons or sequins themselves for extra challenge.
What are simple ways to personalize or make the bookmark last longer?
Personalize by writing a name with fabric markers on the front, layer two felt rectangles and glue them together for thickness, stitch around the trimmed rounded corners for durability, and let everything dry completely before sharing on DIY.org.
Watch videos on how to make fabric bookmarks
How to Sew Easy Fabric Bookmarks
4 Videos
How to Sew Easy Fabric Bookmarks
DIY Fabric Bookmarks | Quick & Easy 10 Minute Scrap Fabric Project - 3 Ways!
Learn How to Make Quick and Easy DIY Bookmarks from Fabric Scraps : Easy Sewing Tutorial
How to Make a Fabric Bookmark | DIY | Sewing Gift Idea
Facts about fabric crafts for kids
📚 Bookmarks have been used for centuries — some real bookmarks in museums are over 1,000 years old!
✂️ Practicing cutting and decorating helps kids build fine motor skills that later support handwriting and tool use.
🧵 Felt is one of the oldest textiles people make — it’s been created and used for thousands of years because it’s easy to shape.
🎀 Ribbons haven’t just been decorative — through history they’ve signaled rank, celebration, and remembrance.
📏 Measuring while crafting sneaks in math practice: kids use estimation, compare lengths, and learn about units without a worksheet.
How do you make fabric bookmarks?
What materials do I need to make fabric bookmarks?
What ages is this activity suitable for?
What are the benefits of making fabric bookmarks?
