Make a DIY Hedwig
Make a DIY Hedwig snowy owl using paper, cotton, paint, and glue; practice cutting, gluing, and simple painting to create your own bird.


Step-by-step guide to make a DIY Hedwig snowy owl
Step 1
Gather all your materials and put them on a clear table so you can reach everything easily.
Step 2
Use your pencil to draw a big oval for the body and a smaller circle for the head on the white paper.
Step 3
Cut out the oval and circle shapes carefully with scissors.
Step 4
Glue the head circle to the top of the body oval so they stick together as one owl shape.
Step 5
Press the paper owl onto the cardboard scrap and glue it down to make a sturdy base.
Step 6
Pull apart cotton balls into fluffy pieces to make feather textures.
Step 7
Glue the fluffy cotton pieces onto the owl body covering most of the paper to create snowy feathers.
Step 8
Paint the cotton lightly with white paint so the feathers look smooth and snowy.
Step 9
Paint a small yellow triangle beak on the head using the yellow paint.
Step 10
Use black paint or a black marker to make two round eyes and add small black spots on the body for Hedwig’s markings.
Step 11
Let your Hedwig dry completely on a flat surface until the paint and glue are no longer tacky.
Step 12
Share your finished Hedwig on DIY.org and ask an adult to help you upload a photo and write one sentence about how you made it.
Help!?
What can we use if we don't have cotton balls or a cardboard scrap?
If you don't have cotton balls, use torn white tissue paper or crumpled white construction paper for the feathers, and replace the cardboard scrap with a cereal box or thick cardstock to glue the owl onto.
The cotton keeps falling off after I glue and paint it—how can I fix that?
If the cotton won't stick or the painted feathers get soggy, spread craft glue in small patches on the paper or cardboard, press each pulled-apart cotton piece into the glue, weight Hedwig flat under a book until completely dry, and apply paint in thin layers.
How can I adapt this Hedwig project for preschoolers versus older kids?
For preschoolers, pre-cut the oval and circle and let them glue cotton and dab paint with a cotton swab using safety scissors for any trimming, while older kids can cut their own shapes, add fine black markings with a marker or small brush, and mount Hedwig on thicker cardboard for a freestanding display.
What are some ways to make or display Hedwig more special after finishing the basic steps?
To personalize and extend the project, paint a snowy nighttime background on the cardboard, add googly eyes or felt wings glued to the sides, and attach a string or small perch so Hedwig can hang or stand.
Watch videos on how to make a DIY Hedwig snowy owl
Top Owl DIY Ideas - Cute & Easy Paper Owl Crafts
4 Videos
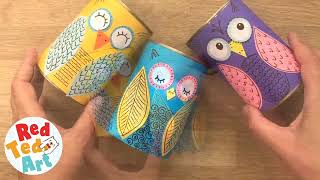
Top Owl DIY Ideas - Cute & Easy Paper Owl Crafts
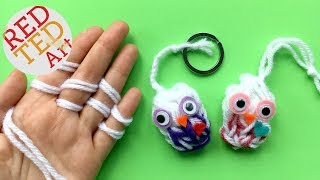
Finger Knitting Owl DIY - Keychain DIY or Owl Ornament DIY
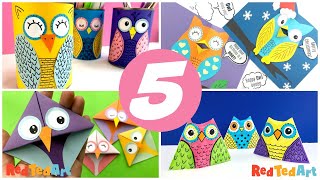
5 Owl Crafts
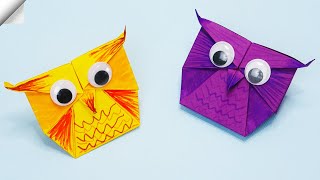
Easy paper toys | How to make a paper OWL
Facts about paper crafts for kids
🦉 Snowy owls can have wingspans up to about 1.5 meters (5 feet) — your paper Hedwig will be a tiny, magical version!
✉️ Hedwig is Harry Potter’s faithful snowy owl who often delivers letters and first appears in the first book.
🎨 Kid-friendly paints like tempera dry quickly and are easy to wash from clothes, perfect for a bird-making craft.
✂️ Papercraft uses simple cuts and folds to turn flat paper into shapes — no fancy tools required, just safety scissors and glue.
🪶 Snowy owls look extra fluffy because their feathers insulate them from cold — cotton makes a great fluffy mimic for your DIY owl.
How do you make a DIY Hedwig snowy owl?
What materials do I need to make a DIY Hedwig snowy owl?
What ages is this DIY Hedwig snowy owl suitable for?
What are some fun variations to personalize a DIY Hedwig snowy owl?
