Make a Friendship Bracelet
Make a colorful friendship bracelet using embroidery floss and beads, learning simple knots, pattern planning, measuring, and sharing your handmade gift.


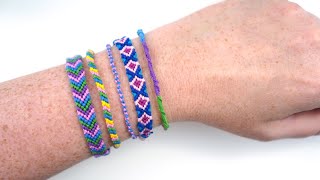
Step-by-step guide to make a friendship bracelet
Step-by-Step Friendship Bracelets for Beginners
Step 1
Pick four colors of embroidery floss that you like.
Step 2
Wrap one floss around your wrist to measure and add 6 inches and remember that length.
Step 3
Cut four strands of floss to three times the wrist measurement you just noted.
Step 4
Gather the strands together and tie a strong overhand knot at one end leaving a 2 inch tail.
Step 5
Secure the knotted end to the table with tape or clip it to a clipboard so the strands stay still.
Step 6
Spread the strands out and arrange them in a color order to make your pattern.
Step 7
Make a forward knot by taking the leftmost strand and looping it over the next strand in a “4” shape and pulling the loop tight twice.
Step 8
Repeat the forward knot across each strand so the first strand moves all the way to the right.
Step 9
Slide one bead onto a strand and tie a knot right under the bead to hold it in place.
Step 10
Continue knotting and adding beads in your pattern until the woven part reaches the length of your wrist.
Step 11
Tie a final strong knot at the end of the woven section leaving enough tail to tie the bracelet closed.
Step 12
Trim extra tails leaving small ends so you can tie the bracelet onto a friend’s wrist.
Step 13
Share your finished friendship bracelet on DIY.org
Help!?
What can I use if I don't have embroidery floss, beads, tape, or a clipboard?
Use thin yarn, crochet thread, or narrow ribbon instead of embroidery floss, substitute large pony beads or buttons for beads, and secure the knotted end by pinning it to a cushion with a safety pin or clipping a clothespin to a heavy book if tape or a clipboard isn't available.
Why does my bracelet get uneven or the knots keep slipping, and how do I fix it?
Make sure you tied a strong overhand knot with a 2-inch tail, firmly tape or clip that knotted end to the table as the instructions say, keep the strands spread in your chosen color order, and pull each forward knot tight twice so the woven section stays even and the knots don't loosen.
How can I adapt this bracelet project for different ages or skill levels?
For younger kids have an adult pre-measure and cut shorter strands and use only two or three colors with large beads to string before knotting, for elementary kids follow the full forward-knot steps with supervision for cutting, and for older kids increase strands and try chevron patterns by alternating left and right knots to make more complex designs.
How can we personalize or extend the activity beyond the basic bracelet?
Personalize by sliding letter beads to spell names, add a charm before tying the final strong knot, braid or decorative-knot the tails instead of trimming them straight, mix metallic or glow-in-the-dark floss for a unique look, or make matching sets to share and post on DIY.org as the instructions suggest.
Watch videos on how to make a friendship bracelet
5 easy friendship bracelets - beginner friendly video tutorial
4 Videos
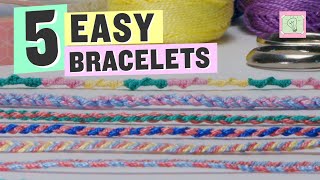
5 easy friendship bracelets - beginner friendly video tutorial
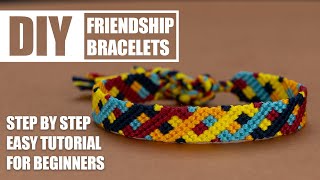
DIY Friendship Bracelets - Colorful, Beginner-Friendly Step-by-Step Tutorial
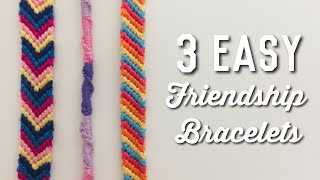
3 EASY BEGINNERS FRIENDSHIP BRACELETS || Twisted, Striped, & Chevron ||
How to Make Friendship Bracelets - 5 Ways for Beginners
Facts about jewelry making for kids
🧵 Friendship bracelets come from Central and South American indigenous traditions and became a global trend in the 1970s.
✂️ Embroidery thread (floss) usually has six strands you can separate — use fewer strands for thinner patterns and more for chunky bracelets.
🔗 Macramé is built on knotting techniques — the square knot and half hitch are two staples for bracelet-making.
💎 Beadwork uses tiny seed beads that can be as small as size 15 (about 1.5 mm) — great for super-detailed designs.
📏 To size a bracelet, add about 6–8 cm (2–3 in) to the wrist measurement to allow for knots and tying so it fits comfortably.
How do I make a friendship bracelet step by step?
What materials do I need for a friendship bracelet?
What ages is making friendship bracelets suitable for?
What are the benefits of making friendship bracelets?
