Make Plant Bookmarks
Make pressed plant bookmarks using leaves and flowers, glue, paper, and laminating sheets; learn plant identification, safe pressing techniques, and creative decoration.


Step-by-step guide to make plant bookmarks
Step 1
Gather all the materials and set them on a clean flat workspace.
Step 2
With an adult collect 6 to 10 small flat leaves and flowers that are dry and not damaged.
Step 3
Lay one clean sheet of newspaper or blotting paper flat on the table.
Step 4
Arrange your leaves and flowers flat on the newspaper without overlapping them.
Step 5
Cover the arranged plants with another sheet of newspaper or blotting paper.
Step 6
Place heavy books on top to press the plants flat.
Step 7
Wait 7 to 10 days until the plants are dry and flat.
Step 8
Carefully open the books and lift out the pressed plants.
Step 9
Cut the paper or cardstock into bookmark rectangles about 2 inches by 6 inches.
Step 10
Arrange the pressed plants on a bookmark to plan a design you like.
Step 11
Apply glue to the back of each pressed plant with a glue stick.
Step 12
Place the glued plants onto the bookmark and press them gently to stick.
Step 13
Use a plant identification guide or app to identify each plant and write its name on the back of the bookmark.
Step 14
Cover the finished bookmark with a self-adhesive laminating sheet or clear contact paper and smooth out any air bubbles.
Step 15
Share your finished pressed plant bookmark on DIY.org.
Help!?
What can we use instead of self-adhesive laminating sheets or clear contact paper?
If self-adhesive laminating sheets or clear contact paper aren't available, cover both sides of the finished bookmark with clear packing tape or seal it inside a laminator pouch and run it through a home laminator to protect the pressed plants.
What should we do if the leaves aren't flat or are moldy after the 7 to 10 day pressing?
If plants are still damp, wrinkled, or moldy after the 7–10 days, reopen the books, replace the damp newspaper with fresh blotting paper, ensure the leaves aren't overlapping, and press again under heavier books for several more days.
How can I adapt the activity for younger children or older kids?
For preschoolers, have an adult pre-press plants and pre-cut 2×6-inch cardstock so the child can simply arrange and glue leaves with a glue stick, while older kids can press their own specimens, use tweezers to place tiny flowers, and write scientific names on the back.
How can we extend or personalize the finished bookmarks?
To personalize and extend the project, follow the step to identify each plant and write its name on the back, add the collection date and location, punch a hole in the top of the 2×6-inch bookmark for a ribbon, and create themed sets to share on DIY.org or give as gifts.
Watch videos on how to make plant bookmarks
How to Crochet a Sunflower Bookmark - BEGINNER FRIENDLY
4 Videos
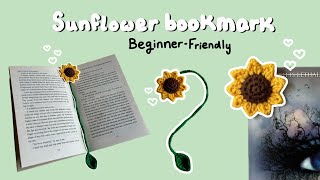
How to Crochet a Sunflower Bookmark - BEGINNER FRIENDLY
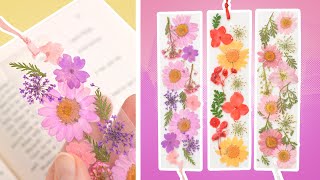
Pressed Flower Bookmark | How to Make Dried Flower Bookmarks
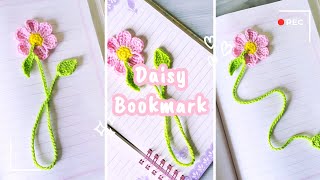
🌸 Easy Crochet Flower Bookmark Tutorial | DIY Bookmark for Beginners| Daisy Bookmark 🌼

Easy Origami Flower Bookmark Tutorial | DIY Paper Bookmark Craft | Pallavi's Art Space #papercrafts
Facts about botany and plant identification
🌿 Herbarium specimens can last for centuries when plants are carefully pressed, dried, and stored on acid-free paper.
📚 Herbaria around the world hold millions of plant specimens that scientists use to track how plants change over time.
🪴 Flat leaves and delicate flowers press best—succulents and thick petals often squish or retain moisture.
🧻 Pressing plants between blotting paper or newspaper with steady weight dries them gently and helps prevent mold.
🎨 Laminating your pressed-plant bookmarks seals and protects the fragile pieces so they survive spills and daily use.
How to make pressed plant bookmarks with kids
Materials needed for pressed plant bookmarks
What ages are pressed plant bookmarks suitable for
Safety tips and benefits of making plant bookmarks
