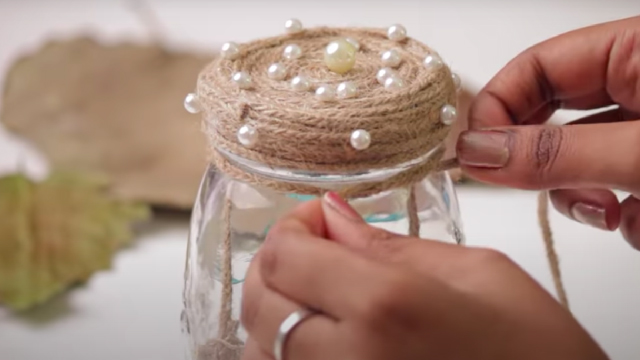
Make a Bird Jar
Make a bird feeder from a recycled jar by adding seed, attaching perches and a hanger, then observe visiting birds safely from a window.


Step-by-step guide to make a bird jar
Step 1
Wash the jar and lid with soap and water and dry them completely.
Step 2
Place the lid on a table and mark two opposite spots near the edge and one spot in the center with a marker.
Step 3
With an adult, use a nail and hammer or an awl to make two small holes at the edge marks and one hole in the center of the lid.
Step 4
Push the handles of the two wooden spoons or dowels through the edge holes so the spoon bowls sit inside when the jar is upside down.
Step 5
Thread a length of twine through the center hole in the lid so both ends hang out above the lid.
Step 6
Pour birdseed into the jar until it is about three quarters full.
Step 7
Place the lid with the spoons and twine in position and screw the lid on the jar tightly.
Step 8
Tie the twine above the lid into a strong loop for hanging and trim any extra string.
Step 9
Use waterproof glue or duct tape to cover any rough or sharp edges around the holes and spoon handles.
Step 10
Choose a safe spot near a window and hang the feeder on a sturdy branch or hook so you can see it from inside.
Step 11
Sit quietly at the window and watch for visiting birds while staying still and safe.
Step 12
Share a photo and a short description of your finished bird jar on DIY.org
Help!?
What can we use instead of a glass jar, wooden spoons, or twine if those are hard to find?
Use a cleaned wide‑mouth plastic food container and screw lid instead of a glass jar, swap wooden spoons for sturdy wooden chopsticks or dowels, and replace twine with strong yarn or fishing line while still making the three lid holes and getting adult help for any piercing or drilling.
My spoon handles slip out or seed spills when hanging; what should we check or fix?
Check that the two edge holes were marked and punched near the lid edge so the spoon bowls sit inside, push the handles through fully before screwing the lid tightly, and cover any gaps or rough edges with waterproof glue or duct tape as the instructions recommend.
How can we adapt the project for different ages?
For toddlers, have an adult do the hammering and hole‑making while the child washes the jar, pours seed, and decorates; for elementary kids let them measure, mark, and thread the twine with supervision; and for teens allow drilling, designing extra perches, or building multiple feeders independently.
How can we personalize or improve the bird jar to attract more birds or make it last longer?
Decorate or paint the jar and lid with weatherproof acrylics before filling, add extra perches by drilling small holes for dowels, use a mixed‑seed blend to attract different species, and seal the lid edges with waterproof glue or clear sealant to increase durability.
Watch videos on how to make a bird jar
DIY Mason Jar Bird feeders several designs + how-to make them. A quick, inexpensive, easy gift idea
4 Videos
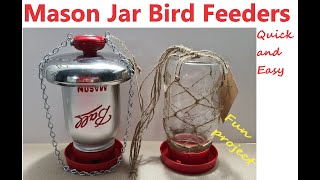
DIY Mason Jar Bird feeders several designs + how-to make them. A quick, inexpensive, easy gift idea
Easiest DIY feeder for your birds
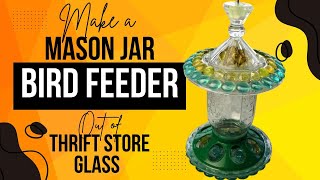
How to Make a Fancy Mason Jar Bird Feeder (out of Thrift Store Glass) #birdfeeder #upcycling
How to Make a Bird Feeder Using Two Plastic Bottles
Facts about backyard bird feeding and birdwatching
🐦 A single backyard feeder can attract dozens of different bird species over a year, especially during migration seasons.
♻️ Glass can be recycled forever without losing quality — turning a jar into a feeder is a great upcycling idea.
🥜 Black-oil sunflower seeds are a top choice for many wild birds because they're high in fat and have thin shells.
🔭 Birdwatching is a hugely popular hobby and citizen-science projects like eBird collect millions of backyard observations from people around the world.
🏺 The Mason jar was invented in 1858 by John Landis Mason, and vintage jars make charming, sturdy feeders.
How do I make a bird jar feeder with my child?
What materials do I need to make a bird jar feeder?
What ages is making a bird jar feeder suitable for?
What safety tips should I follow when making and using a bird jar feeder?
