Design a neighborhood you want to animate
Design and build a small model neighborhood, create characters and storyboard, then animate a short stop-motion scene using a smartphone or tablet.


Step-by-step guide to design a neighborhood you want to animate
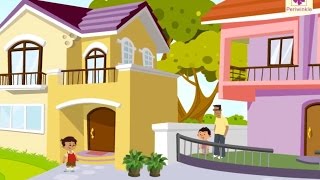
How to introduce maps | Neighborhood map for kids
Step 1
Gather all the materials from the list and set them on a clear table.
Step 2
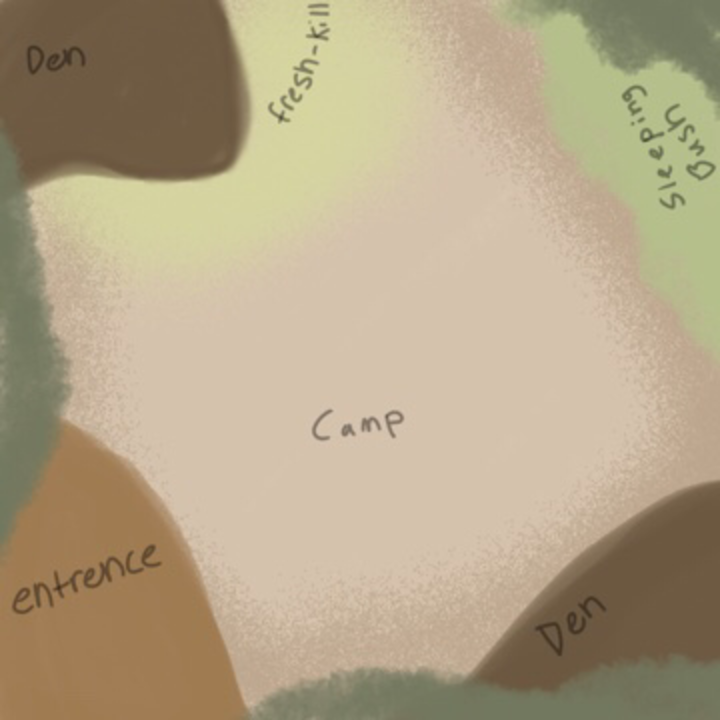
Draw a simple map of your neighborhood showing where houses roads and a park will go.
Step 3
Prepare your base by choosing and flattening a piece of cardboard or opening a shoebox to use as your stage.
Step 4
Build houses by folding or cutting small boxes or cardboard into house shapes.
Step 5
Decorate each house using your colouring materials to add doors windows and signs.
Step 6
Make trees and small props by shaping modelling clay or cutting paper and attaching them to sticks.
Step 7
Cut strips of paper to make roads and sidewalks in sizes that match your map.
Step 8
Glue the road and sidewalk strips onto the base following the map layout.
Step 9
Arrange and glue down your houses trees and props onto the base so the set is stable.
Step 10
Create 2 to 3 characters using clay or paper puppets attached to craft sticks.
Step 11
Write a short storyboard with 6 to 10 frames that describes what each character does in each frame.
Step 12
Put your neighborhood set on a stable table and tape the base down so it cannot move.
Step 13
Position your phone or tablet above the scene so the camera can see the whole neighborhood clearly.
Step 14
Use a stop-motion app to take photos while moving your characters a tiny bit between each photo to create the animation.
Step 15
Share your finished stop-motion neighborhood on DIY.org
Help!?
I can't find modelling clay or craft sticks—what can I use instead?
If you don't have modelling clay use playdough, rolled-up paper, or scraps of foam for trees and characters, and swap craft sticks for popsicle sticks, skewers, or glued cardboard strips when attaching puppets.
What should I do if the camera or neighborhood base moves and ruins my stop-motion photos?
If the camera shakes or the base shifts while shooting, follow the step to tape the base down firmly to the table and stabilize your phone or tablet with a tripod or a tight stack of books so the frame stays consistent.
How can I adapt this activity for younger or older kids?
For younger children (3–5) simplify by using pre-cut cardboard houses to decorate and making a 3-frame storyboard, while older kids (10+) can fold and glue more detailed house shapes, build complex props, and create an 8–10 frame storyboard with camera motion using a tripod or slider.
How can we extend or personalize the neighborhood after finishing the basic animation?
Enhance the set by adding LED tea lights inside houses, recording character dialogue with your phone to match the 6–10 frame storyboard, building layered cardboard hills for elevation, and customizing street signs before sharing the finished stop-motion on DIY.org.
Watch videos on how to design a neighborhood you want to animate
Our Neighbourhood | Environmental Studies For Kids | Vid #6
4 Videos
Our Neighbourhood | Environmental Studies For Kids | Vid #6

Easy way to make 3d model of neighborhood places 🏦🏫🏥🏤 for kids 🙇 || Neighborhood places #evs
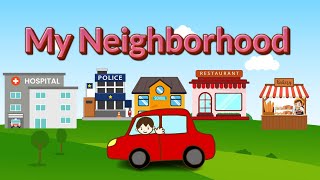
Explore My Neighborhood: Fun Vocabulary for English Learners | Animated Learning! #neighborhood
Activity Kit for Kids: Neighborhood Map
Facts about stop-motion animation and model-making
📸 At 24 frames per second, one second of stop-motion needs 24 photos — a 10-second scene takes 240 pictures!
🏘️ Miniature builders often use common scales like 1:12 or 1:24 so tiny houses, cars, and characters all match.
🖼️ Storyboards map out every shot and action — big productions can create thousands of storyboard panels before filming.
📱 Many smartphones can shoot in HD or 4K and run stop-motion apps, so your phone is a powerful animation studio.
🐢 Tiny, consistent movements between frames (just a few millimeters) make stop-motion motion look smooth and natural.
How do I help my child design and animate a small model neighborhood stop-motion scene?
What materials and apps do I need to design and animate a model neighborhood with my child?
What ages is this stop-motion neighborhood activity suitable for?
What are some safety tips and creative variations for this stop-motion neighborhood project?
