Make Marbled Paper with Shaving Cream
Use shaving cream, food coloring, and a skewer to create colorful marbled paper prints; press, lift, scrape gently, and let them dry.


Step-by-step guide to make marbled paper with shaving cream
Step 1
Cover your work surface with the plastic table cover or newspaper to keep things tidy.
Step 2
Squirt shaving cream into the tray to make a layer about 1/2 inch deep.
Step 3
Spread the shaving cream evenly across the tray using a spatula or your finger so the top is flat.
Step 4
Drop small dots of food coloring onto the shaving cream surface spaced around the tray.
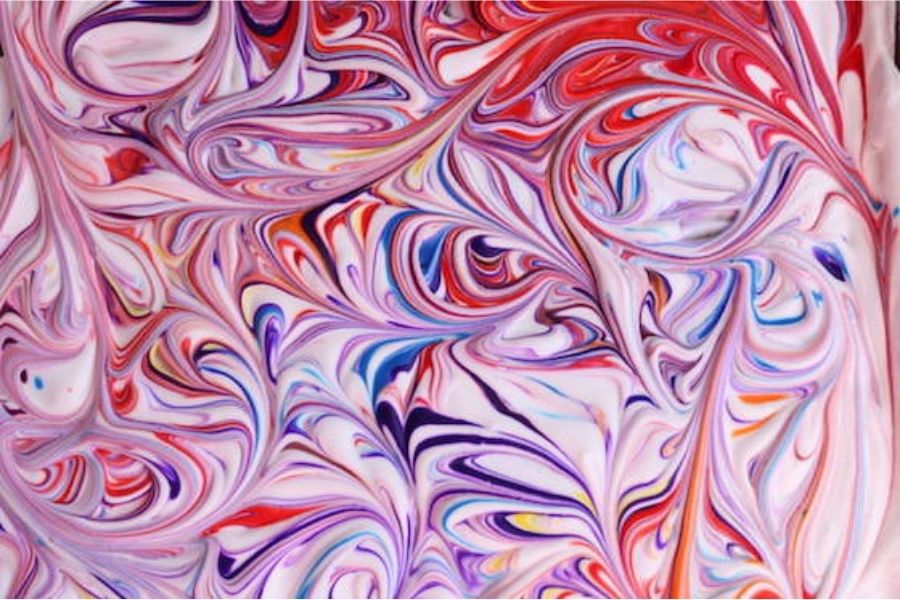
Step 5
Swirl the food coloring gently with the skewer to make a marbled pattern across the shaving cream.
Step 6
Gently place one sheet of cardstock face down onto the swirled shaving cream so the whole paper touches the colors.
Step 7
Slowly lift the paper straight up from one corner to keep the pattern from smudging.
Step 8
Lay the paper face up and scrape the shaving cream off with the ruler or old credit card until the colorful paper is visible.
Step 9
Wipe the shaved cream into a paper towel and discard the towel in the trash.
Step 10
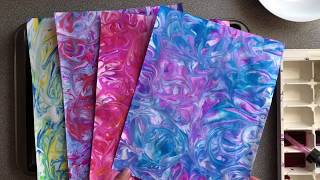
Place your marbled paper flat to dry for several hours or until it is not damp.
Step 11
Clean the tray and tools with a paper towel and throw the towel away.
Step 12
Share a photo of your finished marbled paper on DIY.org
Help!?
I can't find cardstock or shaving cream—what can I use instead?
If you don't have cardstock, use heavyweight construction or watercolor paper cut to size for step 6, and if shaving cream is unavailable use liquid starch spread in the tray as the marbling base and continue with steps 3–5 the same.
My design smudged or looks faint after lifting and scraping—what went wrong?
If the pattern smudges when lifting, make sure to gently place the paper face down in step 6 so the whole paper touches the colors and then slowly lift the paper straight up from one corner without sliding, and if colors are faint add more food coloring dots in step 4 before swirling in step 5.
How can I adapt this activity for different ages?
For preschoolers, let them drop dots in step 4 while an adult handles the swirling (step 5) and scraping (step 8), and for older kids encourage finer skewer swirls, layered color drops, or using larger paper sizes in steps 4–6 for more complex marbling.
How can we extend or personalize the marbled paper afterward?
After the paper is dry in step 7, personalize and extend the project by cutting the marbled cardstock into gift tags or greeting cards, adding stamped or hand‑lettered messages, or laminating sheets to make bookmarks.
Watch videos on how to make marbled paper with shaving cream
Make Marbled Paper with Shaving Cream - Activity for Kids
3 Videos
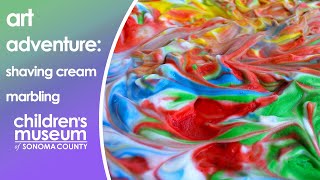
Make Marbled Paper with Shaving Cream - Activity for Kids
How to Make Marbled Paper with Shaving Cream and Watercolours
Shaving Cream Marbling
Facts about printmaking and paper crafts for kids
🌀 Paper marbling has been used for centuries to decorate book endpapers and stationery with swirling patterns.
🧴 Shaving cream works like a tiny floating paint bath — its foam holds droplets so you can swirl colors on the surface.
🌈 Food coloring is water-based, which helps it spread and blend across the shaving-cream surface to make bright patterns.
🎨 Every marbled print is one-of-a-kind — even the same swirl never repeats exactly, so each sheet is unique!
⏳ After pressing and lifting your paper, gently scraping off the shaving cream reveals the design and then the print needs a few hours to dry flat.
How do I make marbled paper with shaving cream?
What materials do I need for shaving cream marbled paper?
What ages are shaving cream marbling suitable for?
What safety tips and variations can I use for shaving cream marbling?
