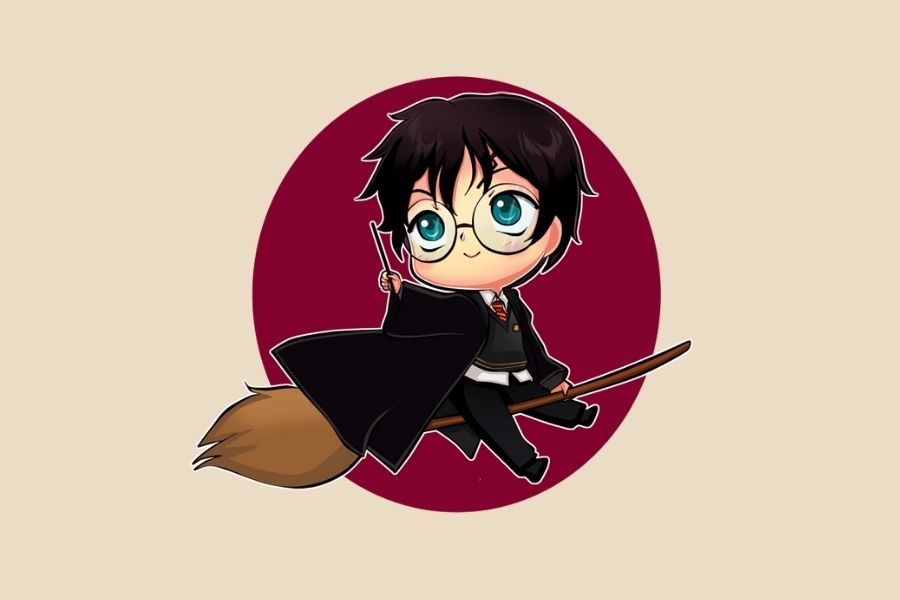
Draw Chibi Harry Potter
Draw a chibi Harry Potter using simple shapes, add scar, round glasses, cloak, and wand, then color and shade to finish the character.

Drawing Apps
Step-by-step guide to draw a chibi Harry Potter
Step 1
Gather your paper pencil eraser black pen or marker and colouring materials and place them on a flat table.
Step 2
Draw a large circle near the top center of the paper for the chibi head.
Step 3
Draw a small rounded rectangle or oval directly under the head for the chibi body.
Step 4
Lightly sketch two guidelines across the head one vertical and one horizontal to help place the face.
Step 5
Draw two big round glasses centered on the horizontal guideline by sketching two connected circles.
Step 6
Draw two simple round eyes inside the glasses as small filled circles.
Step 7
Add a small curved smile and a tiny dot above it for the nose to finish the face.
Step 8
Draw a small lightning-bolt scar on the forehead above one eyebrow.
Step 9
Sketch messy spiky hair around the top of the head with a fringe that touches the forehead.
Step 10
Draw the cloak by sketching two shoulder lines and a curved shape that drapes down around the body.
Step 11
Draw one arm reaching out and a thin straight wand in the hand by sketching a simple stick shape.
Step 12
Carefully trace your finished sketch with a black pen or marker over the lines you want to keep.
Step 13
Wait a few seconds for the ink to dry then gently erase the remaining pencil guidelines and stray marks.
Step 14
Color your chibi Harry Potter adding darker shades near edges or under the cloak to make shadows.
Step 15
Share your finished chibi Harry Potter drawing on DIY.org.
Help!?
What can we use if we don't have a black pen/marker or certain colouring materials?
If you don't have a black pen or marker, carefully trace your finished sketch with a dark gel pen or fine-tip black crayon and substitute colored pencils, washable markers, or even watercolor paints for the listed colouring materials.
My drawing looks lopsided or my ink smudged — how can I fix it?
If the glasses or face look off-center, adjust them while the pencil guidelines are still visible using the vertical and horizontal guides, and if ink smudges wait for the pen to fully dry then gently erase remaining pencil marks with the eraser.
How can I adapt this Draw Chibi Harry Potter activity for different age groups?
For younger children simplify by drawing just the large circle head, big glasses, and a stick-figure body with crayons, while older kids can add messy spiky hair details, shading under the cloak with darker colouring materials, and a more detailed wand.
How can we enhance or personalize the chibi after finishing the basic drawing?
Personalize your chibi by adding a Gryffindor scarf or house crest on the cloak, drawing a Hogwarts silhouette background before coloring, and creating wand magic effects with tiny white highlights then share the result on DIY.org.
Watch videos on how to draw a chibi Harry Potter
🍿 "How to Draw Cute Harry Potter | Easy Chibi Harry Potter Sketch Tutorial 🎨✨" #6
4 Videos

🍿 "How to Draw Cute Harry Potter | Easy Chibi Harry Potter Sketch Tutorial 🎨✨" #6

How to Draw Cute Harry Potter and Hedwig (How to Draw Harry Potter Cutie/Chibi collection)
How to Draw Harry Potter Characters Cute Easy (Chibi / Kawaii) Drawing Tutorials for Kids

How to Draw Cute Dumbledore And Fawkes (Harry Potter Chibi/Cutie Collection)
Facts about character drawing for kids
🖍️ Chibi characters usually have oversized heads and tiny bodies — heads often take up about 1/3 to 1/2 of the character's height.
⚡ Harry's lightning-bolt scar is one of the most recognizable symbols from the series and helps make him iconic.
👓 Round glasses are a simple shape that instantly make Harry recognizable and are easy to practice drawing.
🧥 A cloak or cape can be suggested with just a few flowing curved lines to show movement and drama.
🎨 Simple color and shading tricks — like a darker side plus a small white highlight — make flat drawings pop into 3D.
How do I draw a chibi Harry Potter step by step?
What materials do I need to draw a chibi Harry Potter?
What ages is drawing a chibi Harry Potter suitable for?
What are the benefits of drawing chibi Harry Potter for kids?
