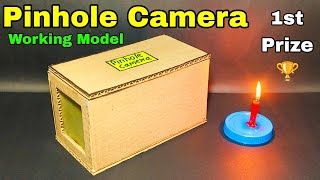
Make a Pinhole Camera
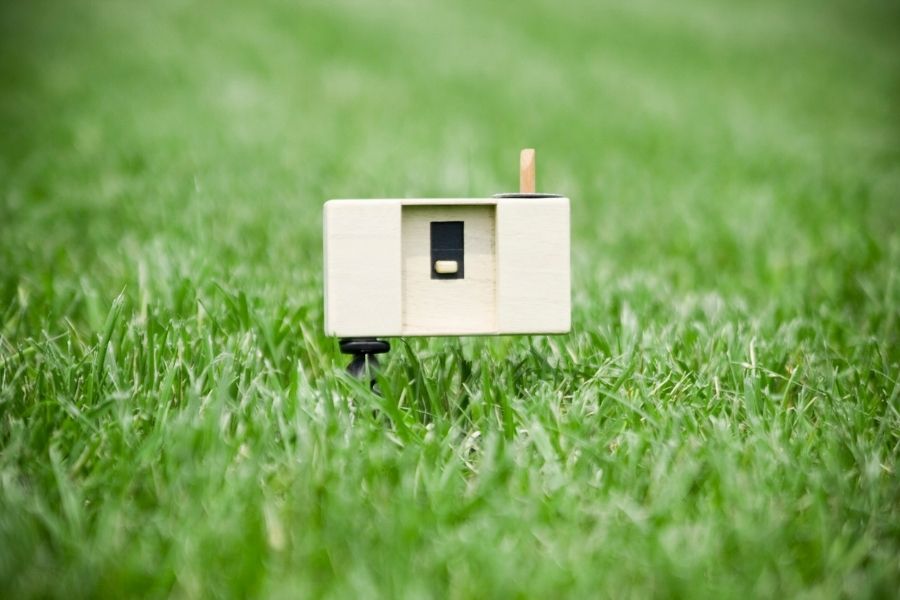
Build a cardboard pinhole camera using a shoebox, foil, tape, and tracing paper to capture inverted images and explore how light forms pictures.


Step-by-step guide to make a pinhole camera
Step 1
Put the lid on the shoebox and tape all edges closed so no light can leak in.
Step 2
Use the ruler and pencil to mark a centered 5 cm square on one short end of the box.
Step 3
Carefully cut out the marked square to make a window in the box.
Step 4
Cut a piece of tracing paper a little larger than the window.
Step 5
Tape the tracing paper over the window from the inside so it is smooth and flat to act as your screen.
Step 6
Make the inside dark by covering the inner walls with black construction paper or by painting them black and let paint dry if you painted.
Step 7
On the opposite short end mark and cut a small 2 cm square where the pinhole will go.
Step 8
Tape a small square of aluminum foil over that new hole and smooth the foil flat.
Step 9
Carefully push the pin through the center of the foil to make a tiny, neat pinhole.
Step 10
Put the lid back on and tape any seams to make the box completely light-tight.
Step 11
Point the pinhole end of the box at a bright scene or object.
Step 12
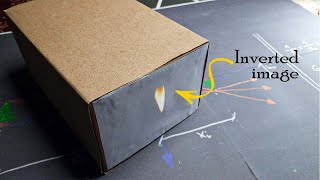
Look at the tracing paper screen inside the box to see the inverted image form.
Step 13
If the image is dim or blurry move the camera closer to or farther from the scene until the picture is clearer.
Step 14
Trace or sketch the upside-down image you see and then share your finished pinhole camera project on DIY.org
Help!?
What can we use if we don't have a shoebox, tracing paper, or aluminum foil?
Use a similarly sized cereal or shipping box in place of the shoebox, tape baking parchment or wax paper over the 5 cm window instead of tracing paper, and substitute a small square of clean metallic candy wrapper or a safely trimmed soda-can sheet (taped and with edges covered) for the foil to make the pinhole.
My image is dim or blurry — what should I check or fix?
Check that the lid and all seams are taped light-tight, smooth the tracing paper screen so it's flat, make the foil pinhole tiny and neat (re-poke with a finer pin if needed), and follow the instructions to move the camera closer to or farther from the scene until the picture clears.
How can I adapt this pinhole camera project for different ages?
For younger kids have an adult cut the 5 cm and 2 cm squares, attach the foil and push the pin for safety, and focus on decorating the box and sketching the upside-down image, while older kids can paint the inside black, experiment with different pinhole sizes and distances, and try capturing the image on photographic paper before sharing on DIY.org.
What are some ways to extend or personalize the finished pinhole camera?
Try making several boxes with different foil pinhole sizes to compare sharpness and brightness, mount the box on a tripod or stack of books to steady it, swap the tracing paper screen for photographic paper to make a permanent exposure, and decorate the outside before you trace or sketch the inverted image to share on DIY.org.
Watch videos on how to make a pinhole camera
How to make pinhole camera,Pinhole camera school project,Pinhole camera, science project
4 Videos
How to make pinhole camera,Pinhole camera school project,Pinhole camera, science project
How to make a Pinhole Camera | Science project
How To Make Pinhole Camera At Home Very Easy Steps || Pinhole Camera Making For School Project

How to Make a Pinhole Camera | Light Experiment | DIY Science Project Step-by-Step| Logic Bloom
Facts about light and optics for kids
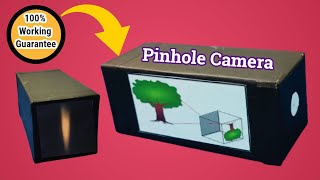
🔦 A pinhole camera makes pictures using only a tiny hole — no glass lens needed!
👁️ Light travels in straight lines so rays through the hole produce an upside-down image on the back wall.
🕰️ Small holes mean dim images, so pinhole cameras often require long exposures (seconds to minutes).
🎨 Artists used camera obscuras for centuries to trace accurate perspective before photo cameras existed.
📦 You can build a working camera from a shoebox, foil, tape, and tracing paper — it's a real camera!
How do I make a pinhole camera using a shoebox to capture inverted images?
What materials do I need to build a cardboard pinhole camera?
What ages is a shoebox pinhole camera activity suitable for?
What are the benefits, safety tips, and fun variations for a pinhole camera project?
