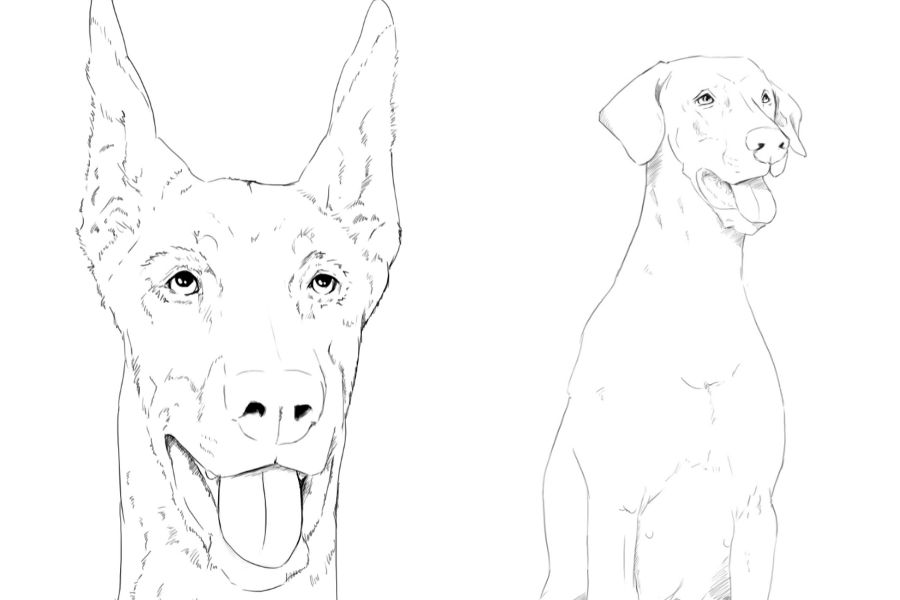
Draw Animal Portraits
Draw animal portraits using pencils, erasers, and colored pencils; learn proportions, features, shading, and simple backgrounds while practicing observation and creativity.

Drawing Apps
Step-by-step guide to draw animal portraits
Step 1
Pick one animal you want to draw and get excited about it.
Step 2
Find a clear photo of that animal or set a live animal where you can see it or use a small mirror to study shapes.
Step 3
Put your paper on a flat surface where you can draw comfortably.
Step 4
Lightly sketch the basic head shape with your pencil using simple shapes like a circle or oval.
Step 5
Draw a vertical centerline and a horizontal eye line to help place features in the right proportions.
Step 6
Mark small dots where the eyes the nose and the mouth should go using your guidelines.
Step 7
Draw the eyes with pupils and eyelids using your reference to copy their shape and size.
Step 8
Draw the nose and the mouth shapes below the eye line using the marks you made.
Step 9
Add the ears and the neck using simple curves that match your reference.
Step 10
Add fur or skin texture with short strokes or smooth lines to show the animal’s surface.
Step 11
Shade areas that are in shadow with gentle pencil strokes to make the face look three dimensional.
Step 12
Erase the extra guidelines and light sketch marks so the portrait looks clean.
Step 13
Color your animal portrait with colored pencils building up light layers for a soft look.
Step 14
Draw a simple background like grass or sky and sign your name in a corner.
Step 15
Share your finished animal portrait on DIY.org
Help!?
What can we use if we don't have colored pencils, a mirror, or a clear photo for reference?
Use crayons or markers instead of colored pencils, a phone or tablet photo in place of a printed 'clear photo', and a stuffed animal or toy instead of using a 'small mirror' to study shapes while following the same steps.
My animal's eyes look uneven—how can I fix them?
Go back to your 'vertical centerline and horizontal eye line', redraw small placement dots for the eyes, erase lightly and adjust each eye to match the reference photo before adding pupils and eyelids.
How can I change the activity for younger or older kids?
For younger children, simplify by having them trace the 'basic head shape' or use sticker eyes, while older kids can focus on detailed 'fur or skin texture' and more advanced 'shading' and backgrounds.
How can we make the portrait more special or extend the activity?
Enhance the portrait by trying mixed media (like a watercolor wash under 'color your animal portrait with colored pencils'), adding a detailed background and species label, signing the corner as instructed, and then 'share your finished animal portrait on DIY.org'.
Watch videos on how to draw animal portraits
How to Draw Wild Animals for Kids | Easy Step-by-Step Drawing Tutorial! 🦛🦏🐅🐘🐆
4 Videos
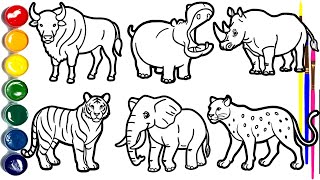
How to Draw Wild Animals for Kids | Easy Step-by-Step Drawing Tutorial! 🦛🦏🐅🐘🐆
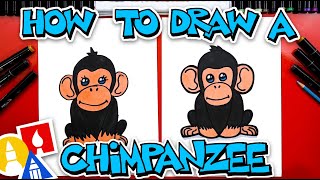
How To Draw A Chimpanzee
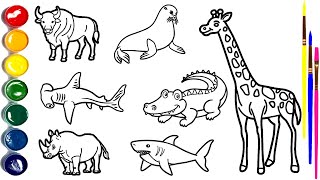
How to Draw Animals for Kids 🦏🦈🐊🦒 | Easy Step-by-Step Drawing Tutorial
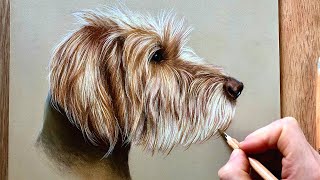
How to draw a pet portrait - Beginner step by step
Facts about animal drawing for kids
🐾 Artists often draw the eyes first — viewers notice eyes before other features, so a strong gaze makes portraits feel alive.
✏️ Pencil grades range from H (hard, light) to B (soft, dark); using a mix helps get both fine details and deep shadows.
🎨 Colored pencils date back to the 19th century and work great for layering tiny strokes that mimic fur or feathers.
📏 Sighting with your pencil (holding it at arm’s length to compare sizes and angles) is a classic trick for accurate proportions.
🔍 The secret to realistic portraits is looking more at the animal and less at the paper — observation beats guesswork every time.
How do I draw animal portraits step-by-step?
What materials do I need to draw animal portraits?
What ages is drawing animal portraits suitable for?
What are the benefits of drawing animal portraits for kids?
