Draw Hairstyles with DIY Star LongLeggedLucy
Draw and design hairstyles for a character called Star LongLeggedLucy using pencils, markers, and templates, practicing braids, buns, and colorful patterns.

Drawing Apps
Step-by-step guide to draw hairstyles with DIY Star LongLeggedLucy
Step 1
Spread your materials on a flat table so everything is easy to reach.
Step 2
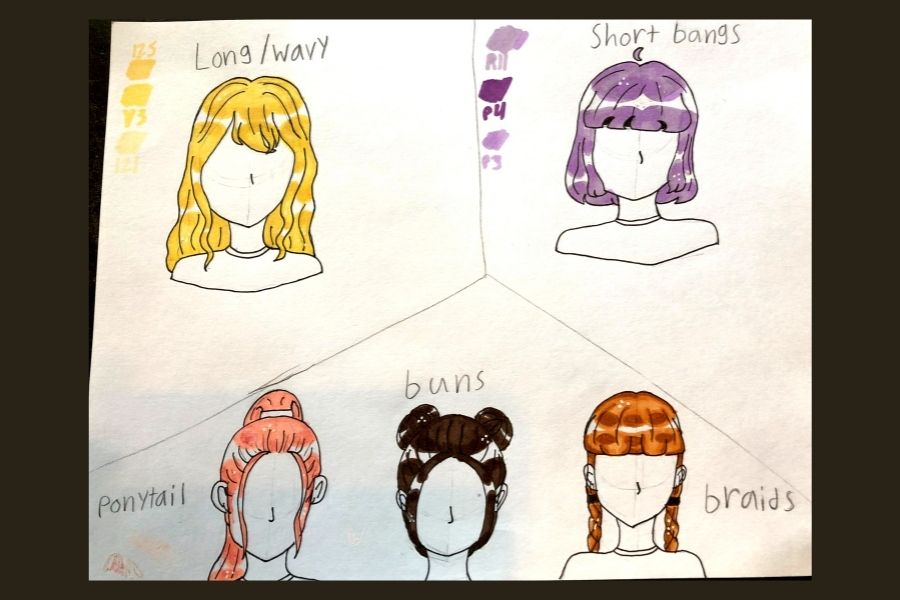
Place the hairstyle template on your paper and trace it three times to make three Star LongLeggedLucy heads.
Step 3
Lightly draw a hairline and a center or side part on each head with your pencil.
Step 4
On the first head draw a three-strand braid by sketching three long overlapping sections from top to bottom.
Step 5
On the second head draw a ponytail and then sketch curved lines that wrap into a bun at the back.
Step 6
On the third head sketch big flowing shapes and divided areas to plan colorful patterns and fun bangs.
Step 7
Add texture lines to each hairstyle by drawing short strokes that follow the direction of the hair.
Step 8
Add simple accessories like hair ties bows or clips to any hairstyle you want.
Step 9
Choose your favorite lines and go over them neatly with the fine-tip black pen to make the design pop.
Step 10
Wait a moment for the ink to dry and then erase the pencil sketch marks carefully.
Step 11
Color each hairstyle with your markers using bright colors stripes spots or gradients to create fun patterns.
Step 12
Share your finished Star LongLeggedLucy hairstyle designs on DIY.org.
Help!?
What can we use if we don't have the hairstyle template, fine-tip black pen, or markers?
If you don't have the hairstyle template, trace the rim of a cup or jar three times to make three Star LongLeggedLucy heads, swap the fine-tip black pen for a thin Sharpie or gel pen (or a sharpened pencil for light outlines), and use colored pencils or crayons instead of markers.
My ink smudged and the markers bled—how can we fix that?
If ink smears or markers bleed when you go over your favorite lines, test pens on scrap paper first, place a spare sheet under your drawing to catch bleed-through, let the fine-tip black pen dry fully before erasing pencil marks, and use lighter marker pressure or thicker paper to keep braid and bun shapes crisp.
How can this activity be adapted for different ages?
For preschoolers, trace the three heads and let them fill big flowing shapes and add stickers with chunky markers; for early-elementary kids, follow the full steps including drawing the hairline, three-strand braid, ponytail-to-bun, and texture lines with guidance; and for older kids, encourage precise texture strokes, complex color gradients with markers, and neater inking with the fine-tip black pen.
What are some fun ways to extend or personalize the hairstyles after coloring?
After coloring each hairstyle, glue yarn into the drawn braid for real texture, attach sequins or fabric bows to accessories before erasing pencil marks, experiment with marker stripes or gradients for patterned hair, or make a mini portfolio of your three Star LongLeggedLucy heads to photograph and share on DIY.org.
Watch videos on how to draw hairstyles with DIY Star LongLeggedLucy
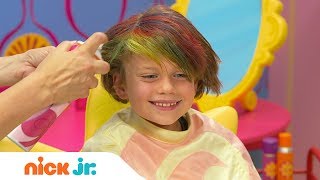
How to Make a Rock Star Hairdo Tutorial 👩🎤 | Sunny Day's Style Files | Nick Jr.
4 Videos
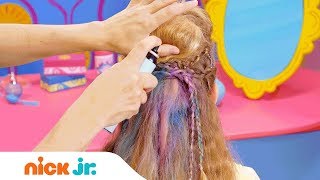
How to Make a Rock Star Hairdo Tutorial 👩🎤 | Sunny Day's Style Files | Nick Jr.
How to Create a Rock Star Hairstyle Tutorial 👩🎤| Sunny Day's Style Files | Nick Jr.

Quick & Easy Chinese star hairstyle Tutorial 💮 Cute for Girls
CRAZY HAIR DAY IDEAS - How To Create The 6 Best DIY Hairstyles!
Facts about hair design and drawing for kids
💇♀️ Braided hairstyles appear in art and artifacts from thousands of years ago — braids are one of the oldest recorded hair styles.
🎨 Ancient Egyptians used plant dyes and henna to color hair and make wigs, so hair color has been used creatively for millennia.
✏️ Pro artists often start with simple head templates (ovals and guidelines) to plan hair flow, parting, and braid placement quickly.
🌈 Layering colored pencils or markers lets you blend rich tones and soft gradients for colorful hairstyles without paint.
💡 A character's silhouette and unique hairstyle are one of the fastest ways to make them instantly recognizable in design.
How do I draw hairstyles for Star LongLeggedLucy?
What materials do I need to draw Star LongLeggedLucy hairstyles?
What ages is drawing Star LongLeggedLucy hairstyles suitable for?
What are the benefits and safety tips for the Star LongLeggedLucy hairstyle activity?
