Make Line Art
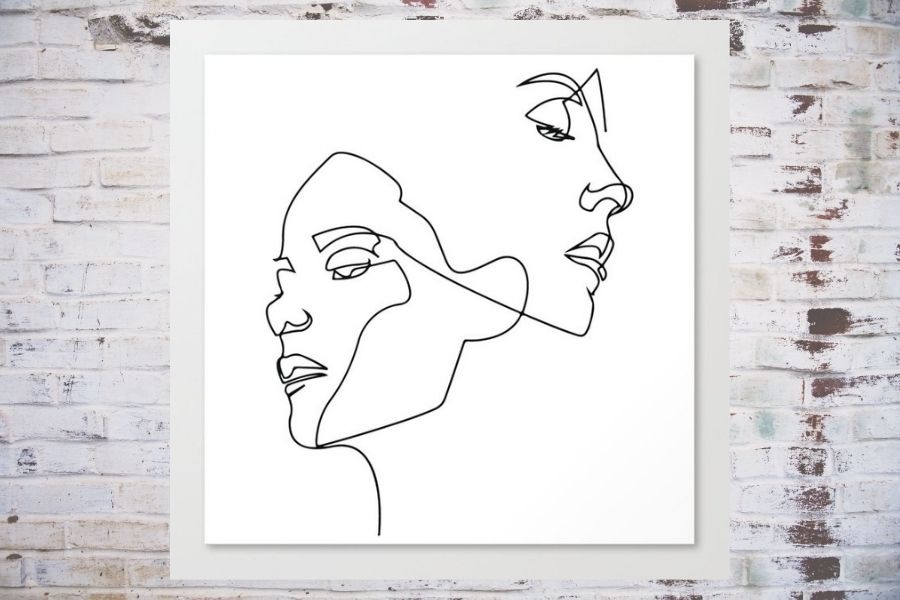
Create striking line art by drawing varied lines, patterns, and shapes with pencils or markers, exploring repetition, contrast, and composition on paper.


Step-by-step guide to make line art
Step 1
Place your paper on a flat surface and choose portrait or landscape orientation.
Step 2
Lightly draw a simple composition of big shapes with your pencil to plan where things will go.
Step 3
Pick three different line styles to use such as straight wavy and dotted.
Step 4
Practice each chosen line style a few times on a scrap piece of paper.
Step 5
Use the ruler to draw one or two strong straight lines in your composition.
Step 6
Fill one large shape with a repeated pattern using one of your line styles.
Step 7
Fill a different shape with a contrasting repeated pattern using a different line style.
Step 8
Add small shapes or accents to empty areas to balance your picture.
Step 9
Trace selected lines with a thick marker to create contrast and make parts pop.
Step 10
Erase extra pencil marks so your lines look clean and bold.
Step 11
Optionally add colour to a few shapes to highlight your patterns and contrast.
Step 12
Share your finished line art creation on DIY.org.
Help!?
What can I use if I don't have a ruler or a thick marker?
Use a hardcover book or straight piece of cardboard as a ruler substitute and a dark pen, fine-tip marker layered twice, or crayon to trace selected lines with a thick marker so parts still pop.
My pencil lines smudge or the marker bleeds—how do I fix that?
Practice your chosen line styles on scrap paper, let marker ink dry fully before you erase extra pencil marks, and use a light hand when lightly drawing a simple composition of big shapes to reduce smudging and bleeding.
How can I adapt this activity for different ages?
For younger kids stick to drawing big shapes and two easy line styles, while older kids can use the ruler for strong straight lines, create more intricate repeated patterns, and optionally add colour for complexity.
How can we extend or personalize the finished line art?
Enhance your picture by adding collage pieces or textured paper into shapes, using metallic or coloured pens when you trace selected lines with a thick marker, colouring a few shapes for emphasis, and then share the finished piece on DIY.org.
Watch videos on how to make line art
ONE - LINE DRAWINGS FOR KIDS | Easy Step-by-Step Drawing Tutorial for Kids
4 Videos

ONE - LINE DRAWINGS FOR KIDS | Easy Step-by-Step Drawing Tutorial for Kids
Happy Kindergarten Line Painting Art Tutorial - Art With Trista

Super Easy Line Drawing Art Lesson | High School Art Lesson
12 One Line Drawing Ideas/Easy Single Line Drawing for Beginners/kids/One line drawing tutorial
Facts about line art and drawing fundamentals
🎨 Line art can show shapes, movement, and mood using only lines—no shading or color needed.
✏️ The modern pencil dates back to a 16th-century English graphite discovery; wooden holders became common later.
🖊️ Marker pens come with many tip types (fine, brush, chisel) so you can make skinny lines, bold strokes, or calligraphic marks.
♾️ Repeating lines and patterns can create optical depth or motion—Op Art in the 1960s used this trick to 'move' pictures.
🧩 Simple composition rules like the rule of thirds help place focal shapes so line art feels balanced and exciting.
How do you make line art with pencils and markers?
What materials do I need to make line art with my child?
What ages is this line art activity suitable for?
What are the benefits, safety tips, or variations for line art?
