Paint a Landscape Scene with Watercolors
Paint a colorful landscape scene using watercolors, learning brush techniques, color mixing, and layering to create skies, trees, and distant hills.

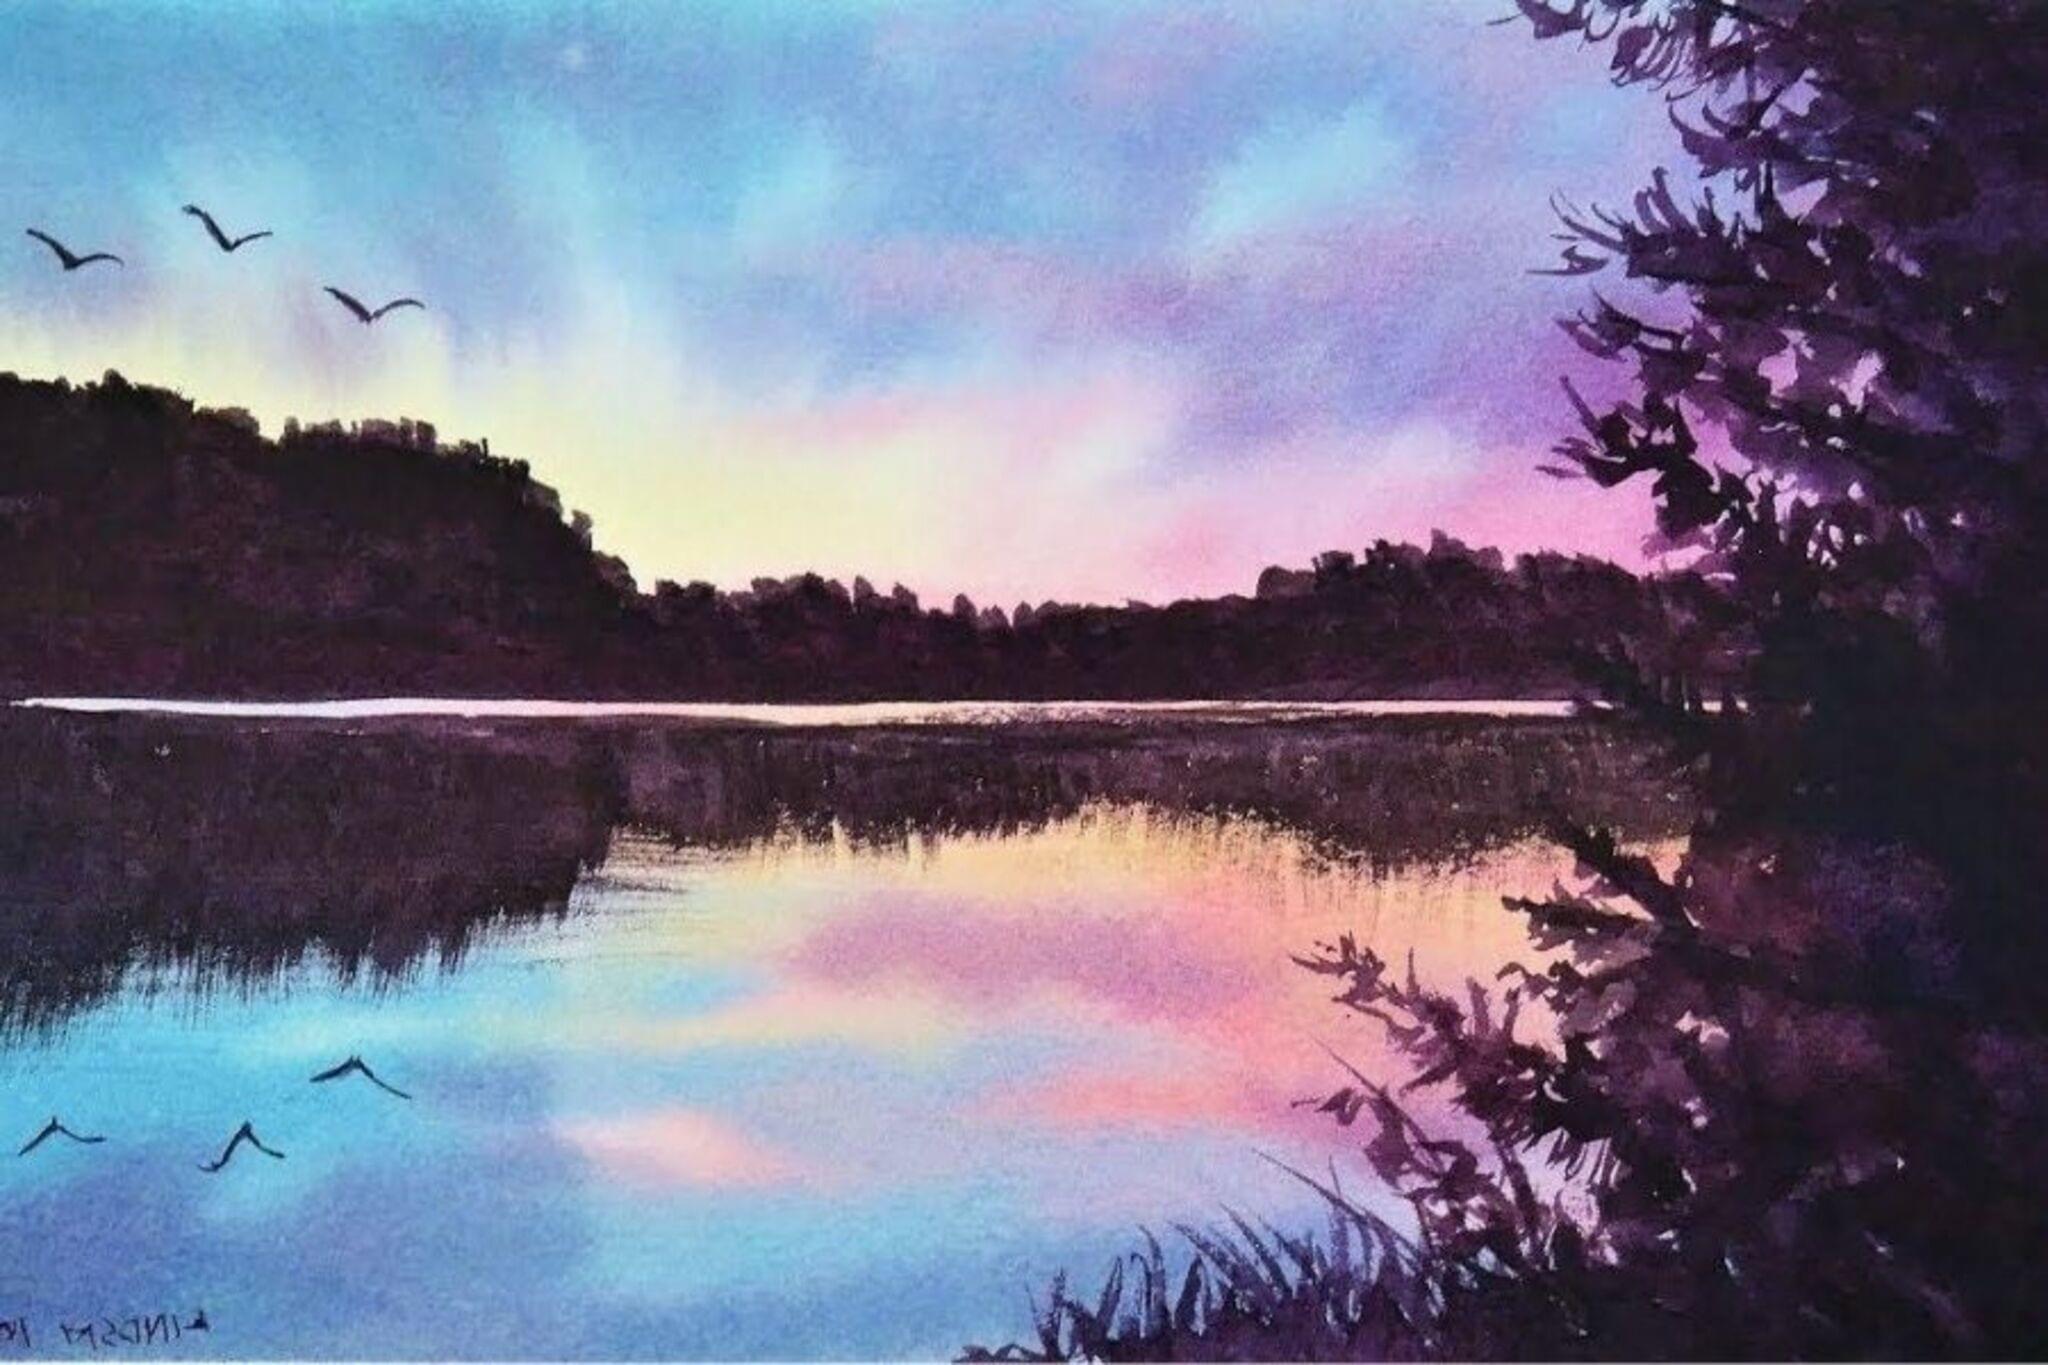

Step-by-step guide to paint a landscape scene with watercolors
How to Paint a Beach Landscape Kids Watercolor Art Tutorial
Step 1
Gather all your materials and set them on a flat table so everything is easy to reach.
Step 2
Tape the edges of your watercolor paper to the table or a board to keep it flat and make a white border.
Step 3
Lightly draw a horizon line and simple shapes for distant hills a closer hill and a few tree shapes with your pencil.
Step 4
On your scrap paper practice one broad flat wash stroke and one thin line stroke with your brushes to feel the pressure.
Step 5
Use the large brush to wet only the sky area on your paper with clean water for a soft wash effect.
Step 6
Mix a pale blue on your palette by adding lots of water to one blue paint to make a light wash.
Step 7
Paint the wet sky area with the pale blue using broad strokes so the color spreads softly.
Step 8
Let the sky dry for a few minutes until it is no longer shiny to the touch.
Step 9
Mix two greens on your palette making one light green with more water and one darker green with less water.
Step 10
Paint the distant hills with the light green using smooth horizontal strokes.
Step 11
Paint the nearer hills with the darker green making the color stronger to show they are closer.
Step 12
Mix a warm brown on your palette for tree trunks and a darker green for leaves.
Step 13
Paint tree trunks with vertical strokes using the brown so they stand in front of the hills.
Step 14
Dab the darker green for leaves on top of the trunks using short layered strokes to add texture and depth.
Step 15
Take a photo of your colorful landscape and share your finished painting on DIY.org
Help!?
What can we use instead of watercolor paper or painter's tape if we don't have them?
If you don't have watercolor paper, use heavyweight mixed-media paper or thick cardstock and tape its edges to a board with masking tape or painter's tape so the paper stays flat and you still get a white border as in step 2.
My sky has hard edges or puddles — how can I fix it?
To fix puddles or hard edges in the sky, re-wet the sky area with the large brush and clean water (step 5), immediately repaint with the pale blue wash (step 6–7), and blot excess with scrap paper to soften the wash before letting it dry (step 8).
How can I adapt the activity for younger or older children?
For younger kids let them skip the pencil horizon and use the large brush for broad sky washes and dabbing leaves on scrap paper (steps 3, 4, 5, 12–14), while older kids can refine the pencil sketch, carefully mix the two greens, and build layered leaf texture with short strokes (steps 3, 9–14).
How can we extend or personalize the finished landscape?
To personalize the painting, while the sky is wet (step 7) sprinkle a little salt for texture, then after the sky dries (step 8) add wet-on-dry glazing to deepen the nearer hills (step 11), paint small foreground details or highlights on trunks (steps 13–14), remove the tape for a crisp white border and photograph to share on DIY.org (step 15).
Watch videos on how to paint a landscape scene with watercolors
How to Paint a Mountain Sunset in Watercolors Kids Art Tutorial
4 Videos
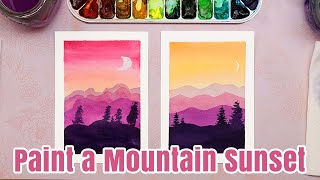
How to Paint a Mountain Sunset in Watercolors Kids Art Tutorial

How to Paint a Watercolor Landscape and Sky for Absolute Beginners
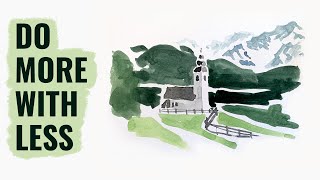
How to Paint a Simple Landscape in Watercolor (for Beginners!)

watercolor painting landscape mountains for beginners | watercolor art easy landscape tutorial
Facts about watercolor painting for kids
🎨 Watercolor paints often dry lighter than they look when wet, so painters plan values ahead!
🌈 With just three primary pigments you can mix dozens of colors—color mixing is like color magic.
🖌️ Round brushes are great for lines and details, flat brushes make big washes, and fan brushes can suggest trees and grass.
🌅 Layering thin, transparent washes (glazing) builds depth and glow in skies and hills.
🏞️ Artists use atmospheric perspective—distant hills look bluer, paler, and less detailed to appear far away.
How do I paint a colorful landscape scene with watercolors with my child?
What materials do I need to paint a watercolor landscape with kids?
What ages is painting a watercolor landscape suitable for?
What are the benefits of watercolor landscape painting for children?
