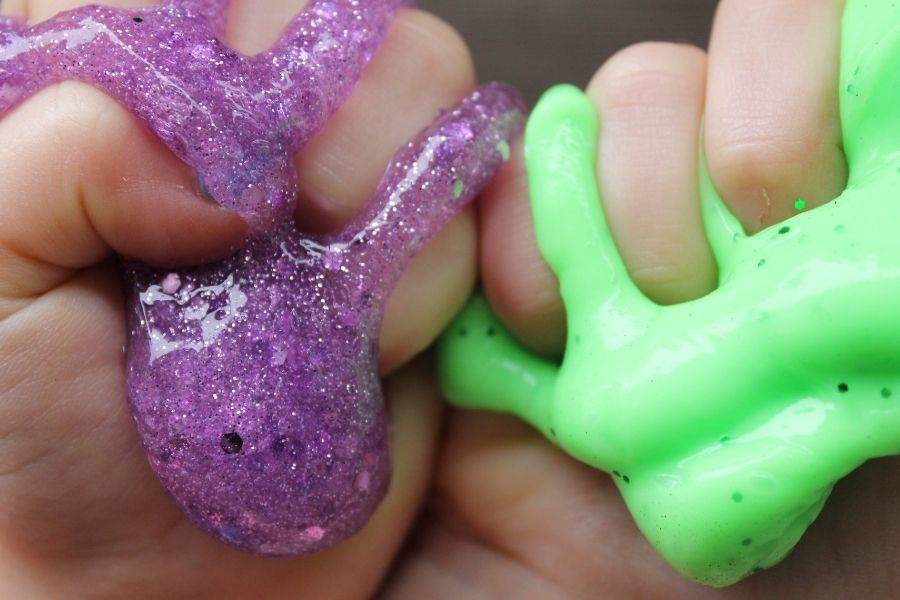
Make Slimey Slime!
Make stretchy, safe slime using school glue, baking soda, and contact lens solution; knead, experiment with colors and textures under adult supervision.


Step-by-step guide to Make Slimey Slime!
Step 1
Wash your hands with soap and water and dry them.
Step 2
Pour 4 tablespoons of white school glue into the mixing bowl.
Step 3
Add 1/2 teaspoon of baking soda to the glue in the bowl.
Step 4
Stir the glue and baking soda with the spoon for about 20 seconds until smooth.
Step 5
Add 1/2 tablespoon of contact lens solution to the bowl.
Step 6
Stir the mixture for 30 seconds until it thickens and starts to pull away from the bowl sides.
Step 7
Pinch a small piece of the mixture to test whether it sticks to your fingers.
Step 8
If it sticks to your fingers add 1/4 tablespoon more contact lens solution to the bowl.
Step 9
Remove the slime from the bowl and knead it with your hands for 2 minutes until it becomes stretchy and not sticky.
Step 10
Add a drop of colouring onto the slime.
Step 11
Fold and knead the slime until the colour is mixed evenly.
Step 12
Sprinkle a small pinch of glitter or foam beads onto the slime for extra texture.
Step 13
Knead the slime again until the texture bits are well mixed in.
Step 14
Share a photo or short note about your finished slime on DIY.org.
Help!?
What can I use instead of contact lens solution if it's hard to find?
If you don't have contact lens solution for step 5, substitute 1/2 tablespoon liquid starch or 1/4 teaspoon borax dissolved in 1 tablespoon warm water as the activator and continue with the same stirring and kneading steps.
My slime is still sticky after kneading—what should I do?
If the mixture sticks to your fingers after pinching in step 7, add 1/4 tablespoon more contact lens solution, knead for another 1–2 minutes, and if it becomes too stiff instead soften it with a teaspoon of warm water or a little extra glue.
How can I adapt this slime activity for different age groups?
For ages 3–5 have an adult do steps 2–8 and let them safely touch small pieces without glitter, for ages 6–8 let kids measure, stir, and knead with supervision, and for 9+ encourage independent measuring, adding drops of colouring in step 10, and mixing textures in steps 11–12.
How can we make the slime more interesting or unique?
During steps 10–12 personalize your slime by adding multiple colouring drops for marbling, mixing in glow-in-the-dark paint, scented drops, sequins, or different foam beads for texture, then share a photo as in step 13.
Watch videos on how to Make Slimey Slime!
EASY Slime Recipe for Beginners: 3 Ingredients, NO FAIL!
3 Videos
EASY Slime Recipe for Beginners: 3 Ingredients, NO FAIL!
HOW TO MAKE SLIME For Beginners! NO FAIL Easy DIY Slime Recipe!
Homemade Slime for Beginners | Fun & Easy Slime Recipe
Facts about slime-making and sensory play for kids
🧪 The toy called "Slime" was introduced by Mattel in 1976 and became a pop-culture hit.
🧴 Most school glues are made from polyvinyl acetate (PVA), a polymer that stretches when cross-linked to form slime.
🧂 Baking soda (sodium bicarbonate) helps adjust the mixture so it firms up and becomes less sticky when activated.
🔬 Contact lens solutions often contain boric acid or borate ions that act as activators, linking PVA chains to make slime.
🌀 Slime can act like a non-Newtonian fluid—it flows like a liquid but can snap or hold shape under quick force.
How do you make Slimey Slime?
What materials do I need to make Slimey Slime?
What ages is Slimey Slime suitable for?
What are the benefits and safety tips for making Slimey Slime?
