Describe the emotions your audience will feel
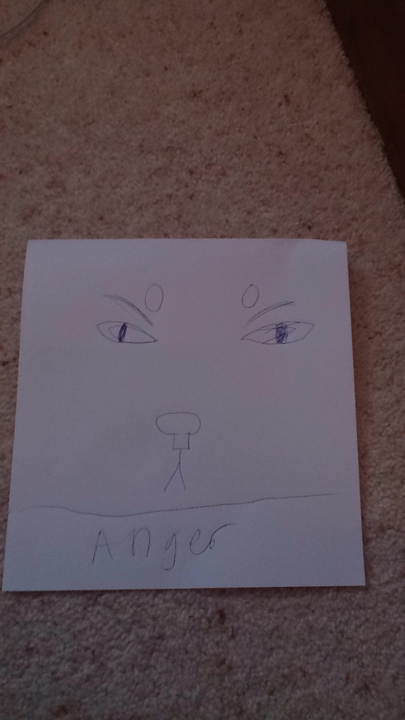
Create a set of emotion cards describing how your audience might feel in various situations, using drawings, colors, and short descriptive sentences.
About this activity
Create a set of emotion cards describing how your audience might feel in various situations, using drawings, colors, and short descriptive sentences.
What you need
Step by step
- 1
Step 1
Gather all Materials Needed.
- 2
Step 2
Decide on 8 emotions you want to show.
- 3
Step 3
Cut your paper or index cards into 8 equal rectangles so you have one card per emotion.
- 4
Step 4
Lightly write one emotion name at the top of each card with your pencil.
- 5
Step 5
Write one short sentence on each card describing how your audience might feel in a specific situation.
- 6
Step 6
Draw a face or small scene on each card that shows the emotion you named.
- 7
Step 7
Color each drawing using colors that match the feeling on that card.
- 8
Step 8
Trace important words and the drawing outlines with the black marker so they stand out.
- 9
Step 9
Decorate the edges or add stickers or tape to make each card look fun.
- 10
Step 10
Share your finished emotion cards on DIY.org.
Fun facts
How do I create emotion cards that show how my audience might feel in different situations?
Begin by listing situations your audience might face (first day, losing a toy, sharing). On each index card, draw a face or scene, pick a color to match the feeling, and write a short sentence describing the emotion in simple words. Encourage the child to use different expressions and body language. Add a back label with coping ideas, laminate or hole-punch to keep cards together. Use them in role-play or discussion.
What materials do I need to make emotion cards with my child?
You'll need sturdy index cards or cardstock, colored pencils, markers, or crayons, and a pencil for sketching. Optional: stickers, watercolors, glue, scissors, laminating sheets or clear tape, and a binder ring or ribbon to keep cards together. If tailoring for non-readers, add photo-printouts or felt pieces. For classroom sets, prepare multiple copies and storage boxes. Most items are household-safe and inexpensive.
What ages is the emotion-card activity suitable for?
This activity suits ages 3–12 with adjustments: toddlers (3–5) benefit from simple faces, bold colors, and adult-led labeling; early elementary (6–8) can draw more details and write short sentences; older children (9–12) can create nuanced emotions, scenarios, and coping strategies. Adapt complexity, supervision, and materials—use photos for non-writers or challenge older kids to design emotion stories. Always support discussions about feelings and model language.
What are the benefits of making emotion cards with children?
Making emotion cards boosts emotional literacy, helping children label and understand feelings, which improves communication and empathy. Drawing and choosing colors develop fine motor skills and decision-making. Role-play with the cards builds perspective-taking and problem-solving; adding coping phrases teaches regulation strategies. For parents, it provides a gentle way to start conversations about difficult emotions and spot worries early. Encourage reflection, not judgment, to maximize lear
Watch & Learn
Need help?
What can we use instead of index cards or a black marker if we can't find them?
If you don't have index cards, cut regular printer paper or a cereal box into eight equal rectangles as in the 'Cut your paper or index cards into 8 equal rectangles' step, and substitute a dark pen or crayon for the black marker when you 'Trace important words and the drawing outlines'.
My drawings don't clearly show the emotions—what should we do?
If a card's emotion isn't clear, follow the 'Draw a face or small scene' step again, exaggerate eyebrow and mouth shapes and body posture, then retrace the important lines with the black marker so the emotion stands out as instructed in 'Trace important words and the drawing outlines'.
How can we change the activity for younger or older kids?
For younger children, parents can pre-cut the eight rectangles, lightly write the emotion names, and let kids color simple faces and add stickers from the 'Decorate the edges or add stickers' step, while older kids can write longer situational sentences, draw detailed scenes, and decorate edges themselves before sharing on DIY.org.
How can we make the emotion cards into a longer or more personal project?
To extend the activity, decorate each card as instructed, then laminate or cover them with clear tape from the 'Decorate the edges' step, add a binder ring or Velcro to make a flip set, and write extra situational sentences on the back for a matching or storytelling game before posting on DIY.org.