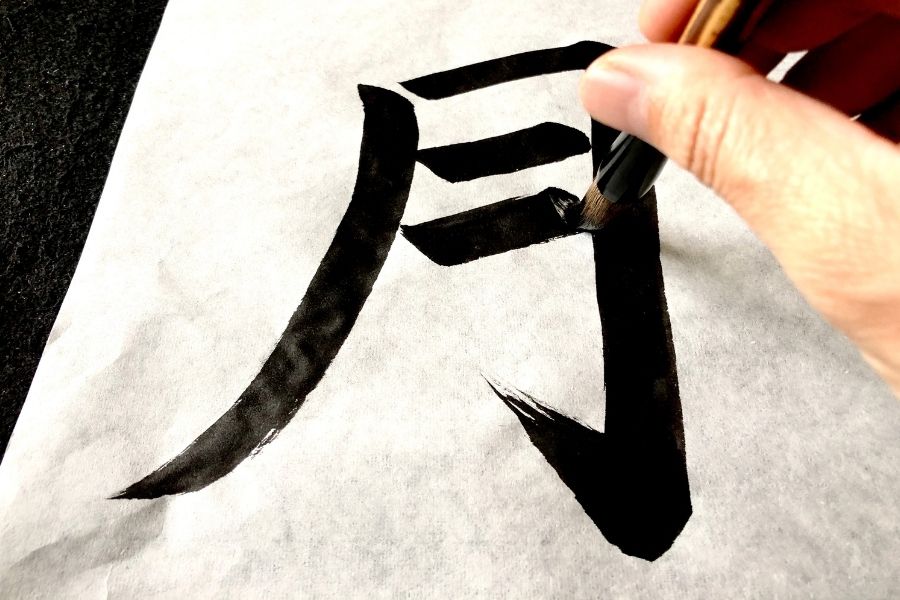
Write Kanji Calligraphy
Practice basic kanji calligraphy using brush, ink, and rice paper to learn stroke order, posture, and create simple kanji artworks to display.


Step-by-step guide to write kanji calligraphy
Step 1
Lay the felt mat or old towel flat on a table to protect the surface.
Step 2
Place one sheet of rice paper on the mat and smooth it flat.
Step 3
Pour a small amount of ink into the dish.
Step 4
Dip the brush tip into the cup of clean water to moisten the bristles.
Step 5
Dip the moistened brush into the ink dish to load it with ink.
Step 6
Sit up tall and hold the brush vertically between your fingers like a pencil.
Step 7
Practice basic strokes on a spare sheet of rice paper following the printed stroke order reference.
Step 8
Choose a simple kanji character from the reference to copy.
Step 9
Write the chosen kanji on your rice paper following the correct stroke order one stroke at a time.
Step 10
Rinse the brush in the water cup and blot it gently on the paper towel.
Step 11
Repeat writing the kanji several times to improve your strokes and posture.
Step 12
Let your finished kanji artworks dry flat and undisturbed.
Step 13
Tape or clip your favorite finished piece to a wall or the fridge for display.
Step 14
Share a photo of your finished kanji artwork on DIY.org.
Help!?
What can I use if I can't find rice paper or a calligraphy brush?
Use heavyweight watercolor or tracing paper instead of rice paper and a round watercolor or craft brush (size 8–12) in place of a traditional calligraphy brush, and still lay the felt mat or old towel down to protect the table as the instructions say.
My strokes are blotchy or the ink spreads—what part of the process should I fix?
If strokes feather or blot, blot excess water from the brush on the paper towel before dipping it into the ink dish, load the brush lightly, and practice on the spare sheet of rice paper following the printed stroke order reference until strokes are clean.
How can I adapt this activity for a 4-year-old versus a teen?
For a 4-year-old, use a wide washable brush with tempera paint on watercolor paper and pre-drawn stroke guides with short sessions, while a teen can use thin rice paper, traditional ink, smaller brushes, and repeat the chosen kanji multiple times to refine strokes and posture.
What are simple ways to extend or personalize the finished kanji artworks?
After letting the pieces dry flat, personalize by adding a red stamped 'hanko' or mounting the rice paper on colored cardstock, create a series using different brush sizes or ink washes, and then photograph and share your favorite on DIY.org as the final step recommends.
Watch videos on how to write kanji calligraphy
How To Write A Calligraphy Alphabet
4 Videos
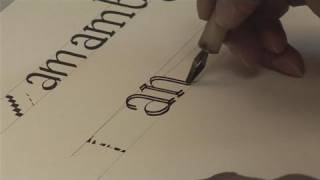
How To Write A Calligraphy Alphabet

How to Do Brush Calligraphy | Easy Calligraphy | Fun Activities For Kids
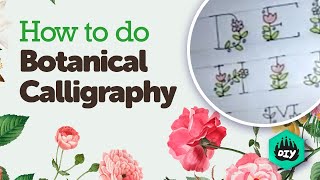
How To Do Calligraphy | Botanical Art | Fun Activities For Kids
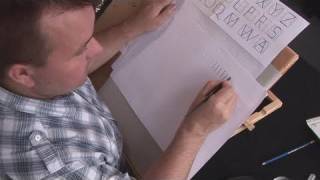
How To Master The Art Of Calligraphy
Facts about Japanese calligraphy
🖌️ Japanese calligraphy is called shodō, which literally means "the way of writing" — it’s both practice and art.
🖋️ Sumi ink is traditionally made by grinding a solid inkstick on an inkstone with water — like making your own paint!
🧾 Xuan paper (often called rice paper) soaks ink beautifully so brush strokes show lots of texture and life.
🔢 There are about 2,136 Jōyō kanji that Japanese students learn for everyday reading and writing.
🏅 Calligraphy is taught in Japanese schools and there are contests and exhibitions where young artists can shine.
How do you practice basic kanji calligraphy with a child?
What materials do I need for child kanji calligraphy?
What ages is kanji calligraphy suitable for children?
What are the benefits and safety tips for kids doing kanji calligraphy?
