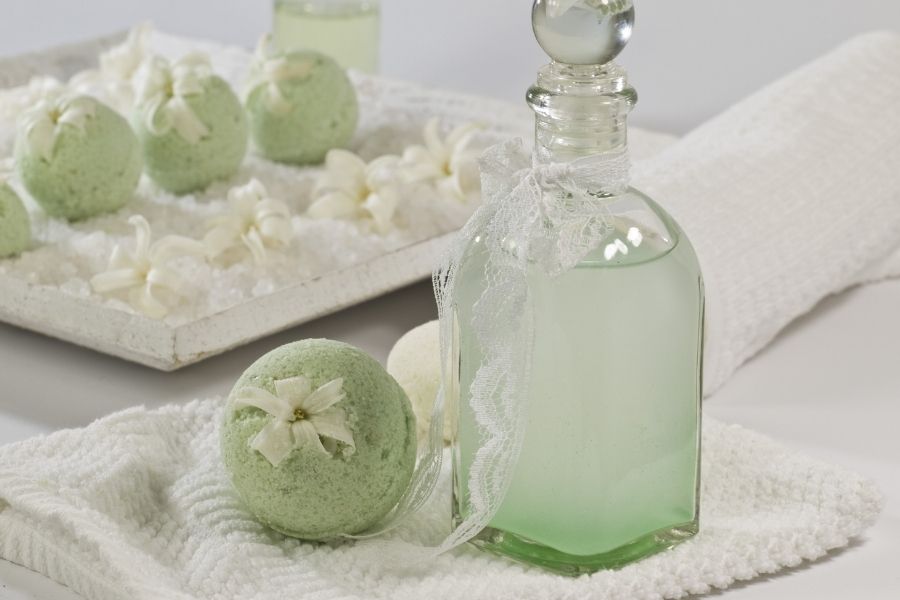
Make DIY Bath Bombs!
Make colorful fizzy bath bombs using baking soda, citric acid, oils, and molds; measure, mix, press, and learn safe craft techniques with adult supervision.


Step-by-step guide to make DIY bath bombs
Step 1
Ask an adult to help and supervise the whole activity.
Step 2
Measure 1 cup baking soda and 1/2 cup citric acid into the mixing bowl.
Step 3
Whisk the dry ingredients for 30 seconds until they look evenly mixed.
Step 4
Measure 2 teaspoons of carrier oil into a small cup.
Step 5
Add 10 drops of your chosen essential oil into the small cup.
Step 6
Add 2 to 3 drops of coloring to the small cup.
Step 7
Pour the scented colored oil into the dry mixture.
Step 8
Stir the mixture quickly for 20 seconds until the color and oil are evenly spread.
Step 9
Have an adult add 1 teaspoon of witch hazel to the bowl or spray one short spritz from the bottle.
Step 10
Stir the mixture for 10 seconds to blend the liquid in.
Step 11
Squeeze a small pinch of the mixture in your hand to check that it holds its shape.
Step 12
Pack the mixture firmly into each mold, pressing to remove air gaps.
Step 13
Let the bath bombs dry in the molds for 24 hours undisturbed.
Step 14
Carefully remove the dry bath bombs from the molds.
Step 15
Share your finished creation on DIY.org
Help!?
What can we substitute for citric acid or witch hazel if we can't find them?
If citric acid (step 2) is unavailable, buy a bath-bomb fizz mix or order citric acid online, and if witch hazel (step 8) is hard to find, an adult can use a short spritz of vodka or rubbing alcohol as the binder.
Why do my bath bombs crumble or not hold together, and how do I fix it?
If the mixture won't hold shape when you squeeze it (step 9) or bombs crumble after unmolding, add one more short spritz of witch hazel (step 8), press the mixture extra-firmly into each mold to remove air gaps (step 11), and let them dry the full 24 hours (step 12).
How can I adapt this activity for younger or older kids?
For little kids have an adult measure and whisk the dry ingredients and pour oils (steps 2–6) while they press into molds (step 11), for elementary-age kids let them measure and mix with supervision (steps 2–9), and tweens/teens can experiment with layered colors and scents or add dried botanicals before drying (steps 4, 11).
How can we personalize or improve our finished bath bombs?
To personalize, mix cosmetic mica or extra drops of coloring into the carrier oil (step 4) for shimmer, press dried flower petals or herbs into the mold before packing (step 11), or make layered color effects by packing different colored layers and allowing partial setting between layers (steps 11–12).
Watch videos on how to make DIY bath bombs
How To Make Kids "Toy Surprise" Bath Bombs
3 Videos
How To Make Kids "Toy Surprise" Bath Bombs
BATH BOMBS For BEGINNERS: A Step-by-Step Tutorial! + Easy Recipe!

Bath Bomb Making Science Project
Facts about DIY bath products and basic home chemistry
🧪 Bath bombs fizz because citric acid and baking soda react to release carbon dioxide bubbles.
🍋 Citric acid is naturally found in citrus fruits like lemons and oranges.
🧂 Sodium bicarbonate (baking soda) is a common leavening agent in baking and also a gentle household cleaner.
🌸 Essential oils give bath bombs fragrance but are highly concentrated—always dilute and use adult supervision to avoid skin irritation.
🎨 Skin-safe dyes or mica powders are used to color bath bombs and can create swirly, rainbow bathwater.
How do I make DIY bath bombs at home with kids?
What materials do I need to make colorful bath bombs?
What ages are suitable for making bath bombs with children?
What safety tips should I follow when making bath bombs with kids?
