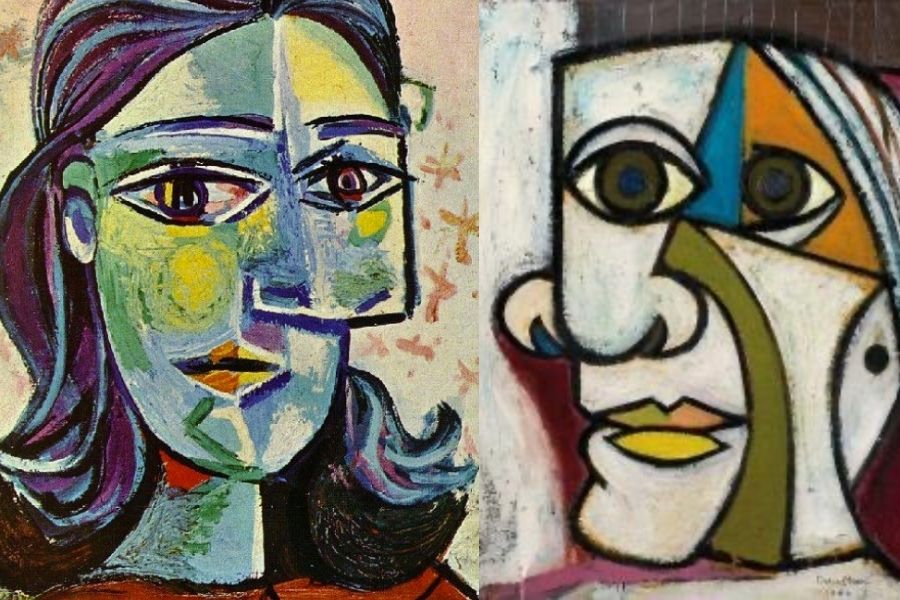
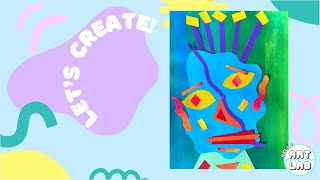
Make Picasso Portraits
Create Picasso-style portraits by rearranging facial features using collage, paint, and colored pencils to explore shapes, symmetry, and creative expression.

Step-by-step guide to make Picasso portraits
Step 1
Place your paper or cardstock on a covered workspace.
Step 2
Gather your magazines or colored paper scissors glue stick paint paintbrush colored pencils or crayons pencil and eraser.
Step 3
Cut or tear different facial features like eyes noses mouths ears and hair from the magazines or colored paper.
Step 4
Lightly sketch a simple face shape like a circle or oval on your paper with your pencil.
Step 5
Arrange the cut out features on top of your sketch in unusual or surprising places without gluing them.
Step 6
Choose the layout you like best and glue the cut out features onto the paper using the glue stick.
Step 7
Use paint to add big colorful shapes and flat planes around and on the features to make a Picasso style look.
Step 8
Allow the paint to dry completely before touching the painted areas.
Step 9
Add lines patterns and small details with colored pencils or crayons to emphasize shapes and symmetry.
Step 10
Add any small cut outs painted accents or outlines to balance the portrait and add texture.
Step 11
Sign your name on the front of your portrait.
Step 12
Write a short title and one sentence about your portrait on the back.
Step 13
Share your finished creation on DIY.org
Final steps
You're almost there! Complete all the steps, bring your creation to life, post it, and conquer the challenge!

Help!?
What can we use if we don't have magazines or colored paper for the cut-out facial features?
If you don't have magazines, substitute torn colored paper, old calendars, fabric scraps, or printed facial-feature templates so you can still complete the 'cut or tear different facial features' step.
What should we do if the glued features keep lifting or the paint makes the paper buckle?
If cut-out features lift or paint buckles the paper when you 'glue the cut out features' or 'use paint', press glued edges firmly, use a thin layer of acrylic or tempera, and weigh pieces down with a clean book while they dry.
How can we adapt this activity for younger or older children?
For younger kids, pre-cut big eyes and mouths and skip the 'lightly sketch a simple face' step using washable paint, while older kids can sketch complex face shapes, layer colorful planes in the 'use paint' step, and write a longer artist statement on the back.
How can we extend or personalize our Picasso portraits beyond the basic steps?
To enhance the portrait, add textured scraps like yarn, buttons, or fabric when you 'add any small cut outs painted accents or outlines', try metallic paint for outlines, sign the front, title the back, and display a mini gallery of finished pieces.
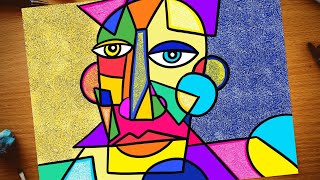
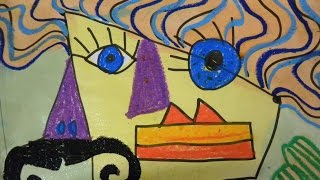
Watch videos on how to make Picasso portraits
Abstract portraits in the style of Pablo Picasso art tutorial for kids
4 Videos

Abstract portraits in the style of Pablo Picasso art tutorial for kids
Cubism Picasso inspired portrait | Cubism art lesson for kids | How to draw Cubism face drawing
Kids Can Draw: Picasso Portraits For Young Kids (patron spots available)
How to create a Cubism Collage Portrait - Inspired by Pablo Picasso
Facts about mixed-media portrait art for kids
✂️ Artists began using collage in modern fine art around 1912, gluing paper, cloth, and found objects right onto paintings.
🎨 Pablo Picasso helped invent Cubism — a style that breaks faces into geometric shapes and shows several angles at once.
🖼️ Picasso's 1907 painting "Les Demoiselles d'Avignon" shocked the art world and pushed portrait-making toward Cubist experiments.
🤯 Picasso's full name is famously very long and full of many names — it's a playful fact kids love to say out loud!
🧑🎨 Over his life Picasso created roughly 50,000 artworks (paintings, drawings, sculptures, ceramics), so there's lots to explore for inspiration.
How do you make a Picasso-style portrait with a child?
What materials do I need to make Picasso portraits?
What ages are Picasso portrait activities suitable for?
What are the benefits of making Picasso-style portraits with kids?


One subscription, many ways to play and learn.
Only $6.99 after trial. No credit card required