Draw a Reptile Eye
Draw a detailed reptile eye using pencil, colored pencils, or markers; observe photos, practice scales, highlights, and realistic pupil shapes to improve shading.


Step-by-step guide to draw a reptile eye
How to draw a DETAILED Reptile/ Dragon Eye using Coloured Pencils (Step by Step Tutorial)
Step 1
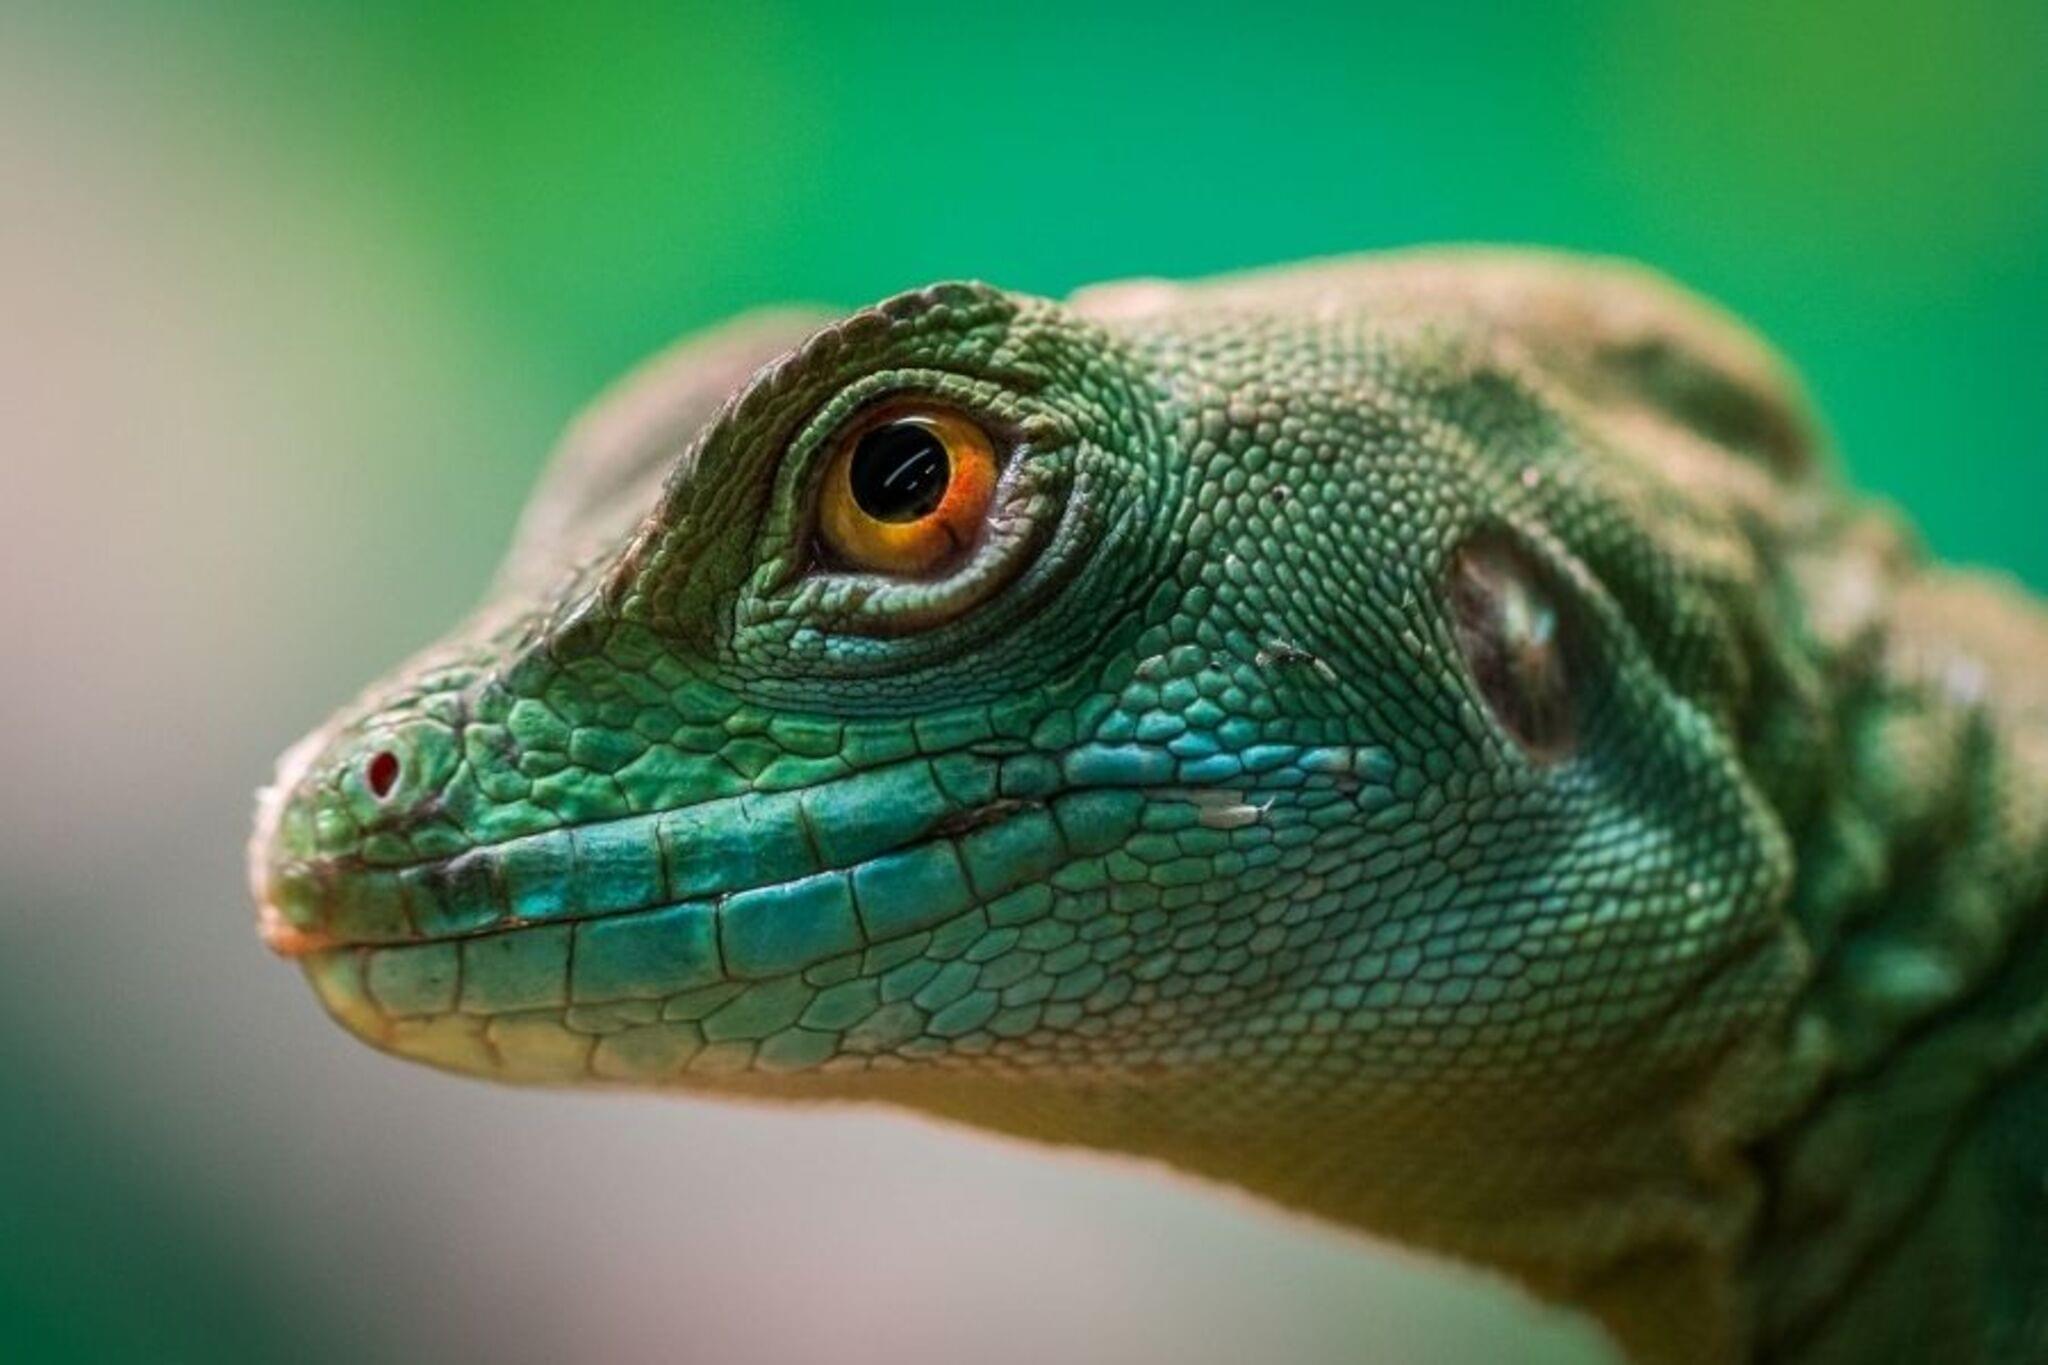
Choose one clear reptile photo to study closely.
Step 2
Lightly draw the basic eye shape (oval or circle) in the middle of your paper.
Step 3
Draw the pupil shape you see in the photo (vertical slit round or other) inside the eye shape.
Step 4
Sketch the eyelids and skin folds around the eye with light pencil lines.
Step 5
Lightly draw scale shapes around the eye following the photo’s pattern.
Step 6
Mark where the light hits the eye by drawing tiny white shapes or leaving small white areas for highlights.
Step 7
Add radial texture lines in the iris by making short strokes from the pupil outward.
Step 8
Shade the pupil and the deepest shadows with a darker pencil layer.
Step 9
Apply color to the iris and nearby scales in thin layers with your colouring materials.
Step 10
Gently blend colors with your blending tool or a light pencil to soften transitions.
Step 11
Erase stray pencil lines and add bright sparkle highlights with the white gel pen to make the eye shine.
Step 12
Share a photo of your finished reptile eye on DIY.org so everyone can see your realistic drawing.
Help!?
What can we use if we don't have a white gel pen or a blending tool?
If you don't have a white gel pen for step 11, use a tiny dot of white acrylic paint applied with a toothpick or the tip of a white colored pencil, and substitute a tissue, cotton swab, or your finger for the blending tool in step 9.
My pupil looks flat or the highlight got smudged—how can I fix that?
Protect highlights by leaving the small white areas described in step 5 and erase stray graphite before adding color, deepen the pupil with a darker pencil layer in step 8, then redraw tiny bright sparkles with your white gel pen or paint after blending.
How can I adapt the drawing for different ages or skill levels?
For younger kids, simplify step 5 by drawing large, easy scale shapes and use crayons for step 8, while older kids can focus on step 7's radial iris texture and build thin color layers in step 8 for realistic detail.
What are some ways to make the reptile eye drawing more detailed or personal before sharing it?
Enhance the finished eye by adding tiny reflected shapes of the reptile's environment inside the highlights from step 5, use tissue paper or glued-on textured paper for raised scales around the eye after step 10, and sign or add a background before uploading to DIY.org.
Watch videos on how to draw a reptile eye
Step-by-Step Reptile Drawing Tutorial for Kids: How to Draw Frog, Alligator, Cobra & More!
4 Videos
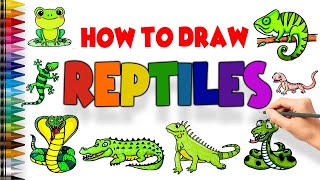
Step-by-Step Reptile Drawing Tutorial for Kids: How to Draw Frog, Alligator, Cobra & More!
How to draw a REPTILE EYE with pastel pencils | REAL TIME drawing tutorial
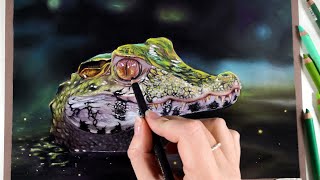
Draw a Lizard with Me! 🦎✨ | Step-by-Step Drawing Tutorial
Reptiles drawing easy,Draw Reptile easy,How to draw reptiles easy,Draw snake, lizard, python, turtle
Facts about reptile anatomy
🐍 Many snakes and some lizards have vertical slit pupils that help them judge distance and control bright light — perfect detail to copy when drawing pupils.
🐊 Crocodiles and some geckos have a reflective layer called a tapetum lucidum that can make their eyes glow in low light — great for dramatic highlights in photos.
👁️ Reptile irises come in wild colors and patterns — gold, emerald, speckled or striped — giving tons of options for shading and color choices.
✏️ Artists create realistic scales and skin by layering tiny strokes or dots with pencils or colored pencils — practice small repeating marks to build texture.
🎨 A single small white highlight (specular reflection) can instantly make an eye look wet and alive — placement is as important as size.
How do I draw a realistic reptile eye step by step?
What materials do I need to draw a reptile eye?
What ages is drawing a reptile eye suitable for?
What are the benefits, safety tips, and variations for this activity?
