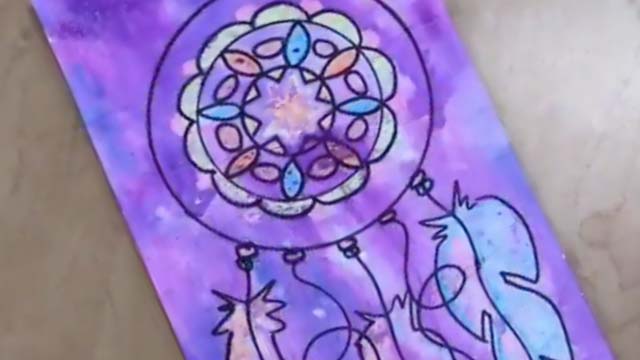
Sgraffito with oil pastels
Make a colorful sgraffito picture by layering oil pastels, covering with tempera or black oil pastel, then carefully scratching designs to reveal bright colors underneath.


Step-by-step guide to make a colorful sgraffito picture with oil pastels
Step 1
Choose a clean workspace where you can make a colorful mess.
Step 2
Put your thick paper or cardstock flat on the workspace.
Step 3
Cover the whole paper with several bright layers of oil pastel.
Step 4
Gently rub the colors with your finger or a tissue to blend them a little.
Step 5
Lightly draw a simple design or shapes on the colored surface with a pencil for a guide.
Step 6
Completely cover the colored surface with a thick even layer of black oil pastel or black tempera paint.
Step 7
If you used paint wait until the black tempera is totally dry before you scratch.
Step 8
Practice scratching on scrap paper to find the right pressure that reveals color underneath.
Step 9
Carefully scratch your pencil design into the black layer using the toothpick or stylus to reveal the bright colors beneath.
Step 10
Gently brush away any loose pastel dust with a soft cloth or blow it off.
Step 11
Share your finished sgraffito picture on DIY.org
Help!?
What can we use if oil pastels, black tempera, or a stylus are hard to find?
If you don't have oil pastels, use soft wax crayons applied in thick, bright layers on your cardstock and blended with a tissue, swap the black oil pastel/tempera for matte black acrylic or a softened black crayon for the top layer, and use a sharpened wooden skewer or ballpoint pen cap as a stylus.
Why aren't my scratches showing the bright colors or why does the black layer smudge?
Practice scratching on scrap paper to find the right pressure, ensure the black tempera is totally dry or the black oil pastel layer is thick and even before you scratch with the toothpick, and gently brush away any loose pastel dust after scratching to reveal clean color.
How can I adapt this sgraffito activity for different age groups?
For younger kids pre-draw big simple shapes on thick paper and let them use blunt tools like a popsicle stick and crayons for the top layer, while older children can draw finer pencil designs, practice on scrap paper, and use a sharper stylus or black tempera for more detailed sgraffito.
How can we enhance or personalize the finished sgraffito picture?
Enhance the piece by layering metallic or neon oil pastels underneath before adding the black layer, use stencils for patterned scratches, gently brush and frame the final work, and photograph it to share on DIY.org.
Watch videos on how to make a sgraffito picture with oil pastels
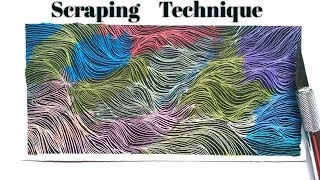
Sgraffito Technique using Oil Pastels - Step by Step
4 Videos
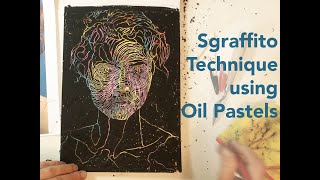
Sgraffito Technique using Oil Pastels - Step by Step
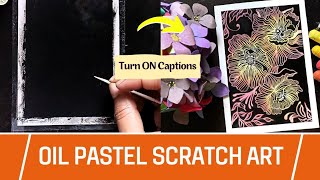
SGRAFFITO Technique Oil Pastel | Scratch Art with Oil Pastel
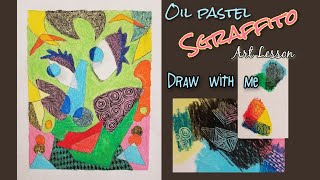
Awesome Sgraffito Art Technique Lesson
How to make Scraping Art using Oil Pastel | Sgraffito technique | Line Art
Facts about sgraffito and oil pastel techniques
🎨 "Sgraffito" comes from the Italian for "to scratch" — artists have used the technique on pottery, plaster, and paintings for centuries.
🖍️ Oil pastels are made of pigment mixed with oil and wax, so they stay creamy, blendable, and can be scratched without fully drying.
🥚 Traditional tempera often uses egg yolk as a binder; it dries quickly and was widely used before oil painting became dominant.
✨ Layering bright colors first and a dark top layer makes sgraffito lines pop like neon when you scratch through them — a quick way to get glowing effects.
🔧 Artists use toothpicks, wooden skewers, craft knives, or specialty scratch tools to create different line widths and textures in sgraffito.
How do you do sgraffito with oil pastels?
What materials do I need for sgraffito with oil pastels?
What ages is sgraffito with oil pastels suitable for?
What safety tips should I follow for sgraffito with oil pastels?
