Draw fresh flowers using real-life inspiration
Observe and sketch fresh flowers from real life, noting shapes, colors, and proportions, then add shading or simple watercolor to bring your drawings alive.

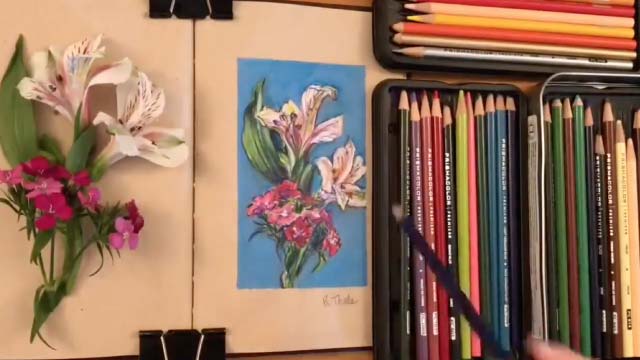

Step-by-step guide to draw fresh flowers from life
Step 1
Place your fresh flower on a table in bright light so you can see shapes and colors clearly.
Step 2
Sit comfortably and quietly look at the flower for one minute to notice big shapes colors and how parts fit together.
Step 3
Hold your pencil at arm’s length and use it to compare the flower’s height and width to find its proportions.
Step 4
Lightly draw the main shape of the flower and a simple line for the stem using basic circles or ovals.
Step 5
Draw each petal one by one around the bloom matching the size curves and spacing you see.
Step 6
Sketch the leaves and stem details watching where they attach and how long they are.
Step 7
Use your eraser to gently remove any extra guide lines so your drawing looks neat.
Step 8
Add small details like the flower center veins and tiny curves to make it look more real.
Step 9
Decide whether you will shade with colored pencils or paint a simple watercolor wash.
Step 10
Add light shading with colored pencils or paint thin watercolor washes building color slowly and gently.
Step 11
If you used watercolors let the paper dry completely before adding more details.
Step 12
Add final darker accents or highlights with a sharp pencil or stronger color to make your drawing pop.
Step 13
Share your finished drawing on DIY.org.
Help!?
What can we use instead of a fresh flower or watercolor paints if they're hard to find?
If you don't have a fresh flower, use a high-resolution photo or a silk bloom on the table for observation, and if you lack watercolors try watered-down food coloring, diluted acrylic, or colored pencils for the shading step.
My petals look wrong after measuring with my pencil—how can I fix proportions and placement?
If proportions are off when you hold the pencil at arm's length, lightly mark the flower's height and key widths on your paper (step 4) and draw faint guide lines or use a ruler before adding each petal one by one.
How can I change the activity for younger or older children?
For younger kids simplify step 4 by tracing big circles or sticking petal shapes and for older kids extend steps 10–12 by practicing thin watercolor washes, layering colors slowly, and adding fine veins and darker accents with a sharp pencil.
How can we extend or personalize the finished drawing?
To extend the activity, make a series from different angles, press a copy of the fresh flower to attach beside the drawing, add a background wash during the watercolor step, and then share the finished piece on DIY.org with your observation notes.
Watch videos on how to draw fresh flowers from life
How To Draw A Hibiscus Flower 🌺
4 Videos

How To Draw A Hibiscus Flower 🌺
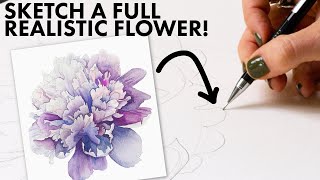
The EASIEST way to draw a realistic flower.
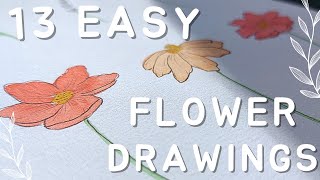
Lets make 13 EASY flower drawings (beginner friendly doodles)
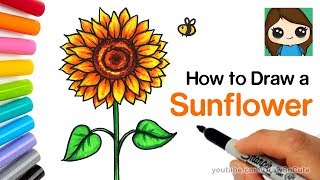
How to Draw a Sunflower Easy | Realistic
Facts about observational drawing and watercolor techniques
🌼 The sunflower head is actually made of hundreds of tiny flowers called florets.
🎨 Watercolor's transparent layers are perfect for capturing delicate petal colors.
🖼️ Pierre-Joseph Redouté was nicknamed "the Raphael of flowers" for his detailed botanical watercolors.
🔍 Maria Sibylla Merian traveled to Suriname at 52 to study and paint tropical plants and insects.
✏️ Artists often use a pencil held at arm's length to measure flower proportions while sketching.
How do I draw fresh flowers using real-life inspiration with my child?
What materials do I need to draw and paint fresh flowers with a child?
What ages is observing and sketching fresh flowers suitable for?
What are the benefits of observing and sketching fresh flowers with children?
