Perfect your facial proportions
Learn to draw faces using simple measurements and guidelines; practice sketching proportionate eyes, nose, mouth, and ears to create a balanced self-portrait.


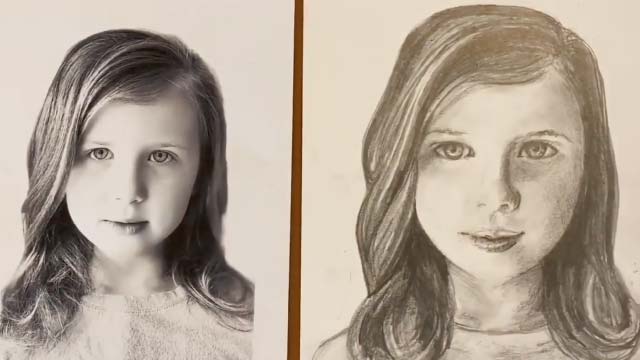
Drawing Apps
Step-by-step guide to perfect your facial proportions
Step 1
Lay out your materials on a table and sit comfortably facing the mirror.
Step 2
Lightly draw a big oval in the center of the paper to make the shape of your head.
Step 3
Draw a straight vertical line down the middle of the oval to split the face left and right.
Step 4
Draw a horizontal line across the middle of the oval to mark where the eyes will sit.
Step 5
Hold your pencil at arm’s length and use it to measure the width of one of your eyes while looking in the mirror.
Step 6
Transfer that pencil measurement to the eye line by marking three equal segments so the two eyes will be one eye-width apart.
Step 7
Draw two almond-shaped eyes centered on the outer marks you made on the eye line.
Step 8
Mark the bottom of the nose halfway between the eye line and the bottom of the oval (the chin).
Step 9
Sketch the nose shape from the eye line down to the nose mark using gentle lines.
Step 10
Mark a mouth line one-third of the way between the nose mark and the chin.
Step 11
Draw the mouth centered on the vertical line with the corners roughly under the eye centers and add ears between the eye line and the nose mark.
Step 12
Add a neck and shoulders, then gently erase the construction lines and color your portrait and hair.
Step 13
Share your finished self-portrait on DIY.org.
Help!?
What can we use if we don't have a mirror or a pencil for the measuring step?
Use a smartphone front camera or a clear window instead of a mirror, and substitute the pencil-measure by using a ruler or a small sticky note to transfer one eye-width onto the eye line.
My eyes look uneven or too close together—what should I do?
Recheck the eye-width by holding your pencil at arm's length exactly as the instructions say, mark three equal segments across the eye line, then gently erase and redraw the almond-shaped eyes centered on the outer marks.
How can I adapt this activity for different ages?
For little kids, pre-draw the big oval and eye line and let them use sticker eyes and chunky crayons to color, while older kids can focus on refining the nose sketch from the eye line to the nose mark and add shading and jawline detail.
How can we extend or personalize the portrait after finishing the basic steps?
Try inking your final lines, add textured hair with markers, create a background that matches your outfit or mood, experiment with different expressions in the mirror, then erase construction lines, color the portrait, and share it on DIY.org.
Watch videos on how to perfect your facial proportions
How to Draw Facial Proportions
4 Videos
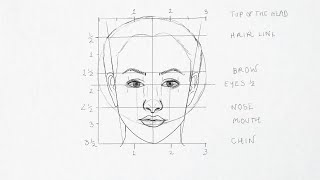
How to Draw Facial Proportions
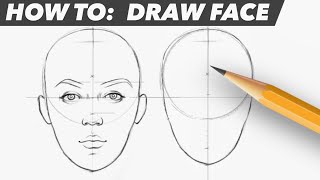
How To: Draw Face | Easy Beginner Proportion Tutorial
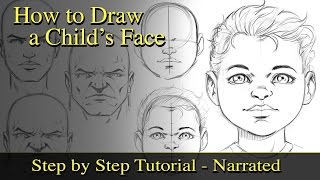
How to Draw a Child's Face and Study Proportions - Narrated
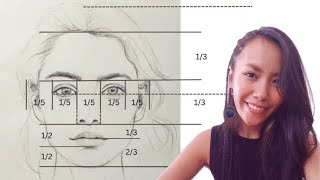
How To Draw a Face with Correct Facial Proportions
Facts about portrait drawing for kids
👀 The average adult face is about five eye-widths across — a great quick rule for spacing the eyes!
🎨 Leonardo da Vinci used precise body measurements (see Vitruvian Man) to help artists draw realistic proportions.
🎯 In portrait drawing, the eyes usually sit about halfway down the head — not near the top.
👂 The top of the ear lines up roughly with the eyebrow and the bottom lines up with the base of the nose.
😄 The corners of the mouth often align under the centers of the eyes (the pupils), which helps place smiles.
How do I teach my child to draw faces with correct proportions?
What materials do we need to practice facial proportions and self-portraits?
What ages is face-proportion drawing suitable for?
What are the benefits of practicing facial proportions and self-portraits?
