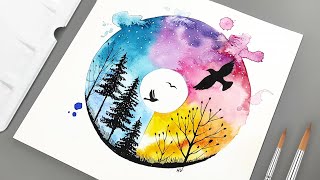
Paint silhouettes with watercolors
Create bold silhouette paintings using watercolors: trace or cut simple shapes, paint colorful backgrounds, and reveal dark shapes by filling or masking the silhouettes.


Step-by-step guide to paint silhouettes with watercolors
Step 1
Gather the materials listed and place them on a clean table.
Step 2
Choose a simple silhouette shape you like such as a bird star tree or rocket.
Step 3
Trace your chosen shape onto the scrap paper with a pencil.
Step 4
Cut out the traced shape carefully to make a paper mask.
Step 5
Lay your watercolor paper flat on the table.
Step 6
Tape the paper mask onto the watercolor paper where you want the silhouette to appear.
Step 7
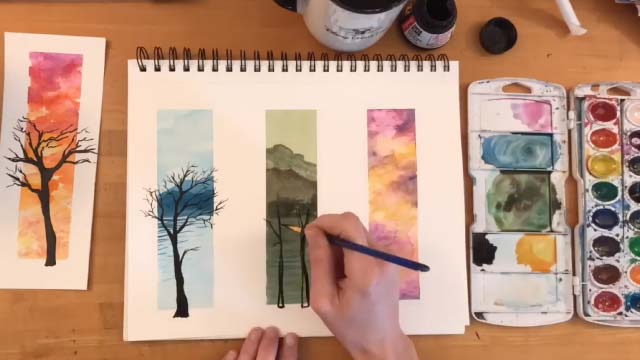
Paint a bright colorful background around the taped mask using watercolor paints.
Step 8
Wait until the background paint is completely dry.
Step 9
Peel the paper mask off carefully to reveal the unpainted silhouette area.
Step 10
Fill the revealed silhouette area with black watercolor paint or a black marker to make a bold shape.
Step 11
Let the dark silhouette dry completely.
Step 12
Add any small touch-ups around the edges with a tiny brush if needed.
Step 13
Share your finished silhouette painting on DIY.org
Help!?
What can I use if I don't have watercolor paper or watercolors for the background?
If you don't have watercolor paper use heavyweight cardstock or mixed-media paper and if you lack watercolor paints substitute diluted tempera or food coloring applied with a wet brush for the step "Paint a bright colorful background around the taped mask".
Why is my paint bleeding under the taped mask and how do I fix it?
To prevent bleeding under the paper mask press the tape down firmly along the edges before painting and make sure to wait until the background paint is completely dry (step 7) before peeling the mask off carefully.
How should I adapt the cutting and painting steps for younger or older kids?
For younger children have an adult trace and cut the paper mask and let them paint large washes or use sponges, while older kids can trace more intricate silhouettes and experiment with layered watercolor washes before filling the silhouette with black paint or marker.
How can we personalize or take this silhouette painting further after finishing the black silhouette?
After peeling the mask and filling the silhouette (step 8) personalize the piece by adding patterns or metallic accents inside the silhouette with a gel pen, or by creating a series of different silhouettes on one background.
Watch videos on how to paint silhouettes with watercolors
How to Paint Tree Silhouettes Over a Watercolor Landscape | Painting Lesson | Art Tutorial
4 Videos
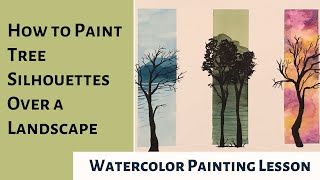
How to Paint Tree Silhouettes Over a Watercolor Landscape | Painting Lesson | Art Tutorial
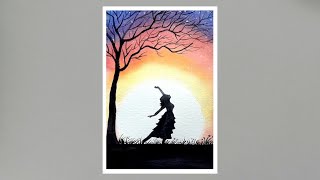
How to Create Stunning Silhouette Art with Watercolors | Step-by-Step Guide
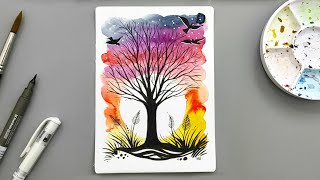
Silhouette Painting with Watercolor | Easy and Creative Art
Easy Watercolor Circle Landscape | Simple Silhouette Painting for Beginners
Facts about watercolor painting for kids
🎨 Watercolors are transparent, so layered washes make glowing, colorful backgrounds perfect for silhouette art.
🖤 Before photography, silhouette portraits (cut paper profiles) were a popular and inexpensive way to capture a likeness.
✂️ Henri Matisse's famous paper cut-outs show how bold simple shapes can create striking art—just like silhouettes.
🧴 Masking fluid (frisket) lets you block areas of paper so you can paint vibrant backgrounds and then reveal crisp dark shapes.
🎬 Lotte Reiniger used silhouette cut-outs to create one of the first feature-length animated films in 1926.
How do you make watercolor silhouette paintings with kids?
What materials do I need for watercolor silhouette art?
What ages is the watercolor silhouette activity suitable for?
What are the benefits of painting silhouettes with watercolors?
