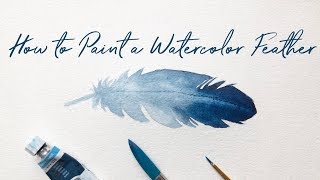
Paint feathers with watercolors
Paint realistic and colorful feathers using watercolors, observing feather shapes, practicing brush strokes, color mixing, and texture techniques to create delicate feather artwork.

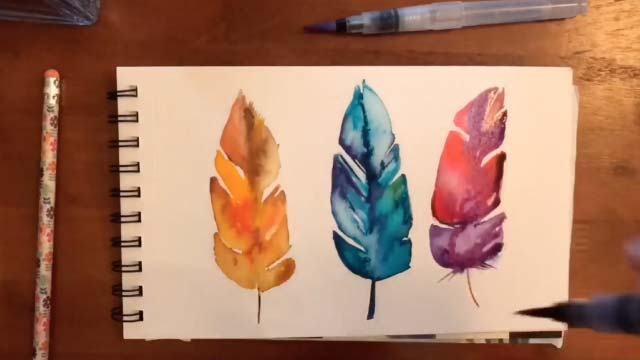

Step-by-step guide to paint feathers with watercolors
Step 1
Gather all the materials listed so everything is within reach.
Step 2
Protect your table by placing a paper towel or scrap paper under your watercolor paper.
Step 3
Find a real feather or a photo of a feather and look closely at its shape and the tiny lines.
Step 4
Lightly draw the feather outline and a center shaft with your pencil on the watercolor paper.
Step 5
Dip a large brush in clean water and gently wet the inside of your pencil outline.
Step 6
Apply a light base wash of a pale color inside the wet area to create the feather’s soft background.
Step 7
Mix two colors on your palette to make a new shade for a blended look.
Step 8
Use a small brush to paint short outward strokes from the center shaft to make the feather barbs.
Step 9
Paint the center shaft a bit darker with a narrow brush to show the feather’s spine.
Step 10
Dab a paper towel or a clean damp brush to lift tiny bits of paint and make soft highlights.
Step 11
Rinse your brushes and tidy your palette so colors stay clean for details.
Step 12
Let the painting dry completely before adding any final marks.
Step 13
Add tiny fine lines or details with your black fine tip marker or a very fine brush to finish the texture.
Step 14
Take a photo of your finished feather artwork and share it on DIY.org.
Help!?
What can I use if I don't have watercolor paper, real feathers, or watercolor paints?
Use heavyweight mixed-media or thick printer paper instead of watercolor paper, a close-up printed feather photo or a craft-store paper feather in place of a real feather for the 'look closely' step, and dilute washable tempera or food coloring on your palette if you don't have watercolor paints.
My feather painting looks muddy or the paper is buckling — how can I fix that?
Prevent muddy colors by rinsing your brushes and tidying your palette between mixes (step 9), lift excess paint for highlights with the paper towel or clean damp brush (step 8), and avoid buckling by wetting only inside the pencil outline lightly (step 4) and allowing each wash to dry flat before adding more (step 10).
How do I adapt this activity for younger kids or older kids who want more challenge?
For younger children simplify by using a large brush for a single pale base wash and letting them stamp with a real feather instead of painting small barbs, while older kids can mix two colors on the palette for subtle blends, use small and narrow brushes for detailed barbs and shafts, and finish with fine lines from the black fine-tip marker (steps 5, 6, 7, 11).
How can we extend or personalize the feather painting once it's finished?
Create a set of varied feather sizes, add metallic watercolors or sprinkle salt onto wet washes for texture, mount finished pieces on colored cardstock, or photograph and share each finished feather on DIY.org to build an online gallery (steps 5, 8, 10, 12).
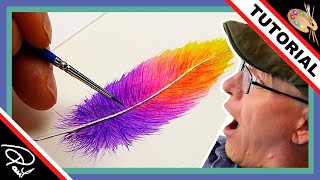
Watch videos on how to paint feathers with watercolors
Simple Watercolor Painting Ideas for Beginners | How to Paint Feathers with Watercolors Wet in Wet
4 Videos
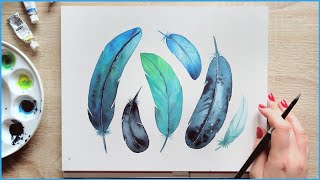
Simple Watercolor Painting Ideas for Beginners | How to Paint Feathers with Watercolors Wet in Wet
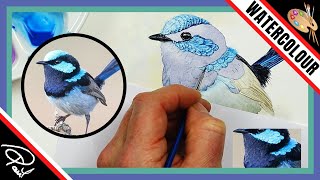
How to Paint Feathers - 5 EASY TIPS & TECHNIQUES (Watercolor Birds)
How to Paint Feathers in Watercolor (in JUST 15 mins!)
How to Paint a Watercolor Feather for Beginners | Easy Watercolor Feathers
Facts about watercolor painting for kids
🪶 Feathers are mostly keratin—the same protein found in human hair and nails.
🎨 Watercolor paint can be reactivated with water after it dries, so you can lift or blend later.
🖌️ A dry brush makes scratchy textures great for feather barbs; wet-on-wet creates soft, blended plumes.
🌈 Adding a tiny amount of a complementary color can mute or deepen a hue for more realistic feather tones.
🐦 John James Audubon studied birds closely and painted incredibly detailed feathers in The Birds of America.
How do I paint realistic and colorful feathers with watercolors?
What materials do I need to paint watercolor feathers?
What ages is painting watercolor feathers suitable for?
What are the benefits and fun variations of painting feathers?
