Practice Hand Lettering
Practice hand lettering by drawing strokes, alphabet letters, and decorative flourishes on paper. Create a colorful nameplate or greeting card while learning control.


Step-by-step guide to practice hand lettering
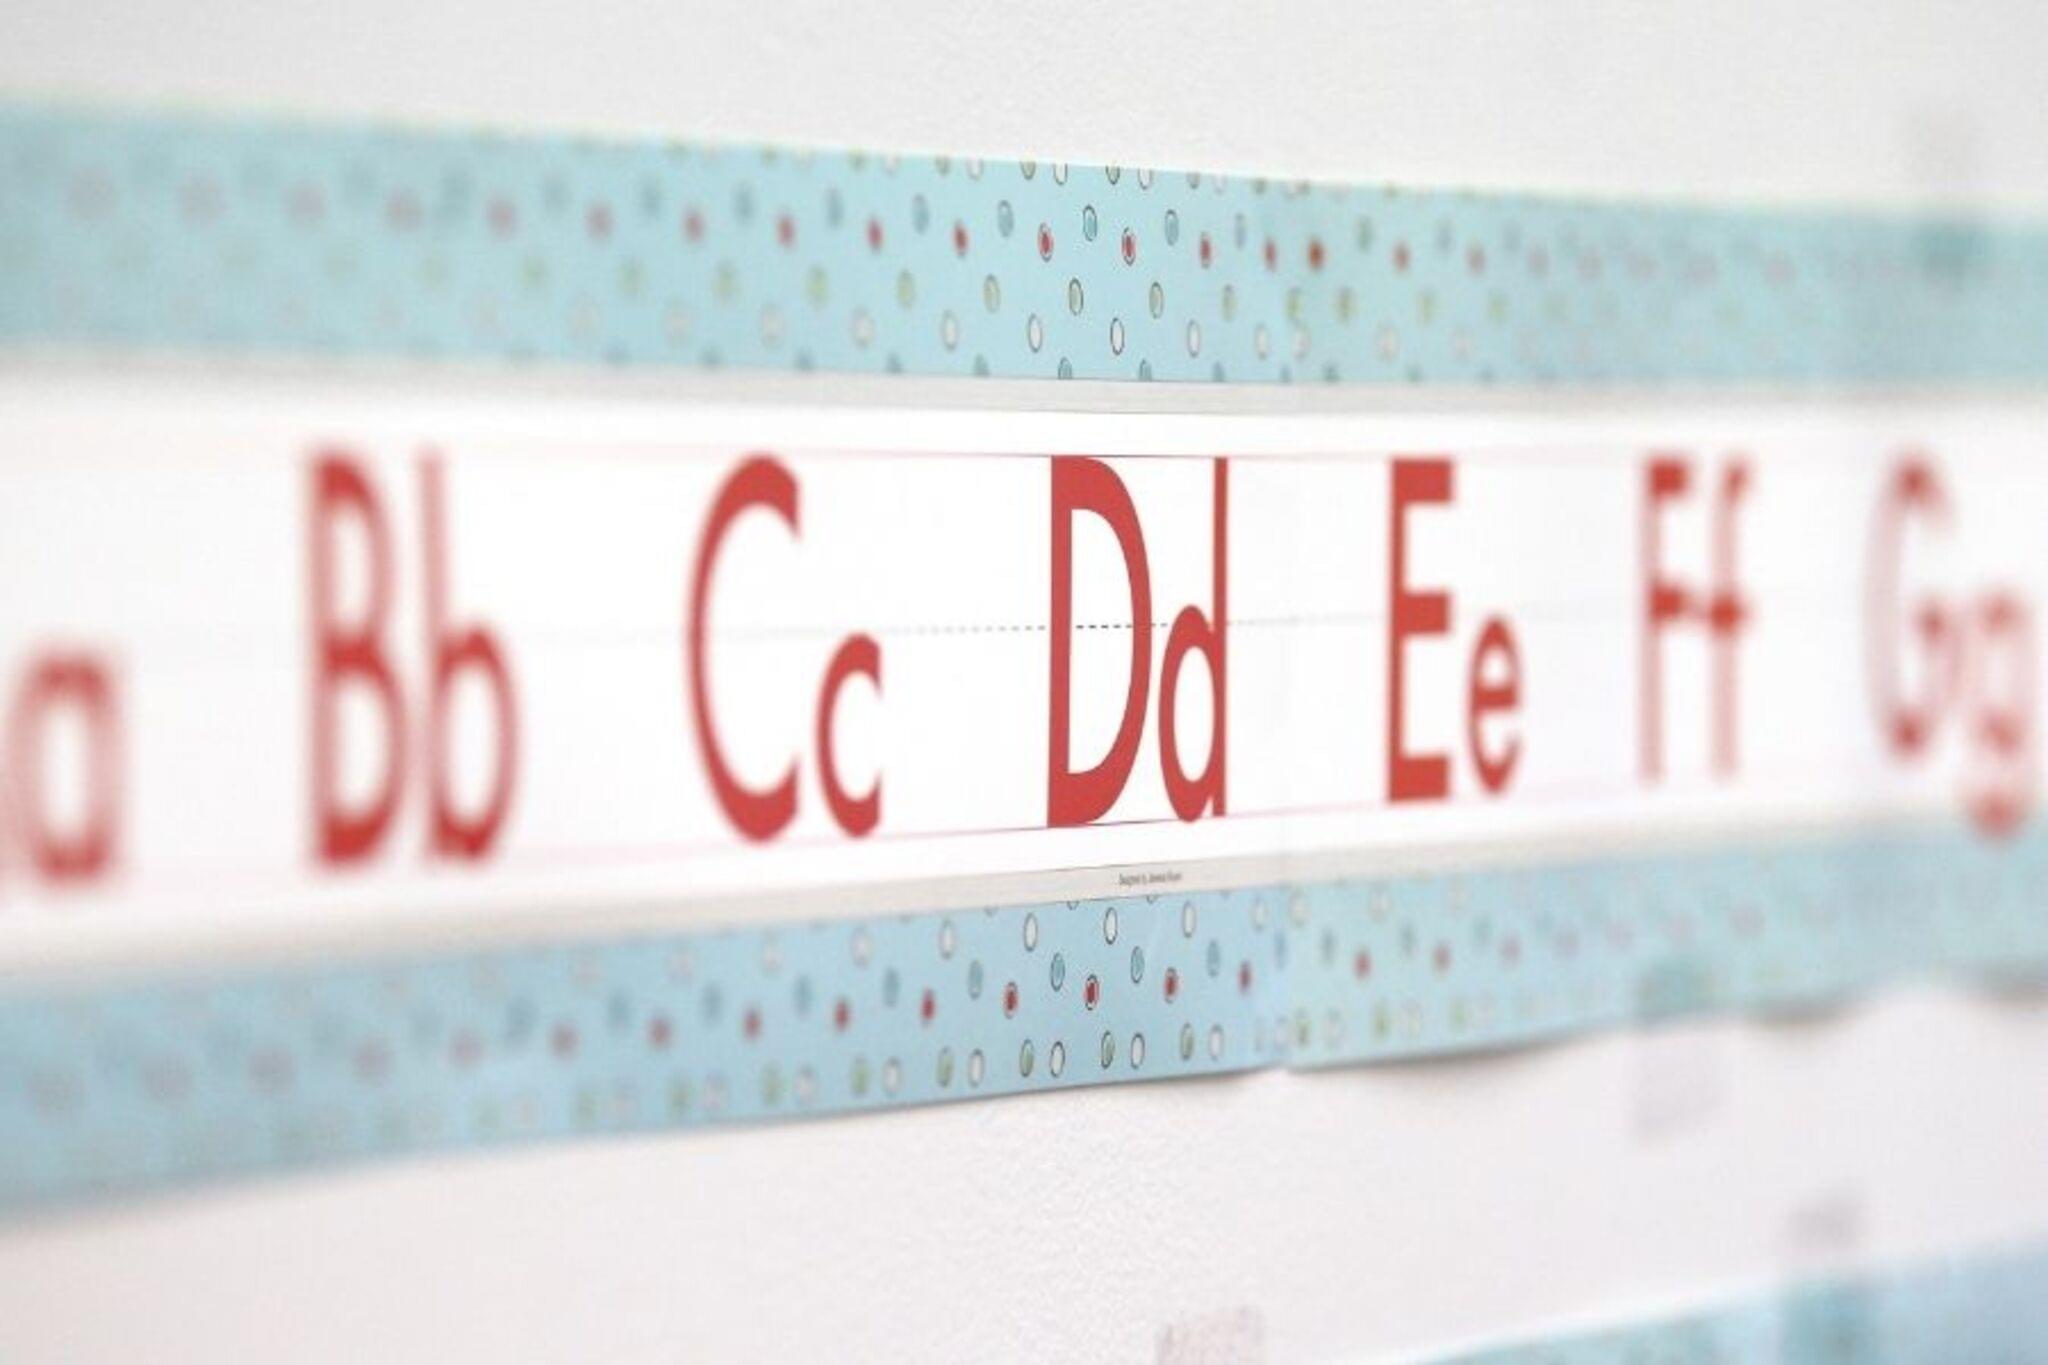
Learn to write the letters - Practicing handwriting - Alphabet for kids
Step 1
Gather all the materials and put them on your table.
Step 2
Find a flat workspace and place a scrap paper and a final paper or folded card in front of you.
Step 3
Warm up by drawing ten straight lines across the scrap paper.
Step 4
Warm up by drawing ten curved lines across the scrap paper.
Step 5
Practice thin upstrokes and thick downstrokes on the scrap paper.
Step 6
Write the lowercase alphabet in your chosen lettering style on the scrap paper.
Step 7
Write the uppercase alphabet in your chosen lettering style on the scrap paper.
Step 8
Draw three decorative flourishes on the scrap paper to try different swirls and loops.
Step 9
Lightly sketch your name or greeting on the final paper or folded card with your pencil.
Step 10
Trace over your pencil letters on the final paper with the black marker using the lettering strokes you practiced.
Step 11
Let the ink dry completely before touching the paper.
Step 12
Gently erase the remaining pencil lines after the ink is dry.
Step 13
Decorate your nameplate or card using colouring materials and stickers as you like.
Step 14
Share your finished creation on DIY.org.
Help!?
What can I use if I don't have a black marker or special paper for the final card?
If you don't have a black marker, use a dark ballpoint pen, fine-tip felt pen, or a gel pen to trace over the pencil on printer paper or any folded card, and use regular printer paper as scrap paper for warm-ups.
My letters look shaky or the ink smudges—what should I check or do differently?
Practice more warm-up straight and curved lines and thin upstrokes/thick downstrokes on scrap paper, use a smoother heavier-weight final paper to prevent marker bleed, and always let the ink dry completely before gently erasing pencil lines.
How can I adapt this activity for different ages or skill levels?
For preschoolers, pre-draw the lowercase alphabet and have them trace with a thick marker on a larger card; for older kids, add the uppercase alphabet practice, try three decorative flourishes, and refine thin upstrokes and thick downstrokes before tracing with the black marker.
What are simple ways to personalize or extend the hand-lettering project?
After tracing your penciled name with the black marker, experiment with colored brush pens or metallic markers when decorating, add stickers and patterns as described in the final step, or make a set of cards and share your favorites on DIY.org.
Watch videos on how to practice hand lettering
Handwriting Made Easy: Explore Twinkl's Innovative Workbooks and Fun Learning Methods!
4 Videos
Handwriting Made Easy: Explore Twinkl's Innovative Workbooks and Fun Learning Methods!

Learn to sign the alphabet | Magic Hands | CBeebies
Learning to write - Numbers and letters for kids

Fun Letter Formation Activities - Learn to Write Letters | Letter Writing | Letter Formation | KS1
Facts about hand lettering and calligraphy for kids
✍️ Calligraphy comes from Greek words meaning “beautiful writing” and has been practiced for thousands of years.
🖋️ Brush pens let you make thin upstrokes and thick downstrokes just by changing pressure — perfect for hand lettering.
🕰️ The Gutenberg press in the 15th century launched modern typography and changed how letters are designed and shared.
🎨 Hand-lettering is different from calligraphy: lettering treats each letter as a tiny drawn illustration you can customize.
💌 Greeting cards became a big industry after Hallmark was founded in 1910 — a fun reason to make your own cards!
How do you practice hand lettering at home?
What materials do I need for a hand lettering activity?
What ages is hand lettering suitable for?
What are the benefits and safe variations of hand lettering?
