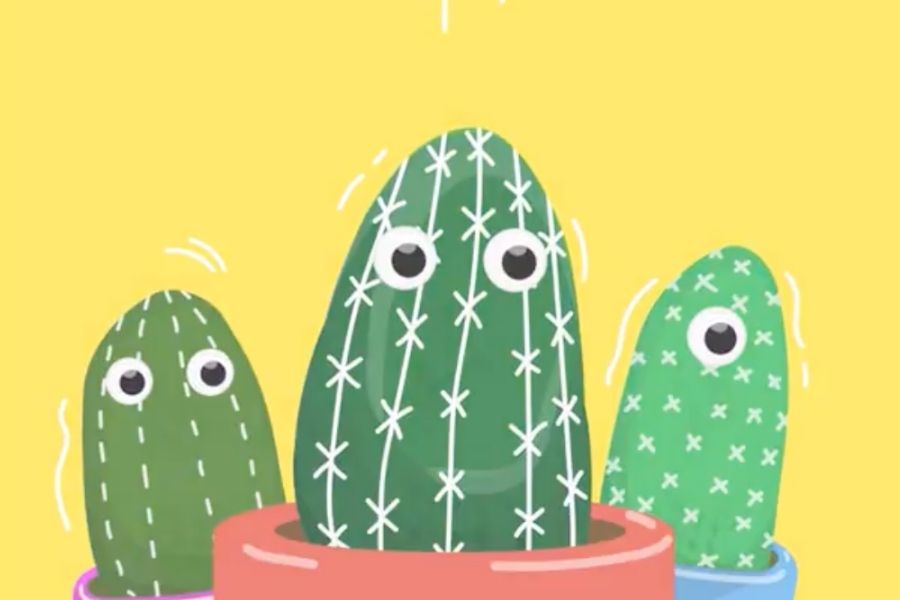
Make a Rock Cactus
Decorate and arrange small rocks into a cactus display using safe paint, glue, and pebbles, learning about plant shapes and creative recycling.


Step-by-step guide to make a rock cactus
Step 1
Cover your workspace with newspaper or a table cover.
Step 2
Gather all the materials and place them on your covered workspace.
Step 3
Choose rocks that look like a cactus body and smaller rocks that can be arms.
Step 4
Wipe each rock with a damp paper towel to remove dust and let them dry.
Step 5
Paint the rocks green or any color you like to make the cactus base and let the paint dry.
Step 6
Paint small details like spikes or tiny flowers on the rocks and let those details dry.
Step 7
Place your tray or base in front of you to be ready for arranging.
Step 8
Put the largest painted rock on the base where you want the cactus body to sit.
Step 9
Glue the remaining rocks one at a time onto the base to build arms and shapes for your cactus.
Step 10
Glue small pebbles around the cactus base to look like soil.
Step 11
Let all the glue and paint dry completely following the product drying times.
Step 12
Share your finished rock cactus on DIY.org
Help!?
What can we use if we don't have a tray, special rocks, or craft paint?
Use a heavy piece of cardboard or an old plastic takeout lid as the base for step 7, smooth river stones or cleaned garden rocks instead of craft stones for step 3, and washable tempera or acrylic house paint in step 5 if craft paint is unavailable.
The rocks won't stay stuck—what might be wrong and how do we fix it?
If rocks keep falling off during step 8 make sure you've wiped and dried them from step 4, roughen contact points with sandpaper, and use a stronger adhesive such as hot glue or epoxy while holding each piece steady until the glue sets.
How can we adapt this rock cactus activity for different ages?
For toddlers pre-paint rocks in step 5 and let them place pebbles in step 9 with glue dots and close adult help for step 8, while school-age kids can paint detailed spikes and tiny flowers in step 6 and design more complex arrangements on the base in step 7.
How can we enhance or personalize our finished rock cactus beyond the basic instructions?
Add googly eyes or tiny pom-pom flowers when painting details in step 6, glue small LED fairy lights around the pebbles in step 9 for a night display, seal everything with clear varnish after step 9, and photograph the final piece to share on DIY.org as in step 10.
Watch videos on how to make a rock cactus
How To Draw A Funny Summer Cactus Or Saguaro
4 Videos
How To Draw A Funny Summer Cactus Or Saguaro
Easy Cactus Care, Indoor Plants, Gardening Tips For Beginners
How To Draw A Funny Cactus

Prickly Pear Cactus Farming - Complete Guide
Facts about rock painting and recycled crafts for kids
🌵 Cacti are succulents that store water in their stems — some species can go months or years between rains.
🪨 Pebble mosaics and rock art date back to ancient Greece and Rome, where small stones were used to make pictures and patterns.
♻️ Upcycling old pebbles, broken pottery, and found rocks into crafts keeps materials out of the trash and makes one-of-a-kind decorations.
🎨 Non-toxic, water-based paints (like tempera or kid-safe acrylics) are ideal for decorating rocks and are easy to clean up.
🌱 Cactus spines are actually modified leaves that protect the plant and reduce water loss — a cool shape to copy with painted dots or glued pebbles.
How do I make a rock cactus craft with my child?
What materials do I need to make a rock cactus display?
What ages is the rock cactus activity suitable for?
What are the benefits of making a rock cactus with kids?
