Investigate the History of a City
Research your city's past by collecting old photos, interviewing residents, comparing maps, and creating a colorful timeline poster to show key events.


Step-by-step guide to investigate the history of a city
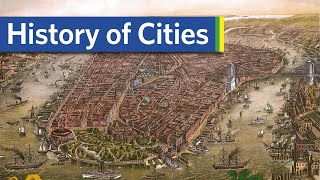
Timeline: How Cities Evolved (10,000 BC - 2100)
Step 1
Gather all your materials in one spot so you are ready to start.
Step 2
Choose 6 to 10 important years or events in your city that you want on your timeline.
Step 3
Ask family members for any old photos or documents they might have about the city.
Step 4
Visit the local library or historical society to look for more photos and old maps.
Step 5
Write 6 short interview questions about how the city has changed.
Step 6
Ask an adult to help you arrange interviews with 2 or 3 long-time residents.
Step 7
Interview a resident and take notes about the stories and dates they tell you.
Step 8
Read your notes and look at your photos and maps and pick the 6 to 10 items to show.
Step 9
Use the ruler and pencil to draw a straight timeline line across the poster board and mark the dates.
Step 10
Lay out your chosen photos and map pieces along the timeline where their dates fit without gluing yet.
Step 11
Glue each photo and map piece in place on the timeline.
Step 12
Write a short caption and the date under each photo using your markers.
Step 13
Add colors symbols or small drawings to show themes like buildings parks or transport.
Step 14
Share your finished timeline poster on DIY.org.
Help!?
What can we use if we don't have poster board, a ruler, or markers?
Use a flattened cardboard box as the poster board, a straight piece of wood or a length of string and pencil to draw the timeline line, colored pencils or crayons instead of markers, and clear tape instead of glue to attach photos and maps.
My photos keep sliding off the poster board and the dates look messy—what should I do?
Follow the instructions to lay out photos and map pieces without gluing first, then secure them with a glue stick or tape and press flat until set, and pencil in dates lightly before writing captions with markers so the lettering stays neat.
How can this activity be changed for younger or older children?
For younger kids, choose 3–5 big events, use large photos, stickers, and have an adult perform interviews, while older children can pick more dates, visit the historical society for deeper research, transcribe interviews, and add detailed captions or map overlays.
How can we make the timeline more interactive or personal before sharing on DIY.org?
Add colored symbols and small drawings to show themes, attach QR codes or paper flaps linking to recorded interview clips or scanned maps, and decorate the poster board with the city's colors or family photos to personalize the final poster.
Watch videos on how to investigate the history of a city
A Brief History of U.S. City Planning
3 Videos
A Brief History of U.S. City Planning
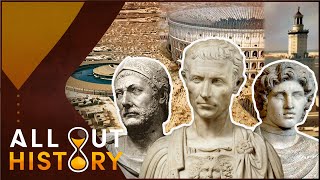
Inside Four Of The Ancient World's Most Powerful Cities | Metropolis Full Series | All Out History

Urbanization and the future of cities - Vance Kite
Facts about local history research for kids
🏙️ Many cities began where water, trade routes, or forts were — a single old map can reveal why a town formed where it did.
📷 Practical photography started in the 1800s, so old family photos can show how a city looked across three or more generations.
🗺️ Comparing historic and modern maps can uncover lost streets, filled-in rivers, or neighborhoods that changed names.
🗣️ Oral history interviews capture personal stories, slang, and everyday details that often don’t appear in official records.
📅 Timelines make it easy to spot patterns — plotting events and photos shows booms, disasters, and big changes at a glance.
How do I research my city's history with my child?
What materials do I need to investigate my city's past?
What ages is this city history research project suitable for?
What are the benefits of investigating my city's history with my child?
