Learn to Stitch a Felt Pen Case
Make a stitched felt pen case using felt, thread, blunt needle, and simple stitches; practice measuring, cutting, and sewing while decorating your own pouch.


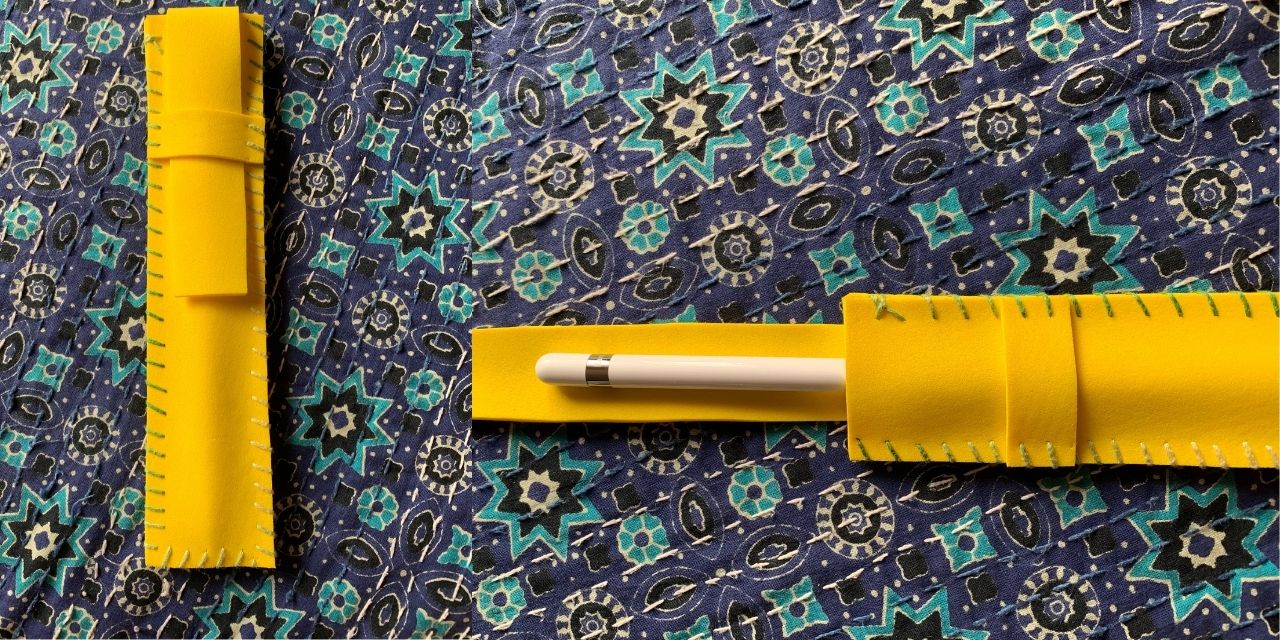

Step-by-step guide to stitch a felt pen case
Step 1
Gather all your materials and clear a flat workspace so you have room to measure and cut.
Step 2
Use the ruler and marker to draw a rectangle 36 cm by 12 cm on the felt to make a pouch that fits pencils.
Step 3
Carefully cut out the marked rectangle from the felt using scissors.
Step 4
Fold the rectangle in half so the long edges meet and press the fold with your fingers to make a neat crease.
Step 5
Align the two short sides so the raw edges match and hold them together with clips or by pinching with your fingers.
Step 6
Cut a piece of thread about 90 cm long so you have enough to stitch both sides.
Step 7
Thread the blunt needle with the cut thread so the thread goes through the needle eye.
Step 8
Tie a small knot at the loose end of the thread so your stitches will stay secure.
Step 9
Sew one short side from the bottom to the top using small even running stitches to join the felt edges.
Step 10
Sew the other short side the same way so your pouch has three closed sides and one open top.
Step 11
Decorate the front of your pouch by colouring designs or sewing on buttons or ribbon to make it unique.
Step 12
Take a photo of your finished stitched felt pen case and share it on DIY.org.
Help!?
What can I use instead of felt, a blunt needle, or clips if I can't find those materials?
If you don't have felt, use sturdy cotton fabric, craft foam, or a cut-up t-shirt for the 36×12 cm rectangle; replace the blunt needle with a large darning or plastic tapestry needle; and hold the short sides together with paper clips or small clothespins while you sew.
My stitches are uneven or the pouch is gaping—how do I fix that?
Re-align and reclip the two short raw edges so they match, use small even running stitches from bottom to top as the instructions say, pull each stitch gently to even tension, and tie a secure knot and sew over the seam again if it still gaps.
How can I adapt this project for younger or older kids?
For younger children, give a pre-cut 36×12 cm felt rectangle, a large plastic blunt needle, and close supervision for folding and cutting, while older kids can measure and cut themselves, try fancier embroidery stitches, add buttonholes, or change the pouch size.
What are some easy ways to personalize or improve the finished pen case?
Before sewing the short sides, add a thin fabric lining or inner pocket, use contrasting thread for decorative running stitches, attach a ribbon loop and button at the open top, or sew on a name patch and buttons as described in the decorating step before photographing it for DIY.org.
Watch videos on how to stitch a felt pen case
DIY Felt Pencil Case
4 Videos
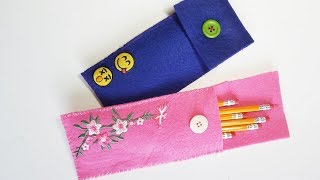
DIY Felt Pencil Case
Felt 101: Tips & Tricks for Felt Projects
Lanyard Pen Holder Tutorial | Beginner friendly sewing project
Cute Pencil Case Sewing Ideas For Kids 💟 Easy To Sew In 10 Minutes
Facts about basic sewing and felt crafts
🧵 Felt is made by matting fibers together, so it doesn't unravel—perfect for kids' cut-and-sew projects.
✂️ You can cut felt without hemming because its edges won't fray, saving time and making neat pouches.
🪡 Blunt-tipped needles (tapestry needles) are safer for kids and glide through felt easily.
🎨 Simple stitches like the running stitch, whip stitch, and blanket stitch can double as decoration—try mixing thread colors!
📏 When measuring for a pen case, add about 5–10 mm extra for seam allowance and a flap so the pen slides in comfortably.
How do you make a stitched felt pen case?
What materials do I need to make a stitched felt pen case?
What ages is stitching a felt pen case suitable for?
Is stitching a felt pen case safe for kids? What safety tips should I follow?
