Edit Your Own Video!
Record short clips, choose favorite shots, trim and arrange them, add titles, simple transitions, and music to create your own edited video.


Step-by-step guide to edit your own video
Step 1
Decide on one short idea for your video like a mini story or fun how-to.
Step 2
Draw a simple storyboard on paper with 3 to 6 boxes showing what happens in each scene.
Step 3
Gather the props and costume pieces you will need for each scene.
Step 4
Choose a quiet well-lit spot and make a stable stand for your device using books or a steady surface.
Step 5
Record several short clips of each scene keeping each clip 5 to 15 seconds long.
Step 6
Watch all your recorded clips to see what you captured.
Step 7
Pick your favorite clips that tell your story best.
Step 8
Open your video editing app and import the clips you picked.
Step 9
Trim each clip to remove mistakes and keep only the best parts.
Step 10
Arrange the trimmed clips on the timeline in the same order as your storyboard.
Step 11
Add a short title at the start by typing a name for your video.
Step 12
Insert simple transitions between clips like fade or cut.
Step 13
Choose a short piece of music and add it under your clips on the timeline.
Step 14
Export or save your finished video file from the editor.
Step 15
Share your finished video on DIY.org
Help!?
What can I use if I don't have a tripod, costumes, or a paid editing app?
Make a stable stand for your device using a stack of books or a cup as described in 'choose a quiet well-lit spot and make a stable stand,' repurpose clothes/toys as props and costume pieces from 'gather the props and costume pieces,' and use free or built-in phone editors to 'open your video editing app' and import clips.
My clips are shaky, dark, or have bad sound—how can I fix those problems?
Follow the step to 'choose a quiet well-lit spot' and 'make a stable stand for your device using books or a steady surface,' record several short clips of each scene (5–15 seconds) so you have good takes, and then 'watch all your recorded clips' and use the editor to trim or replace bad parts.
How should I adapt the activity for different ages (younger kids vs older kids)?
For younger children simplify the plan to a 2–3 box storyboard, use one simple prop and parent help to steady the device and export/share on DIY.org, for middle ages follow the full 3–6 box storyboard and 5–15 second clips with basic trimming, and for older kids add more precise trimming, transitions, titles, and music choices in the editor.
What are some ways to extend or personalize the finished video beyond the basic steps?
Enhance your video by adding a voiceover or on-screen subtitles, inserting sound effects and custom end credits, applying simple filters or stickers in the editor, and writing a creative description before you 'share your finished video on DIY.org.'
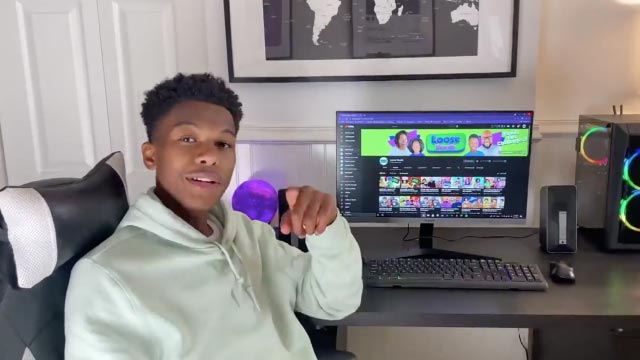
Watch videos on how to edit your own video
🎬 Canva Video Editing Made Easy: A Beginner's Guide!
4 Videos

🎬 Canva Video Editing Made Easy: A Beginner's Guide!
Edit your videos QUICKLY & EASILY! | Full editing tutorial | Video editing for beginners

How To Edit Videos For Youtube as Beginner in 2025 (Step By Step)
How to Edit Videos (COMPLETE Beginner's Guide to Video Editing!)
Facts about video editing for kids
🎬 The word "cut" comes from the old practice of physically cutting and splicing film strips by hand.
✂️ Non-linear editing software lets you move and rearrange clips any time without changing the original files—like editing with digital LEGO.
🎵 The same short clip can feel happy, sad, or spooky just by changing the music—sound is a mood superpower for editors.
⚡ Quick, snappy shots and smooth trims help keep viewers' attention and make videos feel energetic.
🏆 Editors play a huge role in storytelling—there's even an Academy Award category for Best Film Editing.
How do you edit your own video?
What materials do I need to edit a simple kids' video?
What ages is this activity suitable for?
What are the benefits of making and editing videos for kids?
