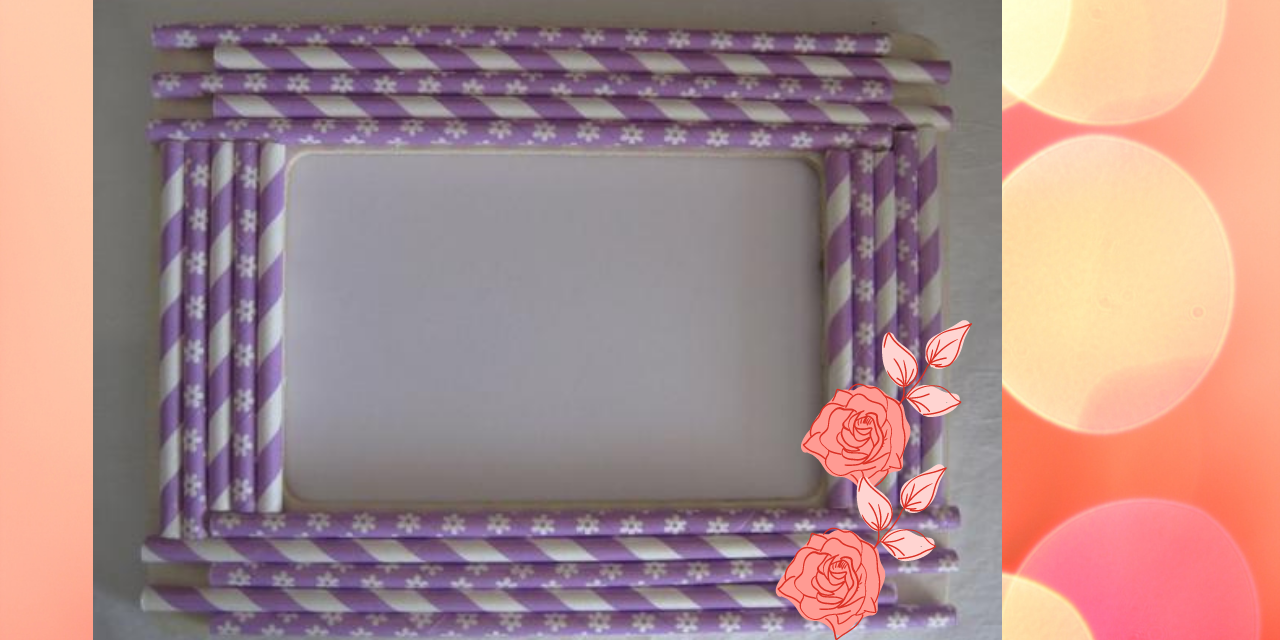
Make a Straw Photoframe
Make a colorful photo frame from drinking straws, cardboard, and glue. Measure, cut, assemble, and decorate your frame to display a favorite picture.


Step-by-step guide to make a straw photo frame
Step 1
Gather all the materials in one spot so you are ready to start.
Step 2
Place your photo in the center of the cardboard.
Step 3
Trace around the photo lightly with your pencil to mark the picture area.
Step 4
Draw a larger rectangle around that tracing about 2 cm wider on all sides to mark the frame edge.
Step 5
Cut out the outer rectangle along the border lines with scissors.
Step 6
Cut out the inner traced rectangle to make the window for your photo.
Step 7
Use the ruler to mark short sections about 2 cm long along a straw so the pieces will fit the frame border.
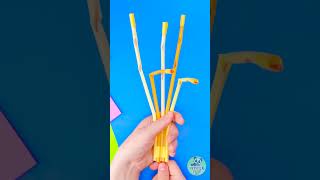
Step 8
Cut the straws at your marks into short pieces using scissors.
Step 9
Arrange the straw pieces on the cardboard frame border to plan a colorful pattern you like.
Step 10
Glue each straw piece onto the cardboard frame following your planned pattern.
Step 11
Add extra decorations like drawings or stickers with your colouring materials.
Step 12
Let the glue dry completely before you move the frame.
Step 13
Place your photo into the frame opening.
Step 14
Tape or glue a second piece of cardboard over the back to hold the photo securely.
Step 15
Share your finished straw photoframe on DIY.org.
Help!?
What can I use instead of plastic straws or thick cardboard if I can't find them?
If you don't have plastic straws, use paper straws, cut-up craft sticks, or rolled magazine tubes and follow the step where you cut straws into 2 cm pieces and glue them to the cardboard frame, and if cardboard is scarce, use a flattened cereal box or poster board for the frame.
My inner window cut looks messy or rips—how can I fix it?
For a clean inner cut, place the marked cardboard on a cutting mat and use a sharp hobby knife to follow the traced rectangle, or reinforce the frame by gluing a second piece of cardboard to the back before adding straw pieces so it won't tear when you slide the photo in.
How can I adapt this activity for younger or older kids?
For younger children, pre-trace and pre-cut the inner and outer rectangles and pre-cut 2 cm straw pieces for them to arrange and glue, while older kids can measure and cut their own tracing, paint or pattern the straws, and add a ribbon hanger or battery LEDs before taping the back cardboard.
How can we personalize or upgrade the finished photoframe?
To personalize and enhance the frame, add stickers or drawings with your colouring materials, glue on buttons or beads between straw pieces, attach a ribbon loop after taping the back cardboard for hanging, or glue tiny battery fairy lights around the inner window and then let the glue dry completely before sharing on DIY.org.
Watch videos on how to make a straw photo frame
How to make DIY Picture Frame | Easy Kids Crafts
4 Videos
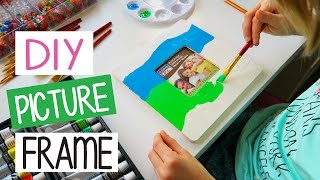
How to make DIY Picture Frame | Easy Kids Crafts
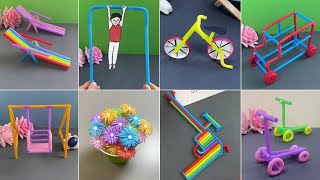
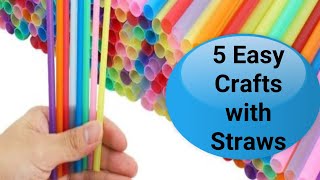
Creative Straw Crafts | Easy DIY Projects for Kids
5 Creative activities with Straws| Fun activities with Straws for Kids
Build a Toy Rescue Ladder 🧸🥤 | Easy Straw Craft for Kids ✂️ | Fun STEM
Facts about paper and cardboard crafts for kids
🥤 The modern paper drinking straw was patented in 1888 by Marvin C. Stone to replace rye grass straws.
🖼️ Picture frames have been used for thousands of years to display and protect artworks and important images.
📦 Cardboard is made from paper pulp, is lightweight yet sturdy, and is one of the most recycled materials worldwide.
🔗 Long before synthetic adhesives, people used animal-based glues like hide glue for furniture and crafts.
♻️ Upcycling crafts—like turning old straws into a photoframe—helps reduce waste and gives everyday items a creative second life.
How do I make a straw photo frame?
What materials do I need to make a straw photo frame?
What ages is the straw photo frame activity suitable for?
What safety tips should I follow when kids make a straw photo frame?
