Mobile Photography Editing Hacks
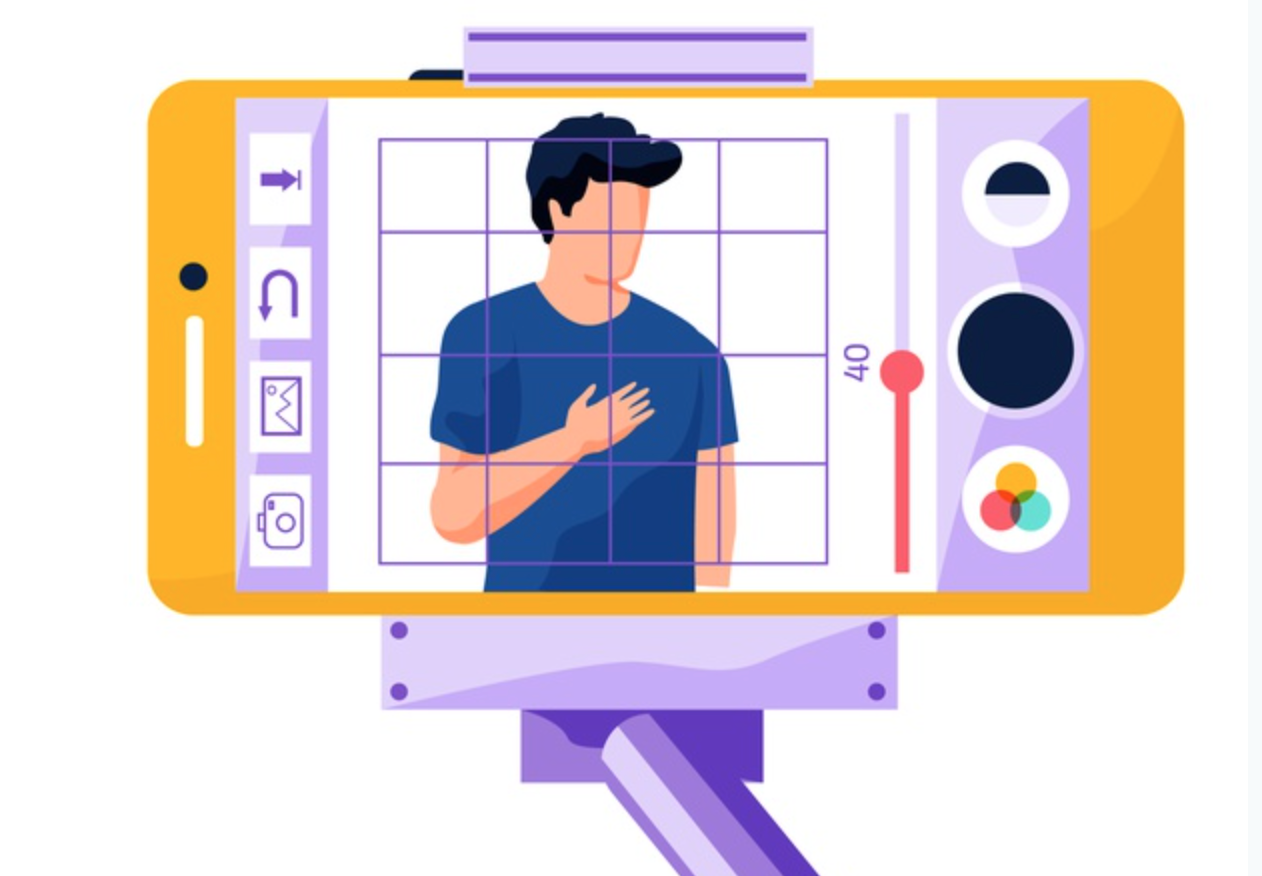
Edit photos on a smartphone using brightness, contrast, crop, filters, and simple retouch tools to create a polished photo series and learn visual storytelling.


Step-by-step guide to edit photos on a smartphone
Step 1
Pick 3 to 6 photos that match one story or theme.
Step 2
Open your photo-editing app on the smartphone.
Step 3
Make a duplicate copy of each original photo to keep the originals safe.
Step 4
Crop each photo to remove empty space and focus on the main subject.
Step 5
Straighten each photo so horizons and lines look level.
Step 6
Adjust the brightness of each photo so details are easy to see.
Step 7
Adjust the contrast of each photo to make the image look bolder.
Step 8
Change the color tone or saturation to create the mood you want.
Step 9
Apply a light filter at a low strength if it helps your theme.
Step 10
Use the heal or retouch tool to remove small distractions from each photo.
Step 11
Zoom in and inspect each photo for tiny mistakes.
Step 12
Toggle the before and after view to compare your edit with the original.
Step 13
Save the edited photos into a new album for your photo series.
Step 14
Arrange the photos in an order that tells the story and add a short caption for each image.
Step 15
Share your finished polished photo series on DIY.org.
Help!?
I don't have a smartphone or my editing app doesn't have a heal/retouch tool—what can I use instead?
Use a tablet or computer with free editors like Snapseed, Pixlr, or Adobe Photoshop Express to duplicate photos, crop, straighten, adjust brightness/contrast, change color/saturation, and remove distractions with their retouch or clone tools.
My crop or straighten step cuts off the subject or makes photos look soft—how do I fix that?
Make duplicate copies first (step 3), use the app's grid and small rotation increments when straightening, undo if needed, and zoom in to inspect details (step 10) so you keep the main subject sharp.
How can I adapt this activity for different ages?
For younger kids limit to 3 photos and use auto-enhance plus simple crop/straighten and captions, while older kids can edit 5–6 photos, fine-tune brightness/contrast/saturation, use the heal tool, and craft a stronger story to share on DIY.org.
What are simple ways to make my photo series more personal or advanced?
Apply a low-strength consistent filter or matching color grade across all images, save the edited photos into a new album (step 12), arrange them in story order and add thematic captions (step 13), then share on DIY.org.
Watch videos on how to edit photos on a smartphone
Take a silly selfie | Fun Photography for kids | #doitwithdiy
4 Videos

Take a silly selfie | Fun Photography for kids | #doitwithdiy
Become an Epic Kid Photographer

Easy PHOTO TRICKS That Are At Another Level

Take Stunning Photos with your Smartphone!
Facts about mobile photography and photo editing
📱 Smartphones now pack multiple lenses and AI features—many can shoot RAW and HDR like pros used to do with big cameras.
🎨 Changing brightness and contrast can totally flip a photo's mood—sunny and cheerful or moody and dramatic with just a slider.
✂️ Cropping is a powerful composition tool—tightening a frame can instantly focus attention and strengthen your story.
✨ Simple retouch tools (heal, clone, spot removal) were once desktop-only—today they work fast on phones to remove tiny distractions.
📚 A photo series is storytelling: 3–7 consistently edited images often give a clear beginning, middle, and end to your visual tale.
How do I teach my child to edit photos on a smartphone?
What materials and apps do I need for mobile photo editing with kids?
What ages is mobile photography editing suitable for?
What are the benefits of teaching kids mobile photo editing?
