Let's Grow Potatoes
Plant seed potatoes in pots or garden soil, care for sprouts with watering and sunlight, observe growth, and harvest small potatoes when ready.

Step-by-step guide to grow potatoes
Step 1
Gather all your materials and put them on a table so everything is ready.
Step 2
Choose a pot with drainage holes or a sunny spot in the garden for your potatoes.
Step 3
Fill the pot or garden hole with potting soil leaving about 4 inches (10 cm) of space at the top.
Step 4
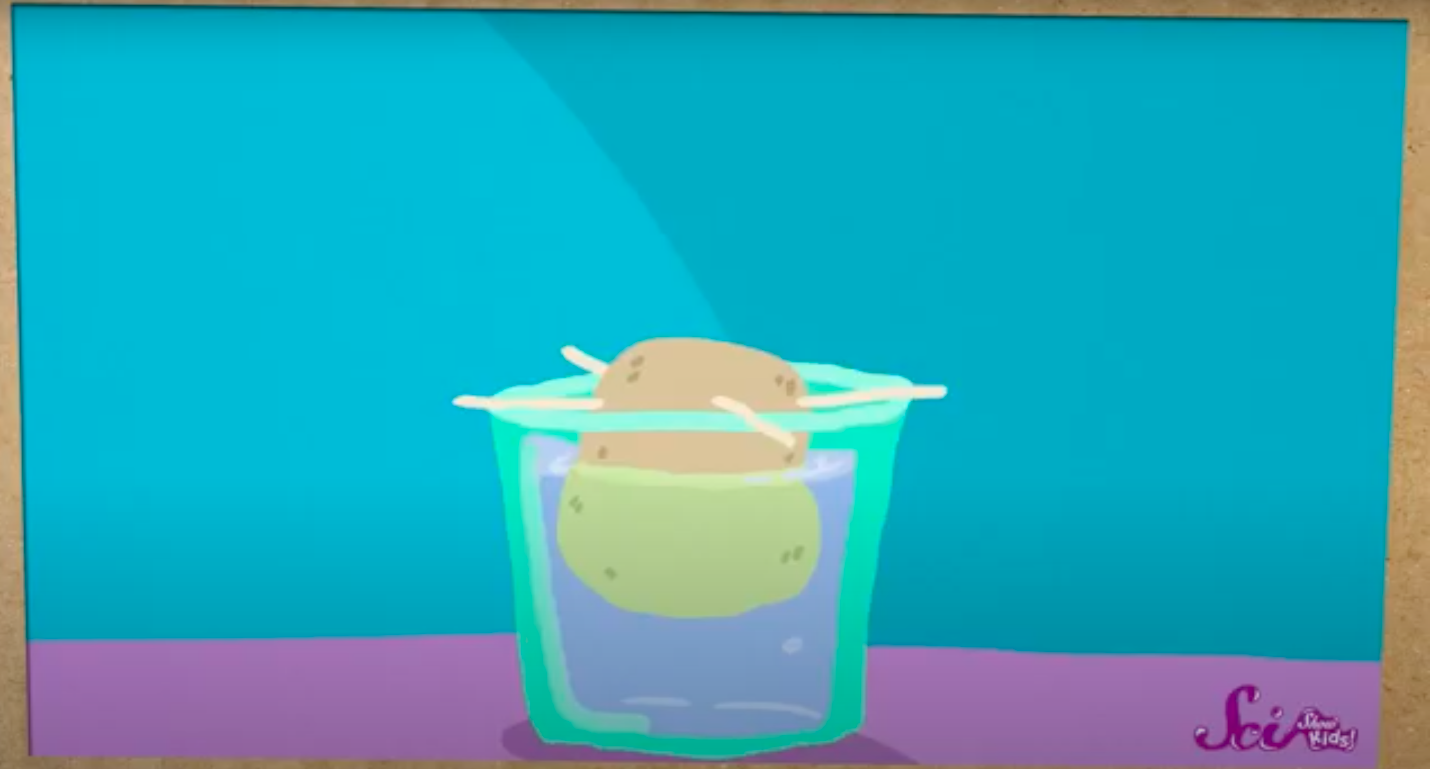
If a seed potato is large cut it into pieces so each piece has at least one eye.
Step 5
Let any cut potato pieces dry on a plate for 24 to 48 hours so the cut surface can heal.
Step 6
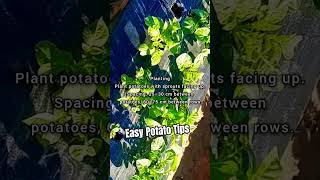
Push each seed piece into the soil about 3 inches (8 cm) deep with the eye facing up and leave about 4 inches (10 cm) between pieces.
Step 7
Water the soil gently until it feels evenly moist but not soggy.
Step 8
Check the soil twice a week by poking your finger about 1 inch (2.5 cm) into the soil to see if it is dry.
Step 9
If the soil is dry at 1 inch deep water the pot until the soil is moist again.
Step 10
When the green sprouts grow to about 6 inches (15 cm) add more soil around the stems to cover the lower part and leave the top leaves showing.
Step 11
Each week draw or write in your notebook what your plant looks like and how tall it is.
Step 12
When the plant’s leaves turn yellow and begin to die back get ready to harvest the potatoes.
Step 13
Stop watering and wait 7 to 14 days to let the soil dry a little before digging.
Step 14
Carefully dig around the plant with your trowel or your hands to find and collect the small potatoes.
Step 15
Take a photo or write about your harvested potatoes and share your finished creation on DIY.org.
Help!?
What can I use if I don't have a pot with drainage holes or can't find seed potatoes?
If you don't have a pot with drainage holes, punch holes in a clean bucket or plastic bin, and if seed potatoes are hard to find use sprouted potatoes from the kitchen but cut each piece so it has an eye and dry the cut surfaces on a plate for 24–48 hours before planting.
My seed potato pieces are turning mushy instead of sprouting—what should I check?
If pieces rot, make sure you allowed cut pieces to heal on a plate for 24–48 hours, planted them in a container with drainage holes in potting soil, and are watering only until the soil is evenly moist but not soggy.
How can I adapt the steps for different age groups?
For preschoolers have an adult cut the potatoes and let the child press pre-dried pieces about 3 inches into a shallow pot and draw in the notebook each week, while older kids can measure heights, add soil themselves when sprouts reach about 6 inches, and compare varieties.
How can we extend or personalize the activity after planting?
To extend the project, grow two pots with different potato varieties or soils, label them with dates, decorate the pot, record weekly drawings and measurements, and photograph the harvest to share on DIY.org.
Watch videos on how to grow potatoes
How Are Potatoes Grown Step by Step | Farming for Kids | How To Grow Potatoes | Learning Launcher
4 Videos

How Are Potatoes Grown Step by Step | Farming for Kids | How To Grow Potatoes | Learning Launcher

How to Grow EASY Potatoes (From Seed to Harvest) 🥔
How to Grow Potatoes at Home - Easy Gardening Guide

How to Plant and Grow Potatoes: A Step-by-Step Guide for Beginners!
Facts about vegetable gardening for kids
🥔 Potatoes are the world's fourth-largest food crop after corn, wheat, and rice — lots of people rely on them!
🌱 One seed potato can grow into a plant that produces many tubers — sometimes 8–10 little potatoes or more.
☀️ Potato plants need sunlight for leaves, but the tasty tubers grow underground away from the light.
💧 Potatoes like steady moisture; too much water can cause the seed potato to rot instead of grow.
🍠 There are thousands of potato varieties around the world — they come in different colors, sizes, and flavors.
How do you grow potatoes in pots or garden soil?
What materials do I need to grow potatoes with kids?
What ages is this activity suitable for?
What are the benefits of growing potatoes with kids and what safety tips should we follow?
