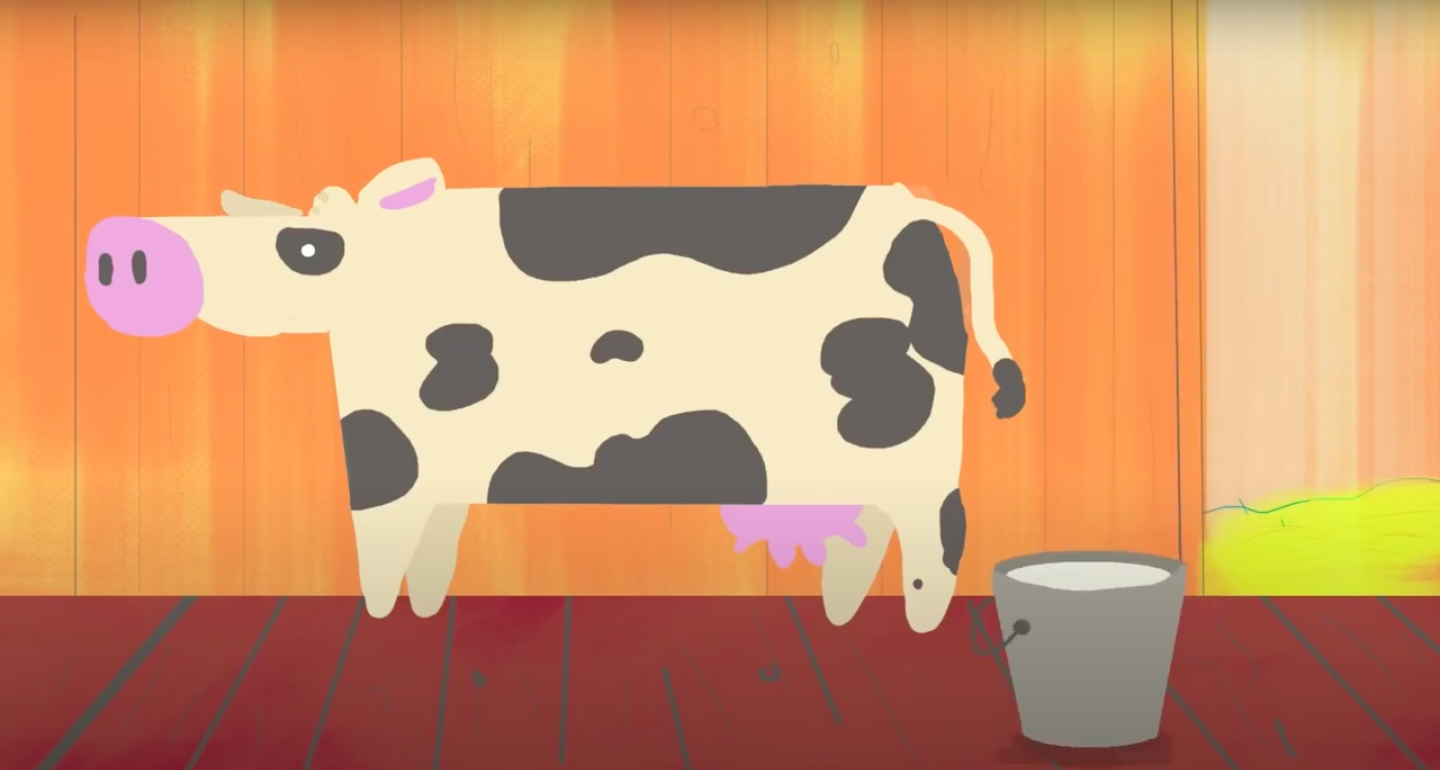
Make Butter at Your Home
Make fresh butter at home by shaking heavy cream in a jar with adult help, then wash, knead, and taste your homemade spread.


Step-by-step guide to make butter at home
Step 1
Ask an adult to help and read the steps together so you both know what to do.
Step 2
Wash your hands with soap and dry them so everything stays clean.
Step 3
Pour heavy cream into the jar until it is about half full to leave space for shaking.
Step 4
Close the jar tightly and check the lid is secure so no cream spills out.
Step 5
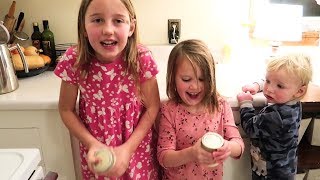
Shake the jar vigorously for 3 to 7 minutes until you feel a solid lump form and a thin liquid separates.
Step 6
Open the jar and pour off the liquid buttermilk into the small bowl to separate it from the butter.
Step 7
Add a few tablespoons of cold water to the jar, swish gently, and pour off the water; repeat until the water runs clear to wash the butter.
Step 8
Spoon the butter into the small bowl and press or knead it with the spoon or spatula to squeeze out any extra liquid.
Step 9
Add a pinch of salt if you like and stir it into the butter to flavor it.
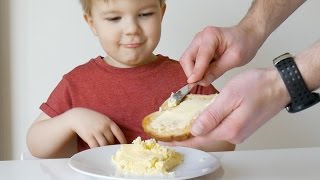
Step 10
Spread a little of your homemade butter on a cracker or bread and taste your creation.
Step 11
Share a photo or story of your finished homemade butter on DIY.org.
Help!?
What can we use if we don't have heavy cream or a mason jar with a tight lid?
Use labeled heavy or whipping cream (not half-and-half) and if you lack a mason jar use any clean, sturdy container with a tight-fitting lid or skip shaking by using an electric hand mixer or stand mixer to beat the cream until a lump forms.
The cream isn't forming a solid lump after shaking — what should we check or do differently?
If no lump forms, make sure you're using full-fat heavy cream (not low-fat), the jar lid was secure during the vigorous shaking step so energy doesn't escape, try shaking longer (up to 7 minutes) or switch to an electric mixer to reach the butter and buttermilk separation described in the instructions.
How can I adapt the activity for different ages so it's safe and fun for younger and older kids?
For toddlers, limit them to supervised tasks like washing hands (step 1) and spreading the finished butter on a cracker (step 10), while older children can do the vigorous shaking, pour off the buttermilk (step 5), and wash the butter with cold water (step 6) under adult supervision.
How can we personalize or extend the homemade butter once it's done?
After pressing out extra liquid (step 8), stir in flavorings like honey, minced herbs, or garlic instead of or in addition to a pinch of salt (step 9), shape the butter with a cookie cutter, and then share a photo and story of your flavored butter on DIY.org as suggested.
Watch videos on how to make butter at home
How To Make Butter At Home! Kitchen Science Experiments For Kids
3 Videos
How To Make Butter At Home! Kitchen Science Experiments For Kids
Making Butter With Kids - Easy Shake Method!

Make Butter At Home! START HERE (Easy Method)
Facts about food science for kids
🧈 You can make fresh butter in a jar—shake heavy cream for about 5–15 minutes until the fat clumps into butter.
🥛 It takes roughly 20 liters (about 5 gallons) of milk to produce around 1 kilogram (2.2 lbs) of butter because most of milk is water.
☀️ Butter separates faster when the cream is at room temperature because warmer fat globules join together more quickly than cold ones.
🚿 Washing and kneading homemade butter removes leftover buttermilk so the spread stays fresher and less likely to spoil.
🥞 The leftover liquid, called buttermilk, is perfect for pancakes, biscuits, and tangy dressings.
How do you make butter at home with a child?
What materials do I need to make butter in a jar?
What ages is shaking cream to make butter suitable for?
What safety tips should I follow when making butter at home?
