Build Your Castle!
Build a cardboard castle using recycled boxes, scissors, tape, and markers, design turrets and draw a floor plan, learning measurement and creativity.


Step-by-step guide to build a cardboard castle
Step 1
Gather all your materials and bring them to a clear table or floor space.
Step 2
Decide how big you want your castle to be by imagining how many rooms or towers it will have.
Step 3
Draw a simple floor plan on paper with your ruler and pencil showing rooms and doorways.
Step 4
Choose the biggest box for the castle base and mark wall heights and cut lines on it with your pencil and ruler.
Step 5
Cut the marked walls from the big box using scissors with adult help if needed.
Step 6
Fold the cut pieces and tape the edges together to make the castle’s outer walls.
Step 7
Cut smaller pieces from other boxes to make turret parts.
Step 8
Roll or fold each turret piece into a tower shape and tape it closed.
Step 9
Tape each turret to the corners or walls of your castle so they stay firmly in place.
Step 10
Cut doors and windows into the walls following your floor plan.
Step 11
Use markers to decorate the castle with bricks flags and other fun details.
Step 12
Place your paper floor plan inside the castle and match each room label to its space.
Step 13
Take a photo of your finished castle and share your creation on DIY.org
Help!?
What can we use if we don't have the biggest box, clear tape, or a ruler mentioned in the instructions?
Use several smaller boxes taped together as the castle base, replace clear tape with masking tape or glue, and use a book edge as a straightedge when marking wall heights and cut lines.
My castle walls keep folding or turrets fall off—how can I fix this problem while following the cutting and taping steps?
Reinforce folded wall seams with extra tape on the inside, add small cardboard tabs glued inside the outer walls, and attach turret bases with wider tape strips where you tape each turret to the corners so they stay firmly in place.
How can we adapt the activity for younger or older kids using the floor plan, scissors, and decoration steps?
For younger children, have an adult pre-cut wall and turret pieces so they can focus on taping and marker decorating, while older kids can draw a more detailed ruler-measured floor plan and use a craft knife under supervision to cut and add hinged doors or interior rooms.
What are some creative ways to enhance or personalize the finished castle beyond drawing bricks and flags with markers?
Personalize your castle by gluing on textured materials for stonework, adding paper or fabric flags to taped turrets, building small cardboard furniture to match the paper floor plan rooms, and placing LED tea lights inside before taking the photo to share on DIY.org.
Watch videos on how to build a cardboard castle
How To Build A Medieval Castle Project for School
4 Videos
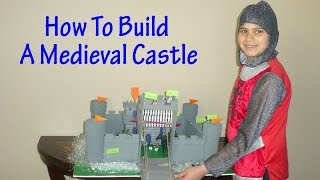
How To Build A Medieval Castle Project for School

How To Build A Lego Castle (Easy, Kids Tutorial)
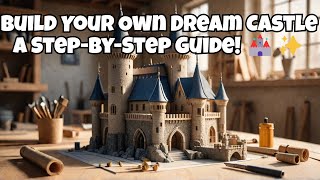
Build Your Own Dream Castle: A Step-by-Step Guide! 🏰✨
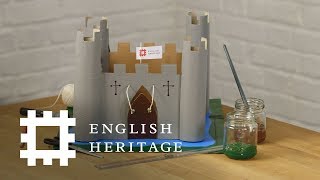
How To Make A Cardboard Castle
Facts about cardboard crafts for kids
🏰 Medieval castles sometimes took decades to build and could include moats, drawbridges, and dozens of towers.
📦 Corrugated cardboard was invented in the 19th century and quickly became the go-to material for packing and creative projects.
♻️ Recycling one ton of cardboard can save about nine cubic yards of landfill space and conserve energy.
📏 Model builders often use scale ratios like 1:50 or 1:100 to turn real floor plans into kid-sized models.
✂️ Strong cardboard structures can be made with simple techniques—tabs, slots, and tape—no glue required.
How do I build a cardboard castle with my child?
What materials do I need to build a cardboard castle?
What ages is building a cardboard castle suitable for?
What are the benefits and safety tips for making a cardboard castle?
