Craft your own wagon
Build a small cardboard or wooden toy wagon using child safe tools, wheels, and glue; decorate it and test how well it rolls.


Step-by-step guide to craft your own wagon
Step 1
Gather all the materials from the list and bring them to your workspace
Step 2
Ask an adult to set up a flat workspace for you to work on
Step 3
Decide how big your wagon should be and draw a rectangle for the base using the ruler and pencil
Step 4
Cut out the base along your pencil lines using safety scissors with adult help
Step 5
Draw two long side panels and two short end panels on the leftover cardboard or wood
Step 6
Cut out the four panels using safety scissors with adult help
Step 7
Apply glue to the bottom edges of the side and end panels and stick them upright onto the edges of the base
Step 8
Mark small spots centered near the front and back edges on the underside of the base where the axles will go
Step 9
With adult help poke holes through the marked spots to make room for the axles
Step 10
Push a skewer or straw through each hole so equal lengths stick out on both sides
Step 11
Slide a wheel onto each exposed axle end and secure each wheel with a dab of glue or a wrap of tape
Step 12
Decorate your wagon using colouring materials stickers and tape to make it look awesome
Step 13
Test how well your wagon rolls on a flat floor and watch for any wobble or dragging
Step 14
Adjust wheel positions or add small bits of tape to straighten the axles if the wagon wobbles
Step 15
Share a photo and story about your finished wagon on DIY.org
Help!?
What can I use instead of wooden skewers or plastic straws for the axles if I can't find them?
If you can't find skewers or straws for the axles, use straight wooden dowels, sturdy pencils trimmed to length, or thin metal rods pushed through the poked holes so equal lengths stick out on both sides.
My wagon wobbles or drags—what should I check and fix?
If the wagon wobbles or drags when you roll it on a flat floor, check that the axle holes are centered and straight, straighten or shorten skewers or dowels, add small cardboard washers between wheel and base, and secure wheels with a dab of glue or a tight wrap of tape as the instructions suggest.
How can I adapt this craft for younger or older children?
For younger children have an adult pre-cut the base and panels and use large plastic bottle-cap wheels and non-toxic glue for easy assembly, while older kids can measure and cut their own cardboard or wood, poke axle holes themselves, and experiment with wooden dowels and paint for decoration.
How can we extend or personalize the finished wagon to make it more fun?
To personalize and extend the project, add a handle by taping or screwing a craft stick to the front, glue on craft-stick rails for cargo, paint designs or stickers during the decorating step, or attach LED stickers and a small cardboard tailgate so the wagon can carry toys.
Watch videos on how to craft your own wagon
Kid's DIY Wagon | POP Projects | Popular Mechanics
4 Videos
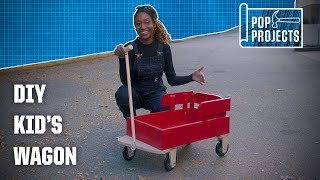
Kid's DIY Wagon | POP Projects | Popular Mechanics
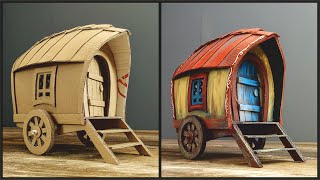
❣DIY Vardo Wagon Using Cardboard❣
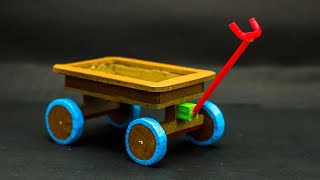
School Science Projects | Pull Wagon | Wheel and Axle Science Projects
Westward Ho: Making a Covered Wagon
Facts about toy-making and woodworking for kids
🛞 The wheel-and-axle is one of the six classical simple machines and has been used for over 5,000 years.
📦 Corrugated cardboard was first used for packaging in the 19th century and is lightweight yet surprisingly strong for models.
🪵 Wooden dowels are perfect child-safe axles — they're cheap, smooth, and easy to cut to size.
🎨 Decorating a toy (with paint, stickers, or markers) helps kids personalize their creation and boosts imaginative play.
🧪 Rolling your wagon on tile, carpet, and grass is a fun way to see how surface friction changes how far it goes.
How do I build a small toy wagon with my child?
What materials do I need to make a cardboard or wooden toy wagon?
What ages is making a toy wagon suitable for?
What safety tips should I follow when making a toy wagon?
