Create an Optical Illusion
Make a simple spinning optical illusion using cardboard, paper patterns, a straw, and a pencil; assemble and spin to explore vision and motion perception.
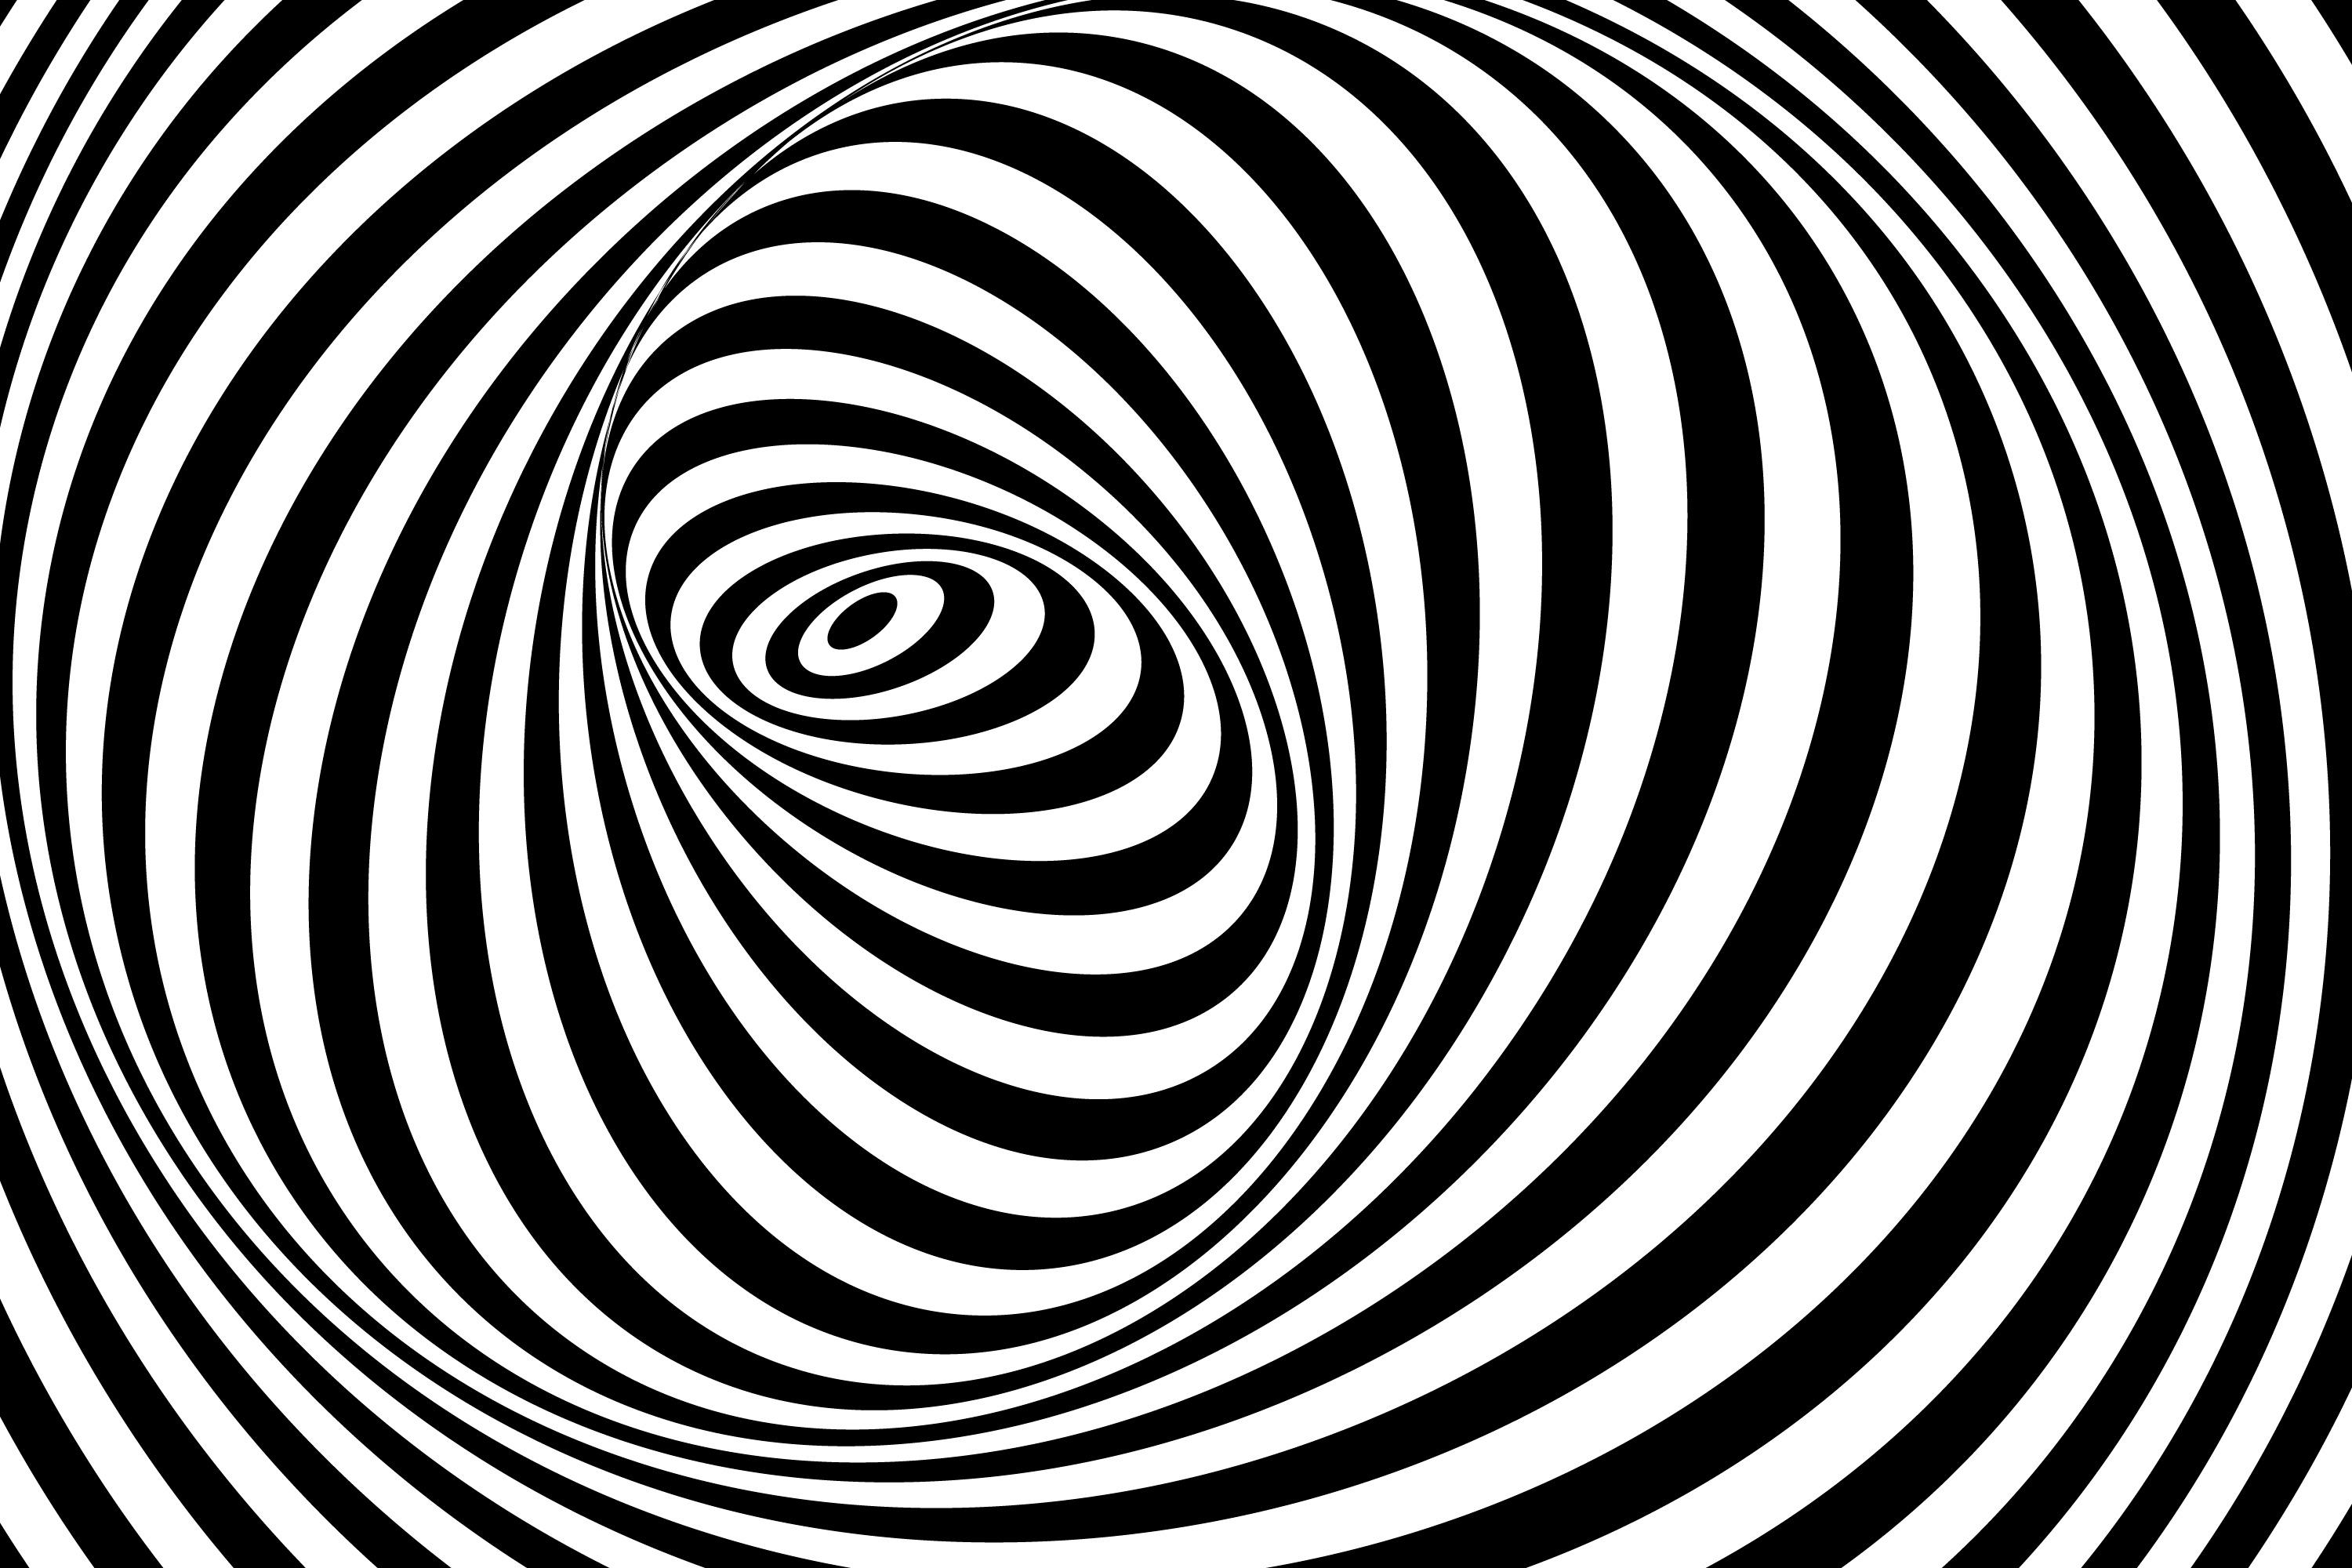
About this activity
Make a simple spinning optical illusion using cardboard, paper patterns, a straw, and a pencil; assemble and spin to explore vision and motion perception.
What you need
Step by step
- 1
Step 1
Gather all the materials and put them on a clean table.
- 2
Step 2
Place a round object like a cup on the cardboard and trace a circle about the size of your palm.
- 3
Step 3
Cut out the cardboard circle carefully with scissors.
- 4
Step 4
Trace a matching circle onto your paper pattern.
- 5
Step 5
Cut out the paper pattern circle carefully with scissors.
- 6
Step 6
Push the pencil tip through the exact center of both circles to make a small hole in each.
- 7
Step 7
Use colouring materials to draw a strong high-contrast pattern on the paper circle such as a spiral or bold radial lines.
- 8
Step 8
Tape the paper pattern onto the cardboard circle aligning the center holes.
- 9
Step 9
Cut a short piece of straw about 2 centimeters long.
- 10
Step 10
Tape the short straw upright to the back center of the cardboard circle so the straw’s hole lines up with the circle’s center.
- 11
Step 11
Slide the straw-and-disc onto your pencil so the disc sits on the pencil near the eraser.
- 12
Step 12
Hold the pencil steady and flick the straw with a finger to spin the disc and watch the optical illusion appear.
- 13
Step 13
Share a photo or video of your spinning optical illusion on DIY.org.
Fun facts
How do I make a simple spinning optical illusion with cardboard, paper patterns, a straw, and a pencil?
Draw a circle on cardboard, cut it out, and create a high-contrast paper pattern (radial stripes, concentric rings, or alternating shapes). Glue the pattern to one or both sides. Poke a small centered hole through the disk. Thread a short drinking straw onto a pencil and push the pencil through the straw and the disk hole so the straw sits snugly on the disk. Hold the pencil and spin the straw/disk with your fingers to watch the illusion.
What materials do I need to create the spinning optical illusion?
You’ll need sturdy cardboard for the disk, plain paper for drawing patterns, scissors, glue or tape, a pencil, and a short drinking straw (or a cardboard tube). Add markers or paints for bold patterns, a ruler and compass or template for an even circle, and a sharp pencil or pushpin to make the center hole. Optional: a small washer or bead to stabilize the disk on the straw.
What ages are suitable for making and playing with this spinning optical illusion?
This activity suits children about 5 years and up with adult supervision for cutting and making the hole. Ages 5–8 will need help with scissors and assembly; ages 9–12 can build and experiment more independently. Younger kids can watch and enjoy the spinning patterns with an adult handling any sharp tools. Always supervise to avoid small parts and ensure safe handling of scissors and pencils.
What are the benefits of making a spinning optical illusion with kids?
Making and exploring a spinning illusion builds fine motor skills, pattern recognition, and creativity. It introduces basic science concepts—motion, rotation, and persistence of vision—plus cause-and-effect thinking. The craft encourages following steps, experimenting with different patterns, and comparing results, which supports early STEM learning and curiosity. It’s a calming, hands-on activity great for conversation about how our eyes and brain interpret motion.
Watch & Learn
Need help?
What can we use if we don't have cardboard, a drinking straw, or a pencil?
You can substitute a corrugated cereal box or thick book cover for the cardboard circle, a short wooden skewer or a tightly rolled paper tube for the 2 cm straw, and a thick marker shaft or small wooden dowel in place of the pencil while still tracing, cutting, making center holes, and sliding the straw-and-disc onto the chosen shaft.
My disc wobbles or won't spin smoothly—what should I check?
Check that the paper pattern is taped flat and exactly aligned over the cardboard center hole (step 'Tape the paper pattern onto the cardboard'), that the straw is taped upright and centered on the back, and that the center holes are small enough so the disc sits snugly on the pencil without too much play.
How can I adapt this activity for a 4-year-old or a 12-year-old?
For a 4-year-old, pre-cut the cardboard and paper circles and pre-poke the center hole so they can focus on coloring bold patterns and flicking the disc, while a 12-year-old can measure and mark the exact center, design more intricate high-contrast patterns, and experiment with different straw lengths or a motorized spinner.
How can we personalize or make the illusion more impressive?
Enhance the effect by drawing high-contrast spirals or alternating black-and-white radial bands on the paper before taping (step 'Use colouring materials'), try double-sided patterns or edge stickers for extra motion tricks, and record a slow-motion video to share on DIY.org.